Have you checked out all my blogs?


Dollhouse Minis: http://joannesminis.blogspot.com/


18” Dolls: http://joannes18dolls.blogspot.com/


General Crafts: http://joannes-place.blogspot.com/


Tuesday, October 20, 2020

Lasagna


As the weather starts to get colder I start to crave comfort foods. This week I decided to make a small pan of lasagna and I thought I would share the recipe here. I love lasagna but I don't want to be eating it for the next week non-stop so I make a small pan that results in about 3 servings.


I'm using my favorite small casserole dish (mine is about 8” by 6” and about 2” deep) but if you don't have one about this size a regular sized loaf pan will also work. By regular size I mean either an 8” by 4” or a 9” by 5” or there abouts. I like the more shallow casserole dish and I use this one all the time. I picked it up at Home Goods a while back.


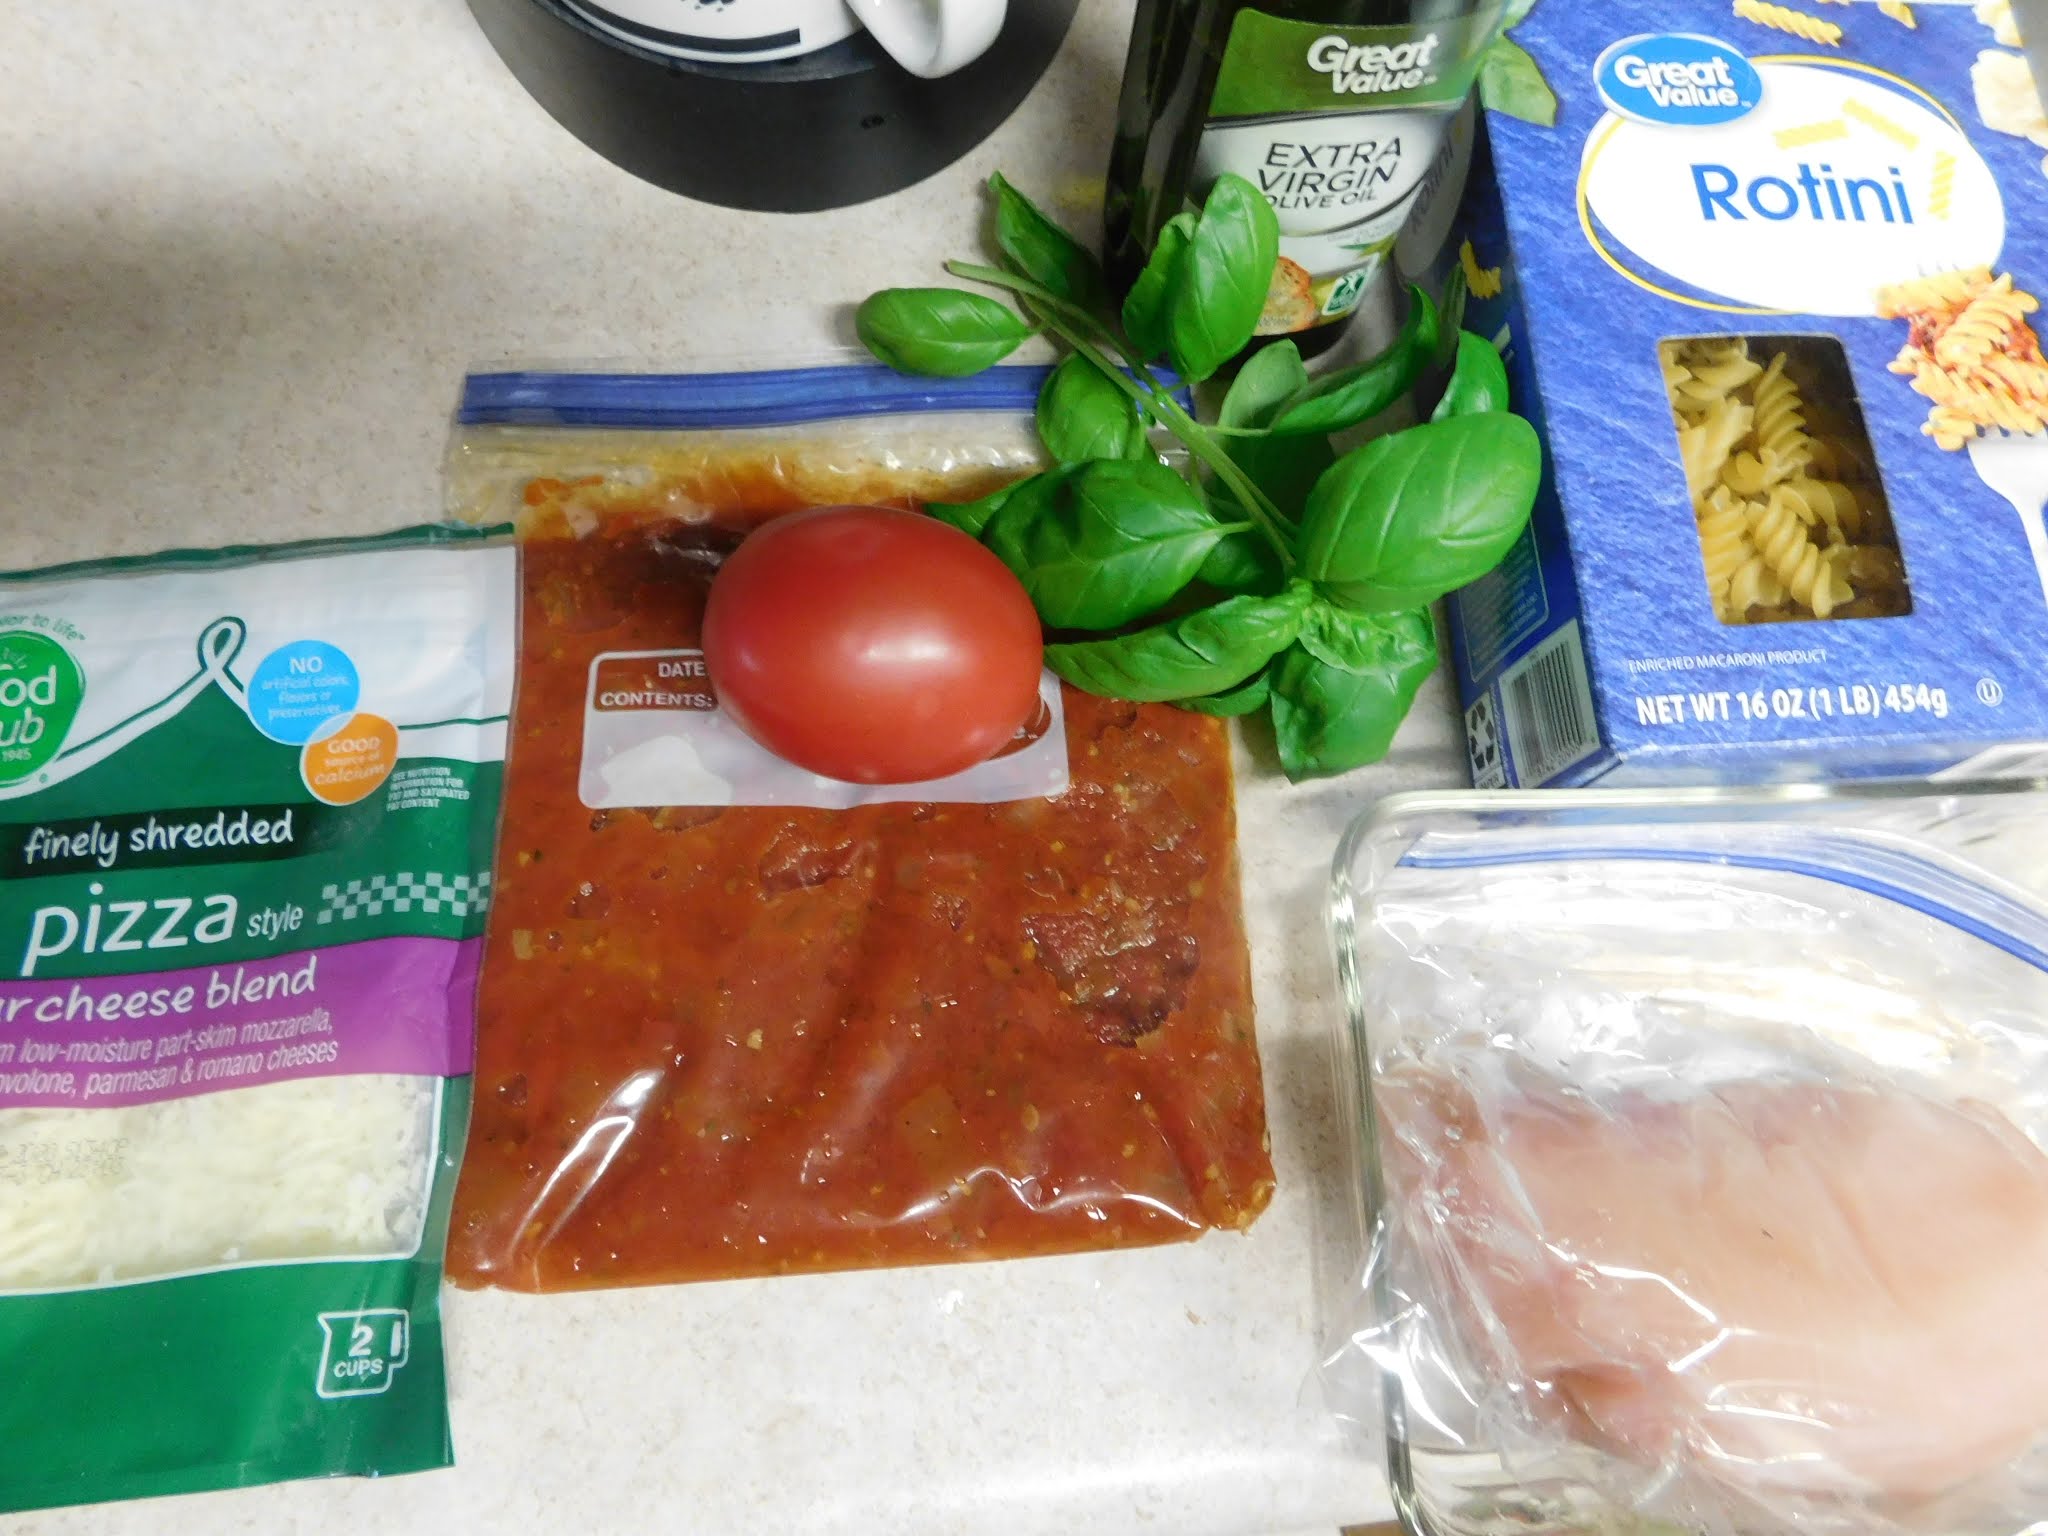
This recipe is a fairly traditional lasagna with a red sauce, some meat (I added some mushrooms) and a ricotta mixture.


It bakes up wonderfully and is good as leftovers. Half of my leftovers went to work with me the next day and were just as good if not better than they had been at dinner the night before. The third serving went into the freezer for a quick lunch or dinner whenever I need it.


Before we go on, do you get annoyed when you store something with a tomato sauce in your plastic storage container it the container ends up stained? There is a solution to this, just spray the container with some non-stick cooking spray (like Pam) before you add the food. I have been doing this for years and I can't tell you how many containers it has saved me.


I did take a short cut by using jarred sauce from the store, normally I would have used my homemade sauce but I don't have enough left in the freezer and I didn't feel like making sauce this week. Any good marinara sauce will work just fine.


I prefer to use the noodles that you boil over the no-boil type. You can use either in this recipe, I just don't like the texture of the no-boil ones very well.


For the meat I am using ground beef and I added some mushrooms to stretch the meat further and to add to the taste. I love to mix in mushrooms with my ground beef because it really makes the dish meaty without having to use as much meat.


The ricotta cheese mixture in the middle is probably my favorite part of the lasagna and this one turned out perfectly.


Lasagna is a little bit time consuming to put together and it does have to bake for a while but it is so worth the effort.


Lasagna


6 un-cooked lasagna noodles


olive oil

1 medium onion, chopped

1 cup chopped mushrooms

2 cloves garlic, chopped (I used the kind in the jar)

2 teaspoons dried Italian herbs

salt and pepper to taste

¼ pound ground beef

2 cups marinara sauce

1 cup ricotta cheese

1 egg

¼ cup shredded Parmesan


6 slices mozzarella cheese


Start by preheating your oven to 375°F.


Cook the lasagna noodles as directed on the package. Drain and allow to cool slightly.


Saute the onion and mushrooms in just a bit of olive oil until softened. Add the garlic, Italian herbs, salt and pepper. Continue to cook a minute of so then add the ground beef. Cook over medium heat until meat is cooked through. Add the sauce, bring to a boil. Reduce heat to low and cook for about 15 minutes.


Meanwhile in a small bowl combine the ricotta, egg and Parmesan cheese.


Now its time to assemble-


Add about 1 cup of the sauce to the bottom of your casserole dish.


Add a layer of 2 of the noodles cut to fit the casserole. 


Add about half the remaining sauce on top of the noodles.


Another layer of noodles cut to fit.
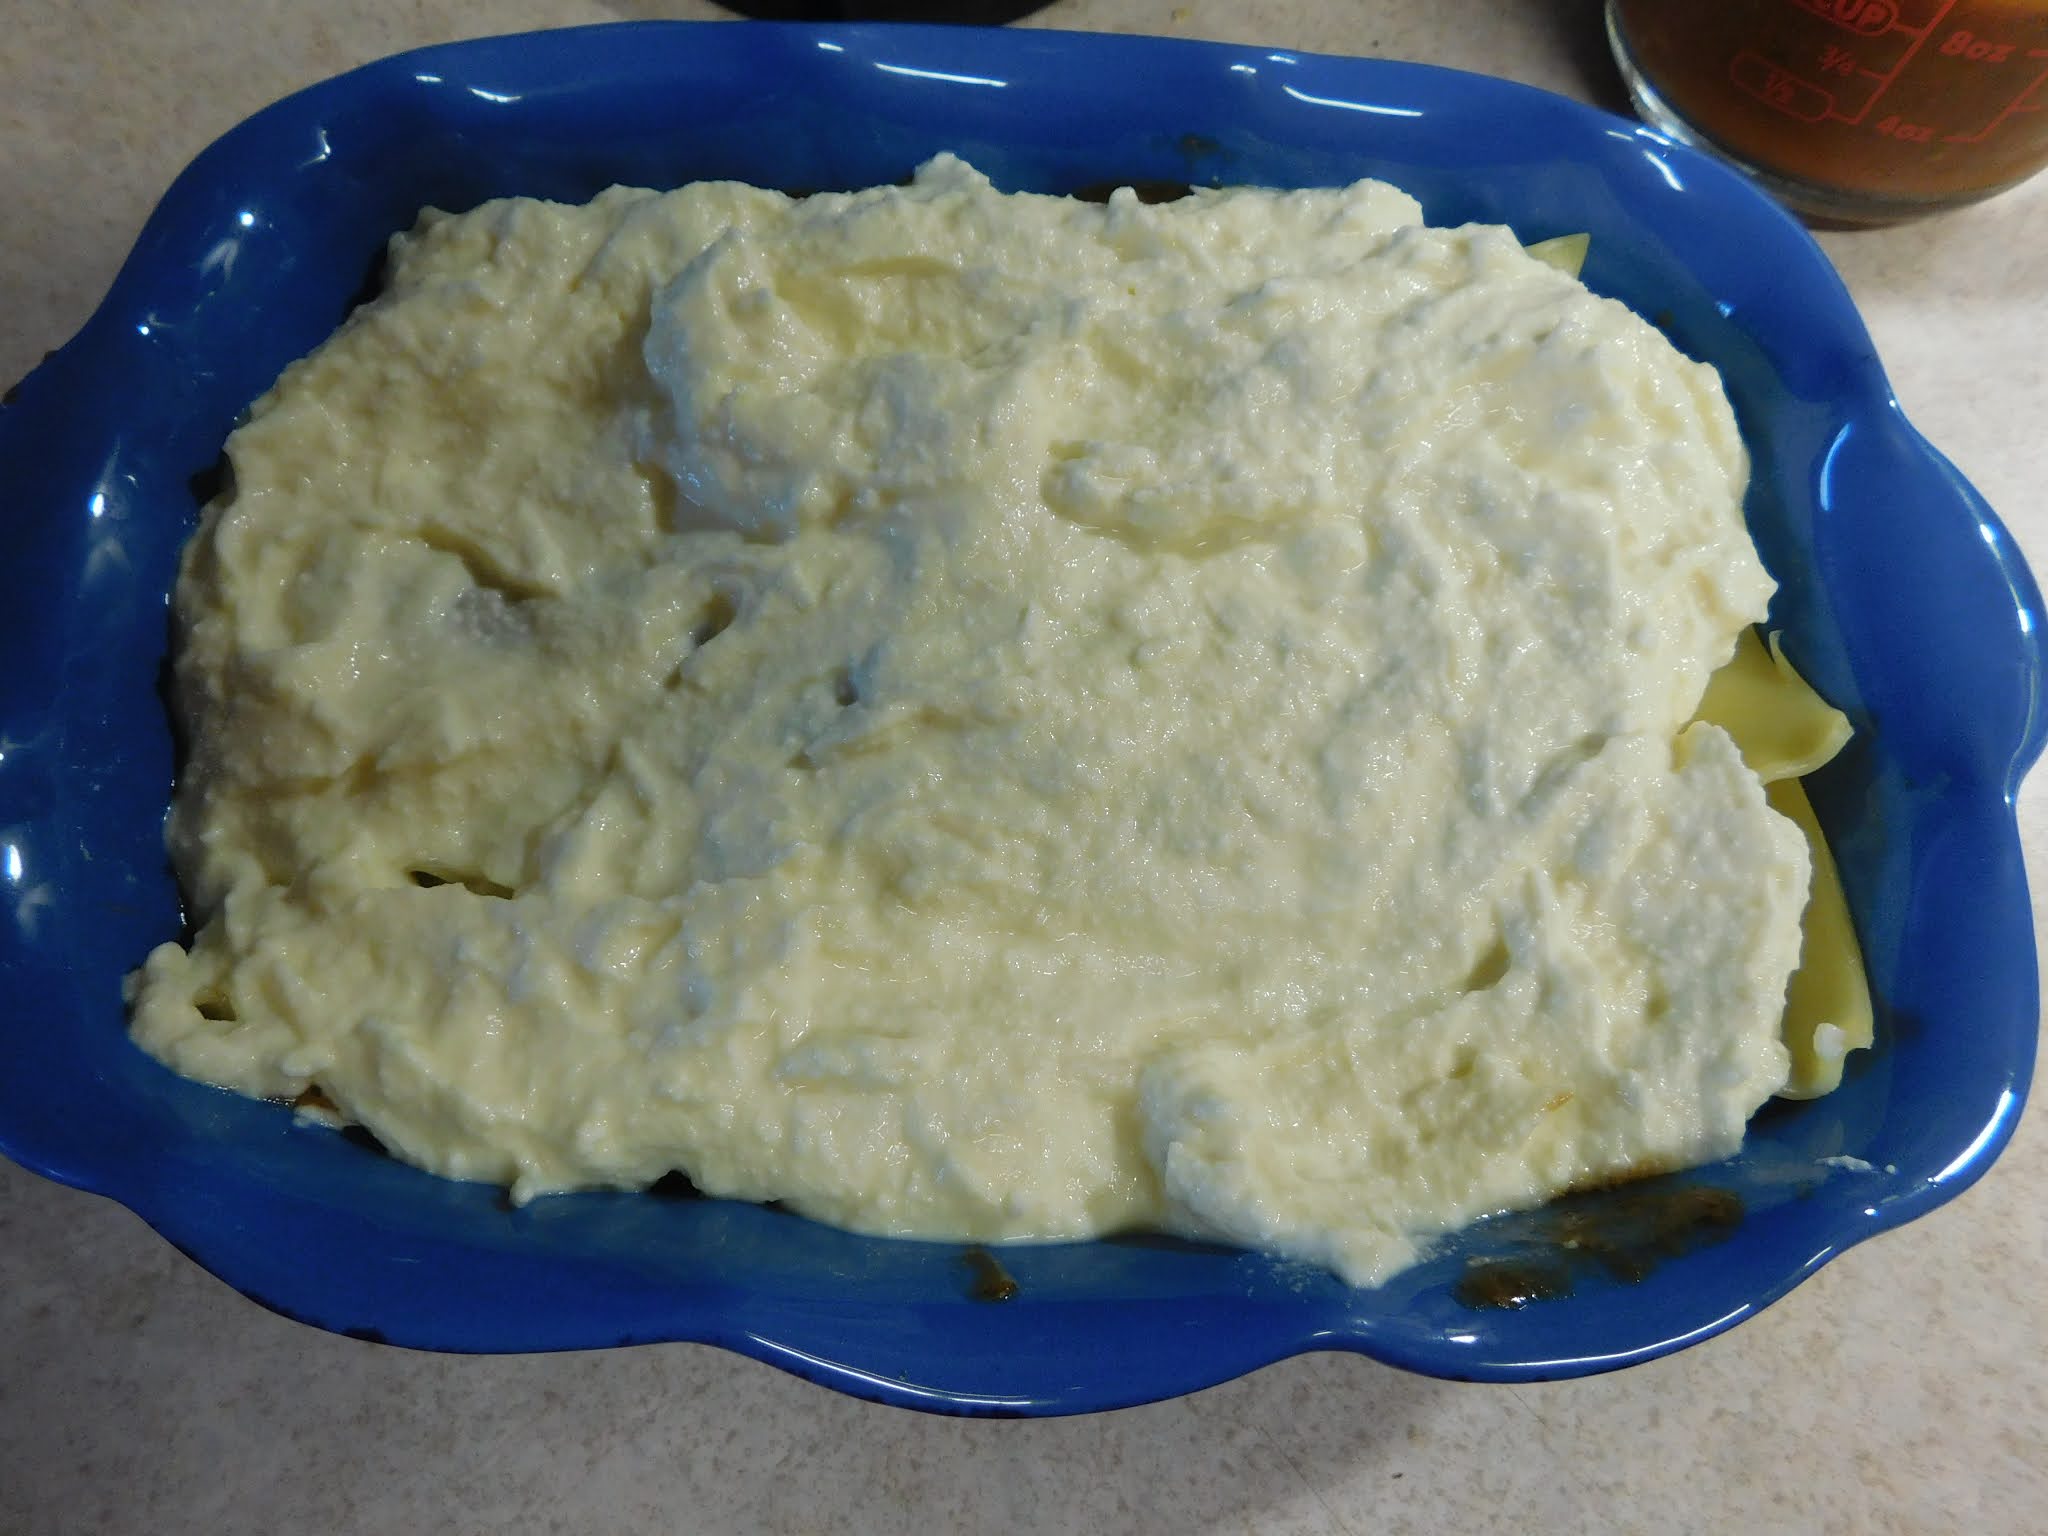


Add all of the ricotta mixture on top of the second layer of noodles.


Another layer of the noodles.


Top with the rest of the sauce mixture.


Add a layer of the sliced cheese.


Loosely cover with some aluminum foil, and bake for about 45 minutes. I do highly recommend putting the casserole dish on a baking sheet in case there are any drips.


At the end of the 45 minutes remove the foil and continue to bake for 10 to brown the cheese.


Allow lasagna to rest on the counter for 15 minutes before you cut into it.


This recipe gives 3 very nice sized servings.


Wednesday, October 14, 2020

Italian Chicken and Pasta


This week I have a main dish recipe for all of you. It is a simple chicken and pasta that makes a wonderful easy dinner. As a bonus it was made entirely from items that I almost always have on hand, so it is perfect those busy days when you need to come up with a dinner idea and just don't want to have to go to the store to pick up a bunch of stuff.


Use whatever is your favorite pasta sauce, I used some of my Marinara Sauce that I make up and freeze. If anyone is interested I will post that recipe next time I make it.


You need about 12 ounces of boneless skinless chicken breast for 2 servings. Normally I can find suitable sized in the grocery store. For some reason the last few times I have shopped for chicken breast they have all been huge. I ended up using a single breast and cutting it into 2 single portion sized pieces. Again this is something I try to always have in my freezer.


My casserole dish holds about 2 cups and is the perfect size for this dish. Use something of similar size.


We put a layer of the sauce in the bottom of the dish to begin. This has 2 functions, first it insulates the chicken so it cooks more evenly and secondly it flavors the chicken as the two cook together in the oven.


While the oven heats brown just the top side of the chicken breasts (be sure to season them with a bit of salt and pepper before you put them into the pan.


Once the oven is hot and the chicken has a nice brown color move the partly cooked chicken (browned side up) to the casserole dish and cover with the remaining sauce. Place in the oven and cook for 20 to 30 minutes (until the chicken is cooked through)


Meanwhile cook the pasta in boiling water as directed on the package.


When the chicken is cooked top with the chopped tomato and cheese and place under the broiler for about 5 minutes, just long enough to melt the cheese and heat the tomatoes. 


Serve the chicken and sauce over the cooked pasta, sprinkled with chopped fresh basil.


So very yummy and so easy too.


Italian Chicken and Pasta


1 cup Marinara Sauce

12 ounces boneless skinless chicken breast (either two small breast halves or cut a larger one in half)

1 Tablespoon olive oil

1 Roma tomato, diced

½ cup shredded Italian blend cheese (or shredded Mozzerela)

1 ½ cups dry Rotini pasta

fresh basil, chopped


Preheat oven to 350°.


Layer about ¾ cup of the sauce in the bottom a 2 cup casserole dish and set aside.


Heat small skillet over medium heat and add olive oil. Once oil is hot add chicken (pretty side down) and cook about 5 minutes (until well browned)


Place chicken in casserole dish on top of the sauce with the browned side up.


Pour on remaining sauce and place in oven,


Cook in oven 20 to 30 minutes, until cooked through. Remove casserole from oven.


Meanwhile cook pasta as directed on package, drain.


Preheat broiler on high.


Top chicken and sauce with the diced tomato and the cheese. Place under hot broiler and broil for about 5 minutes (just until the cheese meilts and tomato gets warmed)


Serve pasta topped with the chicken sauce mixture. Sprinkle with chopped fresh basil.

Wednesday, October 7, 2020

October Cupcakes


This month I decided to do a cupcake that can be used as part of a Halloween spread but would also be good any time. Remember this a small batch recipe that uses only ⅓ of a box of cake mix. If you haven't already divided you box of cake mix here is the link to blog post that details how to do this.


I did spend a bit more time thinking about this one than I probably should have but I am really excited about how they came out.


Since Halloween is so centered around candy and for me the best candy is a dark chocolate I wanted to start with that. However, I didn't start with a chocolate cake mix, I am using a yellow mix again this month. Hang on and you will see why. I got to thinking about what goes really well with chocolate and makes me think of fall. Oranges came to mind since my mom always sent a lot of oranges in my school lunches at the beginning of the school year.


Then my thought process went back in time to when I was school age and I remembered how excited I was when my mom would make a marble cake. That was it! Let's take the idea of the marble cake and pair with chocolate and orange and make some fun, festive cupcakes that will amaze your friends. Since I am totally in love with my new frosting recipe I am going to share a chocolate version with you this month as the perfect topper for these.


I was hoping to find something cute to decorate the tops of my cupcakes but sadly I totally forgot to pick up anything so sprinkles will have to do this time. I did pull out some Halloween themed cupcake liners that I had on hand at least.


Since we are going to need two flavors of batter we will need to divide our batter into 2 fairly even portions. Since I usually use a 4 cup glass measuring cup as my mixing bowl it was simple to check when I had about half poured out. 


To one half of the batter add the orange extract and some orange food coloring. It doesn't take much food color to get a good orange shade. 


Next mix ¼ cup of chocolate chips that you have melted to the other portion of the batter. 


Try to get both mixtures mixed well so there are no remaining streaks of color.


So let's talk about how to do the marble technique, for a cupcake it can be a bit tricky but the cookie scoop is the tool that makes this so much easier than it looks.


 I found that working on one cupcake at a time and scooping in the first batter then using your free hand to hold the liner at a slight angle and carefully placing the second scoop of batter in the opposite color it was pretty easy. When all the liners are filled use a toothpick to first make a swirl around the cupcake followed but several strokes back and forth to mix the batters ever so slightly. I did get 8 cupcakes this time but I only photographed on pan of 6 for most of the pictures here.


Bake and cool as normal.


Now on to the frosting. This month I am once again using my new favorite frosting but in a chocolate version. The biggest trick to this frosting is to be sure that the cream cheese is really smooth before you add the sugar and cocoa powder and that this mixture is really smooth before you add the cream. 


Then again make sure that the entire mixture is really smooth before you turn the mixer up to high. You really don't want to find lumps of cream cheese in the frosting on your beautiful cupcakes.


I used a Wilton 1A tip this time. Use whatever is your favorite. I then simply sprinkled on some fun holiday sprinkles and the cupcakes are ready for presentation.


Chocolate and Orange Marble Cupcakes


of a box of yellow cake mix

cup water

1 egg

3 ½ Tablespoons vegetable oil

¼ teaspoon vanilla extract

½ teaspoon orange extract

orange gel food coloring

¼ cup chocolate chips, melted


Start by preheating your oven to the temperature your box of cake mix calls for, mine was 350°F. Line your cupcake pan with paper liners or grease really well.


Combine the water, egg, oil and vanilla in a mixing bowl and combine well.


Add the cake mix and beat for up to 90 seconds.


Divide the batter into 2 equal portions. To one portion add the orange extract and food coloring. To the other add the melted chocolate chips.


Portion into cupcake pan adding a small scoop of each batter to each cupcake liner then swirl with a toothpick. Bake according to instructions on your cake mix. Mine was baked at 350°F for about 20 minutes.


Cool in pan for 10 minutes then move to a cooling rack and cool completely.


Chocolate Whipped Cream Frosting


3 oz cream cheese (the kind in the block not the tub) softened at room temperature

cup powdered sugar

2 Tablespoons unsweetened baking cocoa

¾ cup heavy whipping cream

¼ to ½ teaspoon vanilla extract


Begin by beating the cream cheese with a mixer on medium speed until smooth. Add the powdered sugar and cocoa powder and beat on medium again until smooth, scrapping the bowl and beaters often with a spatula.


Add the vanilla to the heavy cream. With the mixer on low very slowly add the cream/vanilla mixture until all is incorporated. Scrape the bowl and the beaters often during this process so it is all combined evenly.


Turn the mixer up to high and beat until stiff peaks form.


Be sure to store the frosting in the refrigerator.


Pipe of spread the frosting onto your cupcakes as desired.


Decorate however you want to fit the occasion you will be serving the cupcakes.


Wednesday, September 30, 2020

Apple Pie Cupcakes


Sorry for the lack of posts this month I have been busy and didn't get anything photographed to post. That part does take a bit of time which I just didn't have.


Also this recipe has been an interesting journey. I knew at the outset basically what I wanted to end result to be however, getting to the final recipe took more time than normal. Part of the problem was I was being very picky on this one. I had an idea and I really wanted to get exactly what I was picturing in my mind. So now I am on about the 8th or so batch of these cupcakes in the last month and I have tweaked the recipe a bit every time (even this time LOL)


So what did I want that took so long, Imagine if an apple pie and a cake got together this is the love child that result from that union. The cake portion has a filling that is very much like an apple pie filling, the frosting had to be reminiscent of whipped cream (but hold up) and I wanted a touch of caramel also.


In the process of my experiments I have found my all time favorite frosting recipe which I am using a variant of today.


Let's start by talking about the filling. I tried several different apples and found for my taste the Gala was the best. You will want a cooking apple that will soften nicely and be just sweet enough. Also thickening the filling with a mixture of lemon juice and cornstarch gives the filling the best texture.


Do make the filling early in the day because these turn out best when the filling is at chilled a bit. Get at least down to room temperature or colder before making the cupcakes.


I am using one of my cake mixes that I have divided if you haven't seen that blog post here is a link so you can divide the standard box of mix to make small batches of cupcakes.


I stumbled on using the apple juice in place of the water on one of my tests of the recipe. I hadn't even planned to do it that day it was a thought that I had just as I started to mix my batch up that day and I love the result.


You will notice that my batter (and in the end my cupcakes) are more yellow than normal. That is because I was very lucky and received the gift of some farm fresh eggs from a co-worker. I have been loving using them.


When you portion out your cake batter under fill the cups a little from normal you need the extra room in there for the “pie filling”


Divide the “pie filling” as evenly as possible between your cupcakes and continue like normal to bake and cool.


Once the cupcakes have cooled we get to make the frosting and decorate them. Now, I know frosting isn't good for me but I love this recipe so much I think I could eat with a spoon. There will be more than you need to top these cupcakes but the extra keeps for several days in the fridge and is wonderful sandwiched between a couple of graham crackers.


You will need to set your cream cheese out to warm to room temperature early in the day. I usually do that while I am prepping the filling. You will need the kind of cream cheese that comes in the block for this recipe and it will beat up smooth so much easier and faster if it is at room temperature. The caramel sauce in the frosting was something I saw in a cake recipe I saw in a magazine last night so I decided to try it and wow, am I glad I did. So yummy and it puts this just over the top.


Because of the dairy in the frosting these will have to be kept in the fridge. And as a side note because of the filling and the frosting I find them much easier to eat with a fork than picking them up and taking bites.


I used some more of caramel sauce as a drizzle over the top. This looks so pretty but I would suggest doing it just before serving. I only did all the cupcakes because I wanted to take the picture of all of them drizzled. 


Lastly I found some dried apple slices at the dollar store and they are really cute for presentation, again add them just as you are serving otherwise they will get soggy.


So I hope you enjoy this recipe as much as I do and as much as I enjoyed experimenting and getting it just the way I wanted it.


Apple Pie Cupcakes


for the filling:


1 Tablespoon butter

1 small Gala apple

1 Tablespoon packed brown sugar

¼ teaspoon Apple Pie Spice

pinch salt

1 Tablespoon lemon juice

2 teaspoons cornstarch


Peel and finely dice your apple.


Melt butter in a small saucepan and add the diced apple. Cook over medium high heat for 5 minutes (until the apple pieces soften) stir often.


Add the brown sugar, spice and salt and cook another 5 minutes stirring very often until tender. Turn heat to medium-low.


Combine the lemon juice with the cornstarch to create a slurry and add this mixture to the apple mixture and cook until the liquid bubbles and becomes thick.


Move to a container and place in the refrigerator until cooled.


Cupcakes:


of a box of yellow cake mix

cup apple juice

1 egg

3 ½ Tablespoons vegetable oil

Apple filling (above)


Start by preheating your oven to the temperature your box of cake mix calls for, mine was 350°F. Line your cupcake pan with paper liners or grease really well.


Combine the juice, egg, and oil in a mixing bowl and combine well.


Add the cake mix and beat for up to 90 seconds.


Portion into cupcake pan filling the cups a little less than you normally would. Divide the apple filling evenly between the cupcakes. 


Bake according to instructions on your cake mix. Mine was baked at 350°F for about 20 minutes.


Cool in pan for 10 minutes then move to a cooling rack and cool completely.


Frosting:


3 ounces cream cheese (softened)

¼ cup caramel sauce (plus more for drizzling later if desired)

cup powdered sugar

¾ cup heavy whipping cream

¼ teaspoon vanilla extract


Place the cream cheese and caramel sauce in a medium bowl and beat at medium speed until smooth and combined. Add about half the powdered sugar and beat until smooth again.


Turn the mixer down to low and add the whipping cream slowly to the bowl. You will need to stop several times to scrape the bowl so that the mixture combines evenly.


Once all the cream has been added turn the mixer to high and beat until peaks form. Slowly add the remaining powdered sugar and whip until stiff peaks form.


Carefully fold in the vanilla extract.

Move the frosting to a pastry bag fitted with a large tip         (I used a Wilton 1M)


Swirl the frosting onto the cupcakes as desired.


Drizzle with additional caramel sauce if desired.


A slice of dried apple can be added just before serving for a cute presentation.


Be sure to store both the cupcakes and any remaining frosting in the refrigerator.