Have you checked out all my blogs?


Dollhouse Minis: http://joannesminis.blogspot.com/


18” Dolls: http://joannes18dolls.blogspot.com/


General Crafts: http://joannes-place.blogspot.com/


Showing posts with label holiday. Show all posts

Wednesday, March 31, 2021

Carrot Cake Cupcakes


This week's recipe is actually the cupcake of the month for April which starts the day after this posts. I would normally have posted it next week but I wanted to have this one out in time for Easter and that is this coming Sunday. So the April cupcake is going to post the last day of March, hope everyone is okay with that.


I had been planning to do a carrot cake cupcake for April all along but I was kind of torn about just how I was going to do it. Since these cupcake recipes are based on my divided cake mix method I really wanted to use a cake mix. The problem being normally you would use a spice cake mix for carrot cake and I really don't like spice cake. So I had thought about trying work out the kinks on my small batch carrot cake recipe from scratch but it just isn't ready yet.


Then I had to stop at Walmart the other day to pick up some stuff that only they seem to have. As I was walking from one area of the store to another I walked past the display of spring/Easter themed baking supplies. I knew I wanted to grab some cute cupcake paper liners so I stopped to look. I found a really adorable set that has not only the liners but themed sprinkles and cute paper toppers.


One of the other things I noticed was a box of Carrot Cake mix. Hmmmmm, that might be the answer to my dilemma.


I took a quick look at the ingredient label and while not great and there doesn't appear to be any actual carrot in there it wasn't bad. I figured I could work with it and make some pretty good cupcakes with a few additions.


So when I got home I divided the box into 3 portions (if you haven't read my blog post on how to do this it is here)


The next step was to gather my additions to the mix. The first and easiest change was to use some apple juice in place of the water. That along with the vanilla that I almost always add to cake mix took this mix to the next level. After mixing the batter like normal I added in some fun additions- chopped nuts, golden raisins,and some grated carrot. These are the things I usually add to my regular carrot cake. With all these additions I did get 8 cupcakes this time instead of my normal 6.


I am very happy the result of these changes,


I then make my favorite cream cheese frosting for them. Now they aren't the same as my from scratch cake but they are wonderful.


Click here to find the printable PDF of the recipe.


Carrot Cake Cupcakes


of a box of carrot cake mix

cup apple juice

1 egg

3 ½ Tablespoons vegetable oil

¼ teaspoon vanilla extract

3 Tablespoons chopped nuts

3 Tablespoons golden raisins

3 Tablespoons shredded carrot


Start by preheating your oven to the temperature your box of cake mix calls for, mine was 350°F. Line your cupcake pan with paper liners or grease really well.


Combine the apple juice, egg, oil and vanilla in a mixing bowl and combine well.


Add the cake mix and beat for up to 90 seconds.


Gently stir in the nuts, golden raisins, and grated carrot.


Portion into cupcake pan and bake according to instructions on your cake mix. Mine was baked at 350°F for about 20 minutes.


Cool in pan for 10 minutes then move to a cooling rack and cool completely.


Small Batch Cream Cheese Frosting

¼ cup butter, softened

4 oz cream cheese, softened

1 teaspoon vanilla extract

2 cups powdered sugar


Beat the softened butter, cream cheese, and vanilla extract until combined and starting to get fluffy.
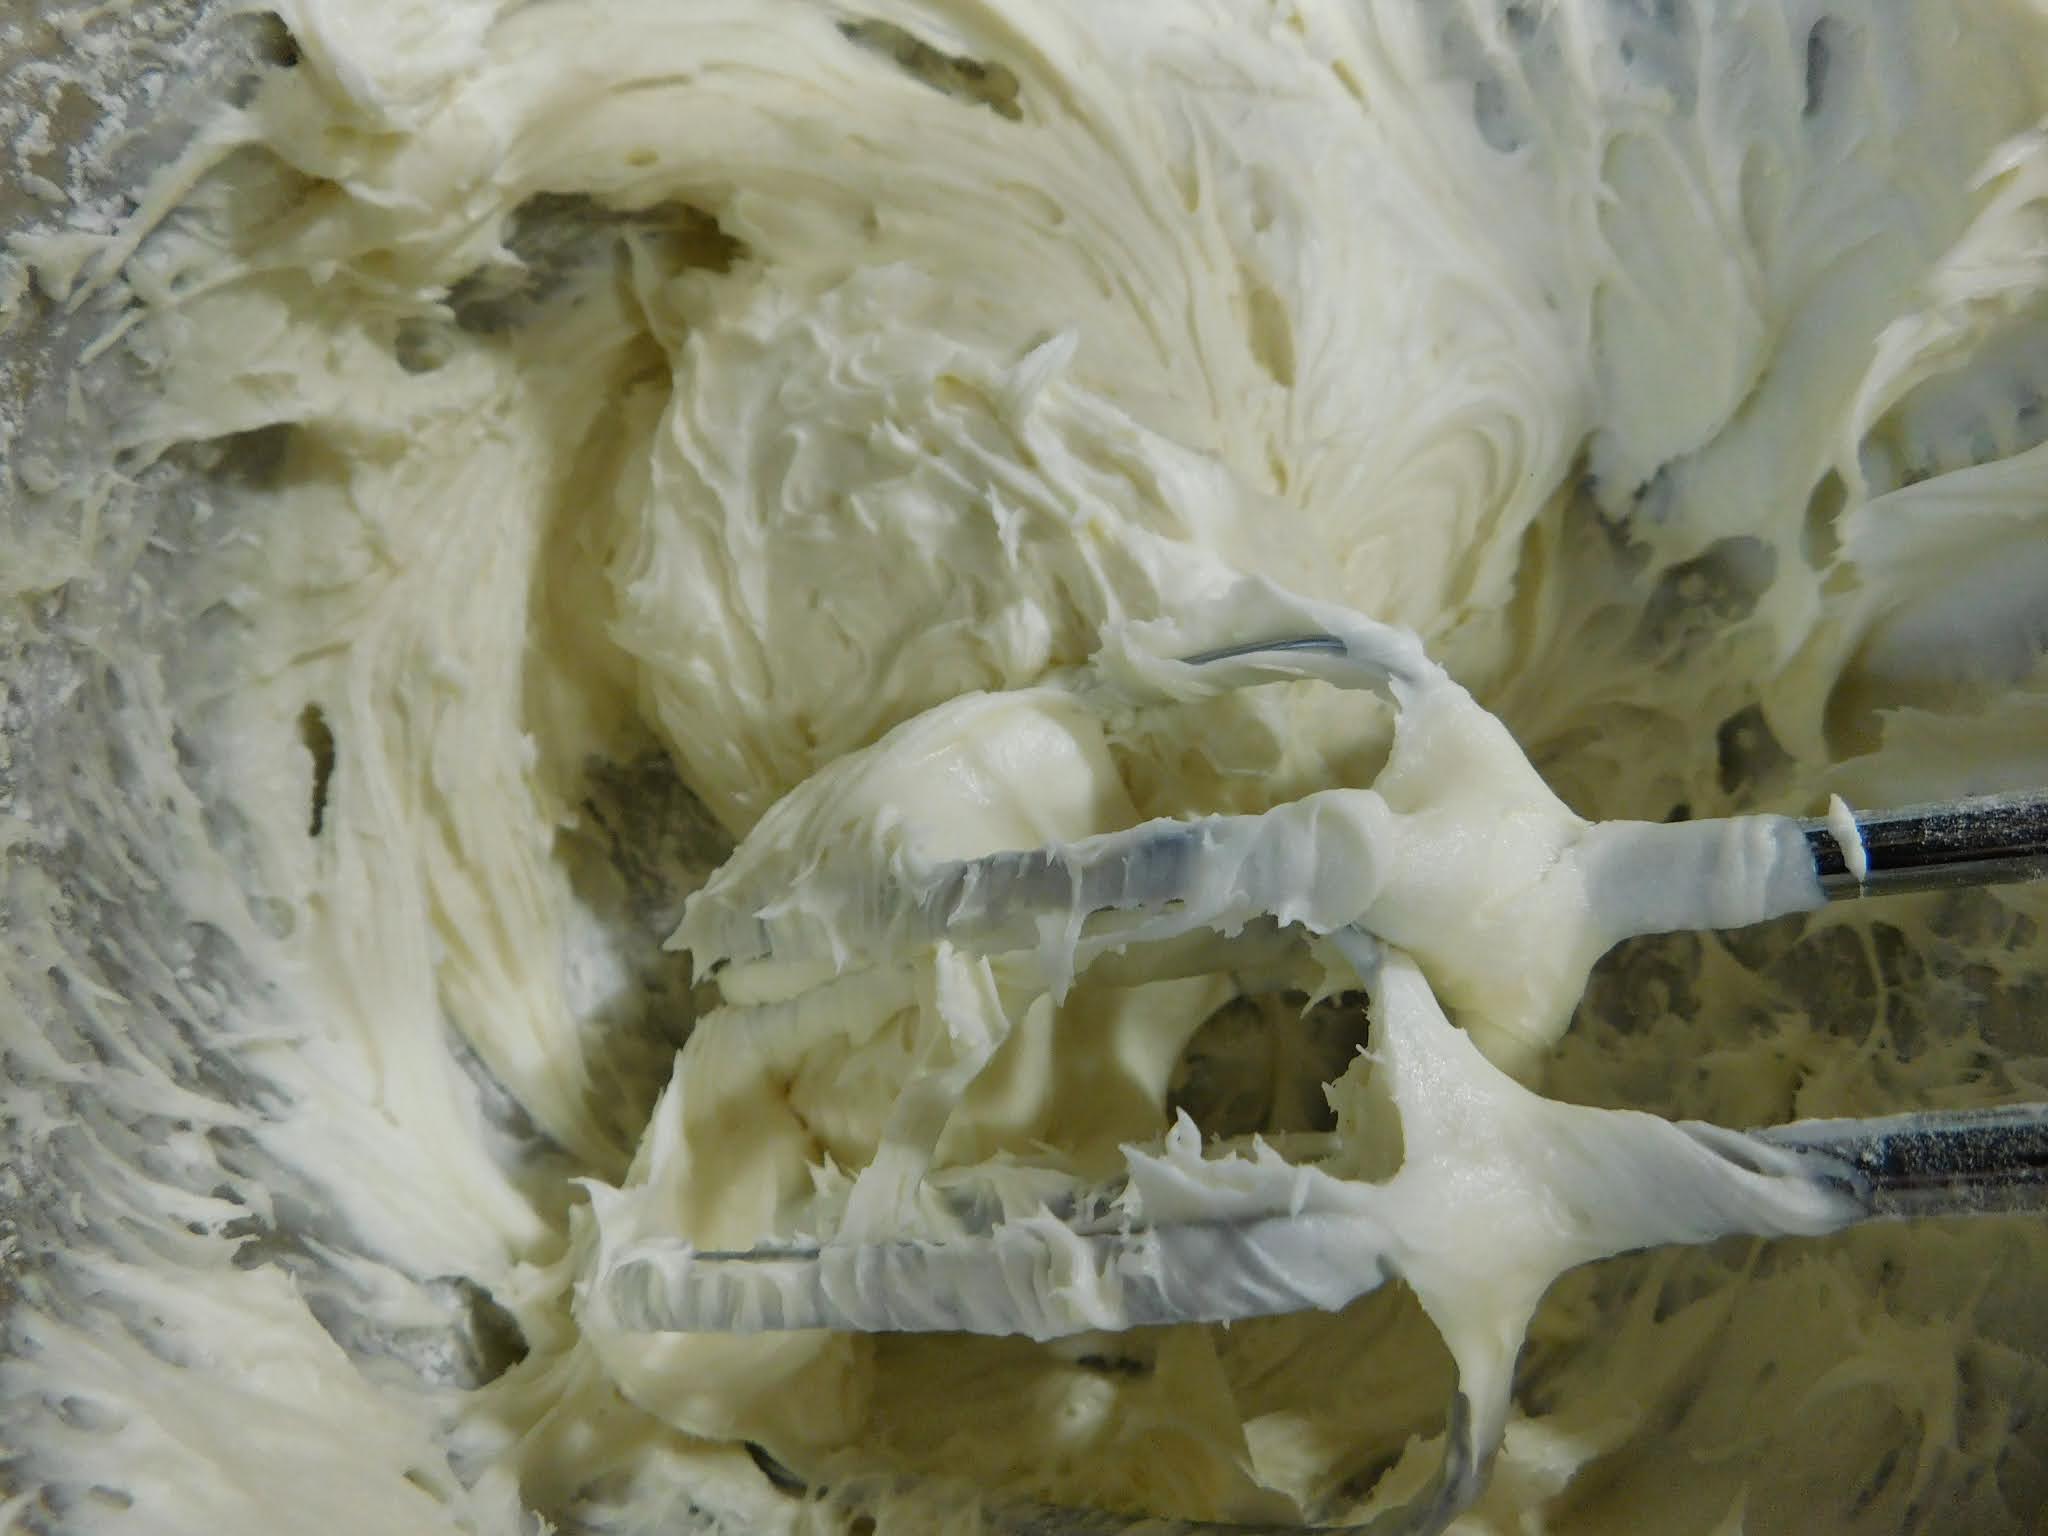


Slowly add the powdered sugar beating until well combined and creamy.


Move frosting to a decorating bag equipped with a large decorating tip. Decorate your cupcakes as desired.


Wednesday, October 7, 2020

October Cupcakes


This month I decided to do a cupcake that can be used as part of a Halloween spread but would also be good any time. Remember this a small batch recipe that uses only ⅓ of a box of cake mix. If you haven't already divided you box of cake mix here is the link to blog post that details how to do this.


I did spend a bit more time thinking about this one than I probably should have but I am really excited about how they came out.


Since Halloween is so centered around candy and for me the best candy is a dark chocolate I wanted to start with that. However, I didn't start with a chocolate cake mix, I am using a yellow mix again this month. Hang on and you will see why. I got to thinking about what goes really well with chocolate and makes me think of fall. Oranges came to mind since my mom always sent a lot of oranges in my school lunches at the beginning of the school year.


Then my thought process went back in time to when I was school age and I remembered how excited I was when my mom would make a marble cake. That was it! Let's take the idea of the marble cake and pair with chocolate and orange and make some fun, festive cupcakes that will amaze your friends. Since I am totally in love with my new frosting recipe I am going to share a chocolate version with you this month as the perfect topper for these.


I was hoping to find something cute to decorate the tops of my cupcakes but sadly I totally forgot to pick up anything so sprinkles will have to do this time. I did pull out some Halloween themed cupcake liners that I had on hand at least.


Since we are going to need two flavors of batter we will need to divide our batter into 2 fairly even portions. Since I usually use a 4 cup glass measuring cup as my mixing bowl it was simple to check when I had about half poured out. 


To one half of the batter add the orange extract and some orange food coloring. It doesn't take much food color to get a good orange shade. 


Next mix ¼ cup of chocolate chips that you have melted to the other portion of the batter. 


Try to get both mixtures mixed well so there are no remaining streaks of color.


So let's talk about how to do the marble technique, for a cupcake it can be a bit tricky but the cookie scoop is the tool that makes this so much easier than it looks.


 I found that working on one cupcake at a time and scooping in the first batter then using your free hand to hold the liner at a slight angle and carefully placing the second scoop of batter in the opposite color it was pretty easy. When all the liners are filled use a toothpick to first make a swirl around the cupcake followed but several strokes back and forth to mix the batters ever so slightly. I did get 8 cupcakes this time but I only photographed on pan of 6 for most of the pictures here.


Bake and cool as normal.


Now on to the frosting. This month I am once again using my new favorite frosting but in a chocolate version. The biggest trick to this frosting is to be sure that the cream cheese is really smooth before you add the sugar and cocoa powder and that this mixture is really smooth before you add the cream. 


Then again make sure that the entire mixture is really smooth before you turn the mixer up to high. You really don't want to find lumps of cream cheese in the frosting on your beautiful cupcakes.


I used a Wilton 1A tip this time. Use whatever is your favorite. I then simply sprinkled on some fun holiday sprinkles and the cupcakes are ready for presentation.


Chocolate and Orange Marble Cupcakes


of a box of yellow cake mix

cup water

1 egg

3 ½ Tablespoons vegetable oil

¼ teaspoon vanilla extract

½ teaspoon orange extract

orange gel food coloring

¼ cup chocolate chips, melted


Start by preheating your oven to the temperature your box of cake mix calls for, mine was 350°F. Line your cupcake pan with paper liners or grease really well.


Combine the water, egg, oil and vanilla in a mixing bowl and combine well.


Add the cake mix and beat for up to 90 seconds.


Divide the batter into 2 equal portions. To one portion add the orange extract and food coloring. To the other add the melted chocolate chips.


Portion into cupcake pan adding a small scoop of each batter to each cupcake liner then swirl with a toothpick. Bake according to instructions on your cake mix. Mine was baked at 350°F for about 20 minutes.


Cool in pan for 10 minutes then move to a cooling rack and cool completely.


Chocolate Whipped Cream Frosting


3 oz cream cheese (the kind in the block not the tub) softened at room temperature

cup powdered sugar

2 Tablespoons unsweetened baking cocoa

¾ cup heavy whipping cream

¼ to ½ teaspoon vanilla extract


Begin by beating the cream cheese with a mixer on medium speed until smooth. Add the powdered sugar and cocoa powder and beat on medium again until smooth, scrapping the bowl and beaters often with a spatula.


Add the vanilla to the heavy cream. With the mixer on low very slowly add the cream/vanilla mixture until all is incorporated. Scrape the bowl and the beaters often during this process so it is all combined evenly.


Turn the mixer up to high and beat until stiff peaks form.


Be sure to store the frosting in the refrigerator.


Pipe of spread the frosting onto your cupcakes as desired.


Decorate however you want to fit the occasion you will be serving the cupcakes.


Monday, February 11, 2019

Be My Valentine Cupcakes (small batch)

This is the first of what I hope will be a once a month series of cupcakes that are themed for each month. We will be using our divided cake mix portions from my last blog post. If you missed that post here is a link to it. Basically I show you how to divide a box of cake mix from the grocery store so you can make small batches of cupcakes.


This cupcake actually caused me to loose some sleep because I woke up at 1AM one morning with the idea starting to form in my brain. I couldn't go back to sleep until around 4 because I kept thinking of what I wanted to do with it. In those 3 hours although I missed out on sleep I came up with this cupcake recipe. I had to be at work that day at 9AM but as soon as I got home I started working on my test batch. They turned out just as I had imagined during those hours of not sleeping.

My inspiration for these is simply a box of Valentine's Day chocolates. I wanted to represent those wonderful chocolates in a cupcake form and make something special that you can make for someone special.

So for the base of the cupcake I wanted a really nice rich, dark chocolate cupcake. I used my Devil's Food cake mix and by using regular strength coffee in place of the water I knew that would deepen the chocolate flavor without adding much in the way of coffee flavor. I simply made a cup of coffee (use whatever plain coffee you have) and allowed it to cool to room temperature. The rest of the ingredients were done as normal for my cupcakes. I got 7 cupcakes this time which is pretty normal sometimes I do get 8 sometimes 6 it all depends on how much batter goes in each cup of the pan.

Bake as directed on the box (350° F for 20 minutes) be sure to test a couple of them to make sure they are all cooked.

Just before the cupcakes are done baking we are going to make up a small batch of Cherry Jello. I use the kind with real sugar so that is what the measurements I am giving will work with.

Now it was time to frost these beauties. I used my go chocolate frosting but replaced some of the liquid with more of that coffee. My standard cocoa powder is the Hershey Special Dark variety. If you love dark chocolate and can find this in your grocery store I definitely recommend picking it up. The result is a rich dark chocolate frosting that pipes beautifully and tastes divine. You will notice that I use vegetable shortening in my frosting instead of butter. That is because a nice fresh batch of shortening doesn't really add any flavor of its own while I find that although I love butter the flavor can be overpowering in frosting.

Here are the recipes I hope you like these cupcakes. I look forward to bringing you more special cupcakes in the months to come.

Be My Valentine Cupcakes

1 egg
1/3 cup coffee (room temperature)
3 ½ Tablespoons vegetable oil
¼ teaspoon vanilla extract
1/3 of a box of devil's food cake mix (15.25 oz size box)


Line the wells of a muffin/cupcake pan with paper liners. 

Heat oven to temperature required on your cake mix box directions.
Combine the liquid ingredients and beat well. Add the cake mix, stir and then beat with hand held mixer for 1 minute 15 seconds to 1 minute 30 seconds.


Divide batter between the prepared liners and bake as directed on the box. 


During the last few minutes of baking prepare the Jello.


Combine
1/3 boiling water
2 Tablespoons plus 2 teaspoons of the cherry jello powder

Stir to combine, if the jello doesn't dissolve I usually put mine in the microwave oven for about 30 seconds to dissolve it. Allow to cool for about 10 minutes then transfer to a squeeze bottle. (If you don't have a squeeze bottle you can use a spoon it is just a lot messier)


When cupcakes are cooked through use a bamboo skewer to poke holes in each one (I like 5) Then carefully pour the jello over all the cupcakes. Try to divide it evenly and allow it to soak into the cupcakes.


Cool on a rack for 10 minutes then move to the refrigerator to cool completely.


Chocolate Frosting

1 ½ cups powdered sugar
¼ cocoa powder
3 Tablespoons all vegetable shortening (Crisco)
2 Tablespoons room temperature coffee
1 Tablespoon half and half or milk (this amount is approximate you might need a bit more or a bit less to make the frosting the correct consistency)

Mix the powdered sugar and cocoa powder then add the shortening and using a hand held mixer combine well. Add the coffee and beat thoroughly. Continue beating and add the half and half (or milk) until the correct consistency is reached.


Put frosting into a piping bag fitted with a Wilton 4B pipingtip. Pipe the frosting in a simple swirl sprinkle with holiday sprinkles and enjoy.

Yield:7 to 8 cupcakes