Have you checked out all my blogs?


Dollhouse Minis: http://joannesminis.blogspot.com/


18” Dolls: http://joannes18dolls.blogspot.com/


General Crafts: http://joannes-place.blogspot.com/


Showing posts with label cookies. Show all posts

Monday, January 15, 2024

Small Batch Lemon Bars


I love lemon bars and since I had some lemons on hand the other day I decided to bake some and share the recipe here in case any of you are in the mood for a bit of sunshine in your life right about now.


We need to start with the crust layer of the bars and it is super simple. Just a mixture of butter, sugar, and flour that is mixed together and partially baked.


While the crust is in the oven we can make the filling. Again it is really simple sugar, flour, eggs, lemon juice, and a pinch of salt.


This is poured on the crust and all is baked together.


I have sized this recipe to fit a 9” by 5” glass loaf pan so it is perfect for the small household. I do feel it is absolutely necessary to line the loaf pan with some parchment paper to make it easier to get the bars out of the pan. They are very delicate and can be difficult without the parchment to use to lift them out. I also want to say you are going to want to use a glass pan for this not metal. The amount of lemon juice in this recipe can cause damage to some metal pans and also the metal pans can cause an “off” taste to occur in the filling.


When the bars first come out of the oven they is going to look very white and not very attractive. Once it cools a good dusting of powdered sugar will hide all of that.


Allow the baked mixture to cool on a wire rack in the pan until it is cooled to room temperature.


Once it has cooled you can lift it using the ends of the parchment paper. Then use a long knife (or a pizza cutter) to cut off the browned edges. These are known as the cook’s snack. Then cut the bars, I usually cut this size pan into 8 small squares because of how rich they are. If you want them slightly larger go with 6 bars.


Sprinkle with a good dusting of powdered sugar and enjoy a bit of sunshine no matter what the weather is doing outside.


Store the bars in the refrigerator.


You can find a downloadable/printable version of this recipe here.


Small Batch Lemon Bars


Crust:

2/3 cup flour

1/3 cup butter, softened

2 Tablespoons + 1 teaspoon sugar


Filling:

½ cup sugar

1 Tablespoon + 1 teaspoon flour

pinch of salt

1 whole egg

1 egg yolk

3 to 4 Tablespoons freshly squeezed lemon juice


To serve:

Powdered sugar


Preheat oven to 350ºF


Line 9” by 5” glass loaf pan with parchment paper (to form a sling)


In a medium bowl combine the crust ingredients.


Press the crust into bottom of the lined loaf pan.


Bake at 350ºF for 15 to 20 minutes until firm and golden.


Meanwhile prepare the filling.


In a clean bowl whisk the sugar, flour, and pinch of salt together.


Whisk in the eggs until combined.


 Whisk in the lemon juice.


Carefully pour the liquid mixture over the partially baked crust. Return to the 350ºF oven and bake for 20 minutes.


Cool in pan on a wire rack until cooled to room temperature.


Carefully lift from pan using the parchment paper.


Cut off the crispy edges. Then cut into bars. Since these are fairly rich I usually cut mine in 8 squares, but if you want bigger pieces cut it into 6 pieces.


Dust with powdered sugar.


Store any leftover bars in the refrigerator.

Monday, December 4, 2023

Chocolate Chocolate Chip Cookies

Chocolate Chocolate Chip Cookies


I used to make a very similar cookie when my kids were growing up and I have bee trying to replicate them in a small batch recipe off and on for a couple of years. For whatever reason I had a lot of trouble getting this one to scale down to a dozen or less cookies and keep the both the texture and the taste I was after. I have finally arrived at what I believe is the closest to those I used to make (about 5 dozen per batch back then) in a small batch.


Because I use a dark cocoa my cookies are a very dark chocolate. You can use whatever cocoa you wish keeping in mind that the richness of the cookie will be determined by the cocoa. I typically use Hershey’s Special Dark Cocoa because I love a dark slightly bitter chocolate. If you do also and haven’t tried this variety of cocoa I do recommend you give it a try. I can find it in almost every grocery store I have looked. One big advantage (besides the taste) is that it is usually the same price as the regular Hershey’s Cocoa but with so much more flavor.


Like a lot of cookie recipes we start by creaming the butter and sugar together. Make sure your butter is at room temperature before you start this process. In this recipe I am using equal amounts of white granulated sugar and dark brown sugar. This gives a chewy rich cookie with a with a slightly crisp exterior. You could use a light brown sugar but the baked cookie will not be as rich or as chewy as intended.


Once you have a well creamed mixture add the vanilla, salt and egg yolk. I typically use Kosher salt because I like the tiny slightly salty bits in the baked cookie. If you use a fine salt be very careful of adding too much. Beat the mixture to combine everything very well.


Now in a separate bowl whisk together the flour, baking soda and cocoa powder until well combined. When making larger batches of cookies this was step I often skipped but for the small batches like this one it is really important to have the dry ingredients combined before you add them to the butter mixture. If you skip this you run risk of over beating the cookie mixture, resulting in a tough cookie.


Gently combine the dry ingredients with the butter mixture just until well mixed.


Now gently stir in the chocolate chips and the chopped nuts. Again being careful to not over mix.


Once everything is combined move the dough the refrigerator for at least 30 minutes. This is a must for this recipe otherwise the cookies will spread way too much.


Once well chilled use a cookie scoop to form equal size balls of the cookie dough. Roll them into balls, flatten slightly and bake at 350° F for about 9 minutes. Watch these carefully and pull them out when the outer edge of the cookies begins to set. They should be slightly puffed but not set in the middle.


Allow the cookies to remain on the baking sheet for 10 minutes before moving them to a wire cooling rack.


You should get around 1 dozen cookies.


You can find a downloadable/printable version of this recipe here.


Chocolate Chocolate Chip Cookies


¼ cup butter, room temperature

¼ cup granulated sugar

¼ cup dark brown sugar

½ teaspoon vanilla

¼ teaspoon Kosher salt

1 egg yolk

¼ teaspoon baking soda

½ cup all purpose flour

2 Tablespoons unsweetened cocoa powder

½ cup chocolate chips

¼ cup chopped nuts


In a medium mixing bowl beat the butter and sugars together until well combined and fluffy. Add the vanilla, salt and egg yolk and mix to combine well.


In a separate small bowl combine the baking soda, flour, and cocoa powder until well mixed.


Add the flour mixture to the butter mixture and mix just until well combined.


Gently stir in the chocolate chips and chopped nuts.


Chi ill the dough for 30 minutes.


Preheat oven to 350°F


Once the dough is chilled use a cookie scoop to scoop out the dough then using your hands roll each portion into a ball.


Place on an un-greased cookie sheet and bake at 350°F for 8 to 10 minutes. Mine usually take right about 9 minutes. Watch them carefully, because of the chocolate dough it is really easy to burn these. You want to remove when they are just starting to set around the edges.


Cool on pan for 10 minutes.


Move to a cooling rack to completely cool.


Yield 10-12 cookies.


Wednesday, August 4, 2021

Sugar Cookies


This week have a recipe for a really small batch of sugar cookies. Over the last couple of weeks while I have been testing the recipe and doing a few tweaks to it I have very consistently gotten 7 cookies out of just about every batch. That is a a fairly perfect number of cookies for just one or two people to eat over a few days.


I love how quick and easy they are to make and they contain just simple ingredients. They are very similar to a recipe I used to make a lot when my kids were growing up.


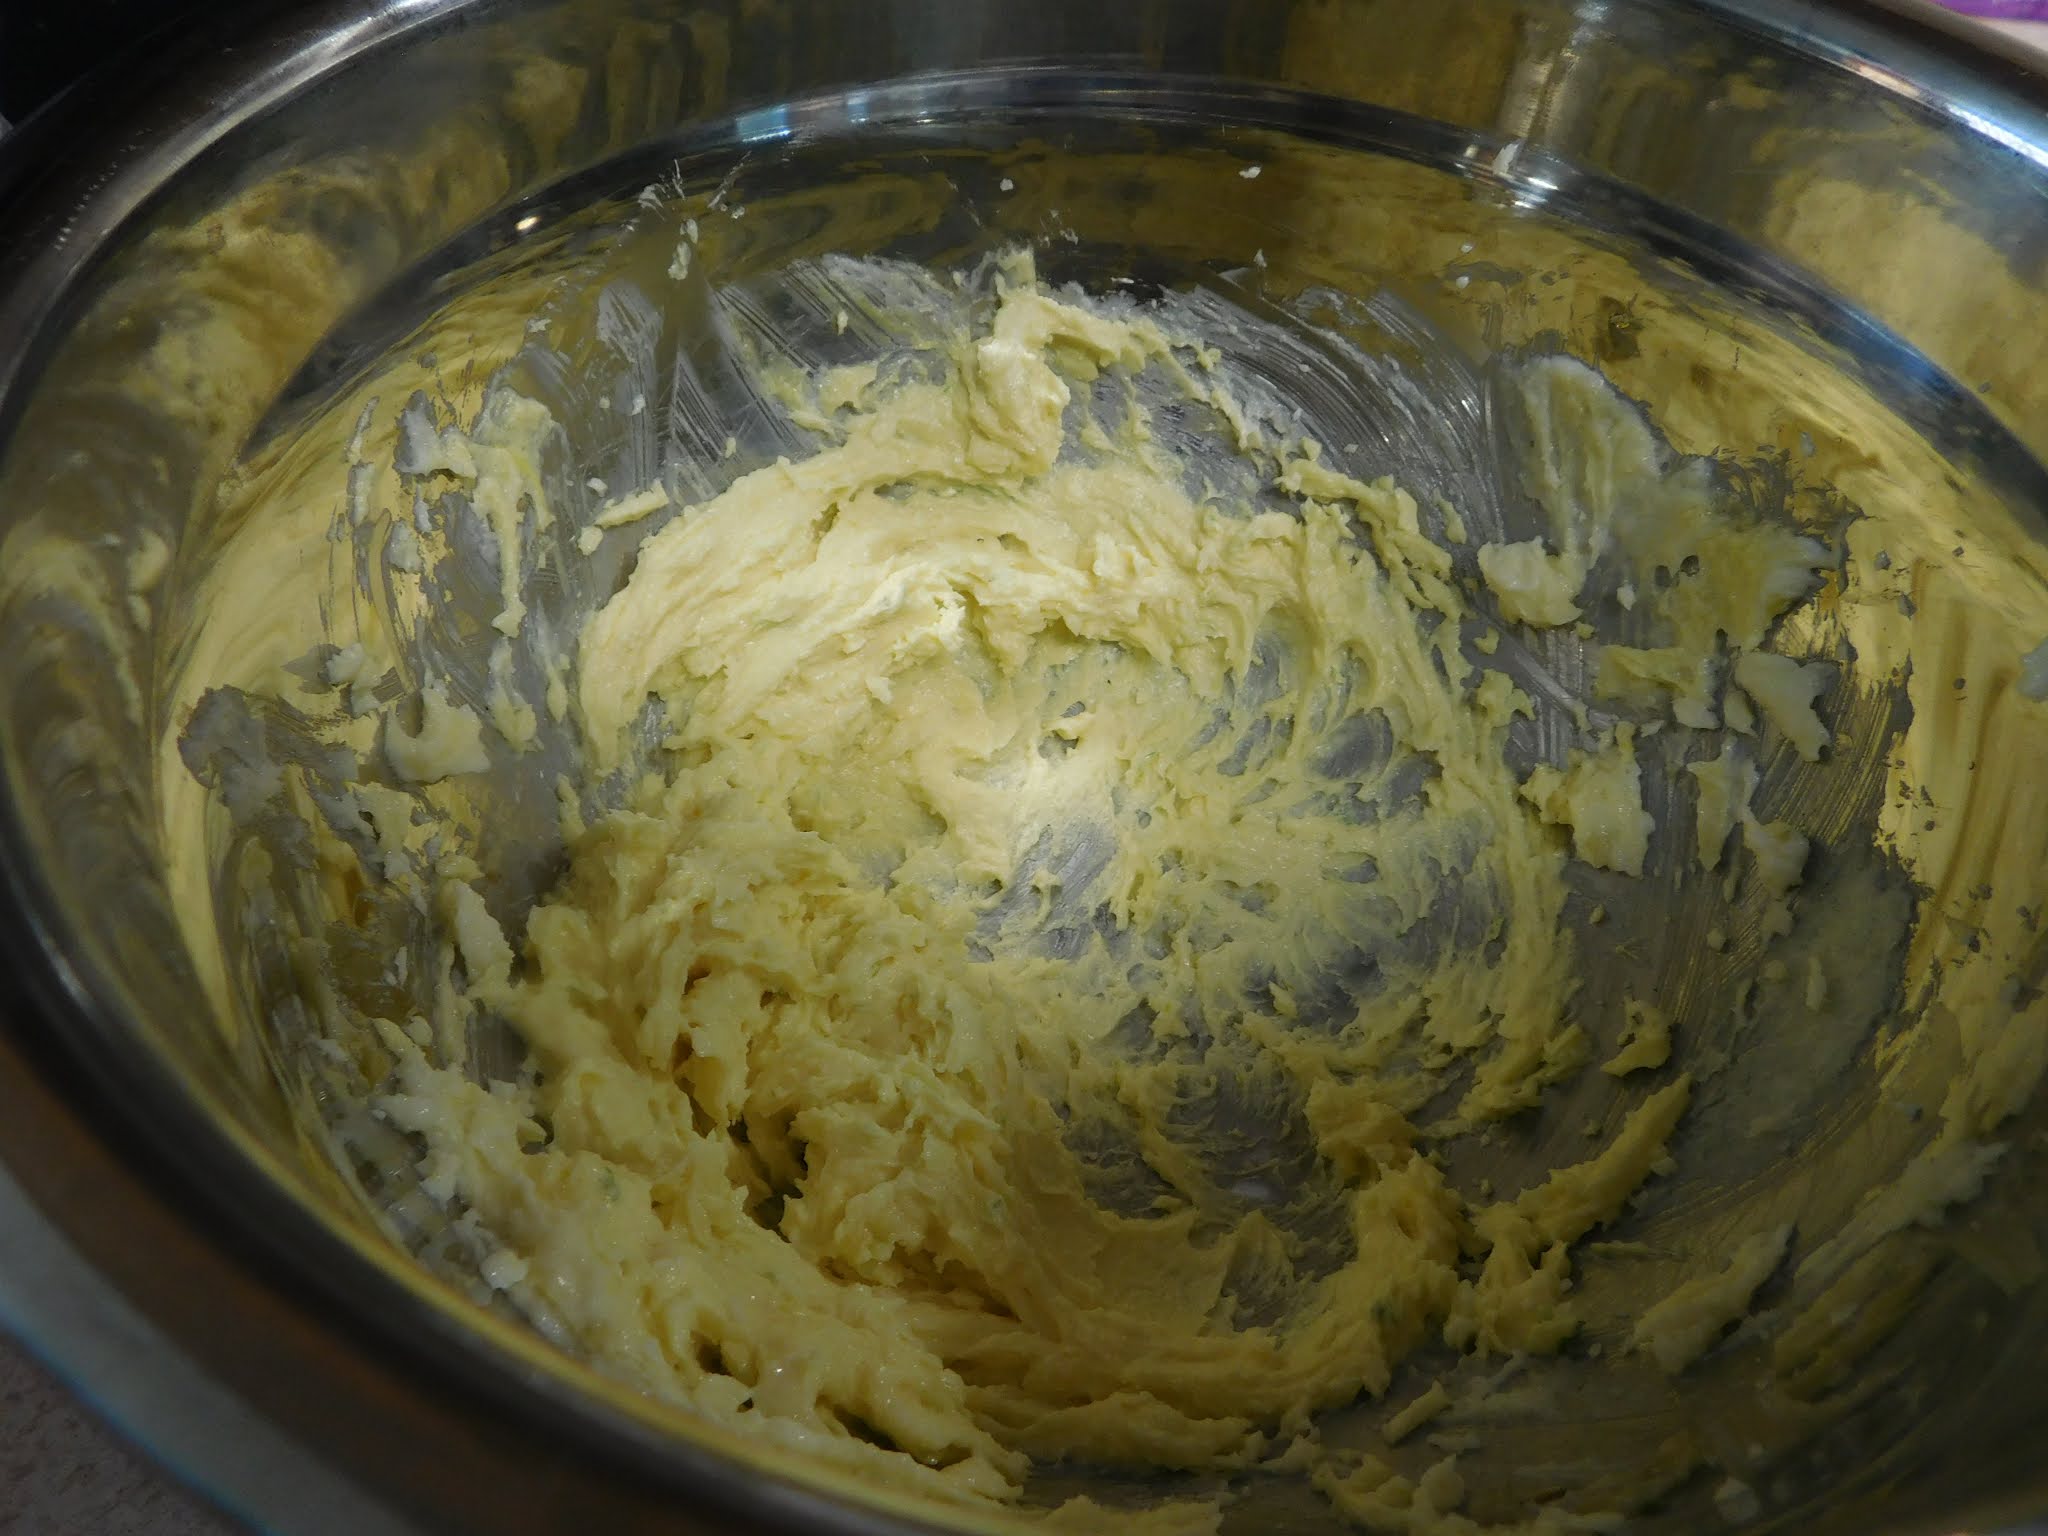
When you look over the ingredients you might notice that there is neither baking powder or baking soda in this recipe. That is not an error this recipe relies on the whipped butter, sugar and egg mixture to give it lift. For that reason you do really need to beat it with a mixer (a hand mixer works just fine) for the length of time in the recipe. You need to get a lot of air into that mixture before you mix in the flour.


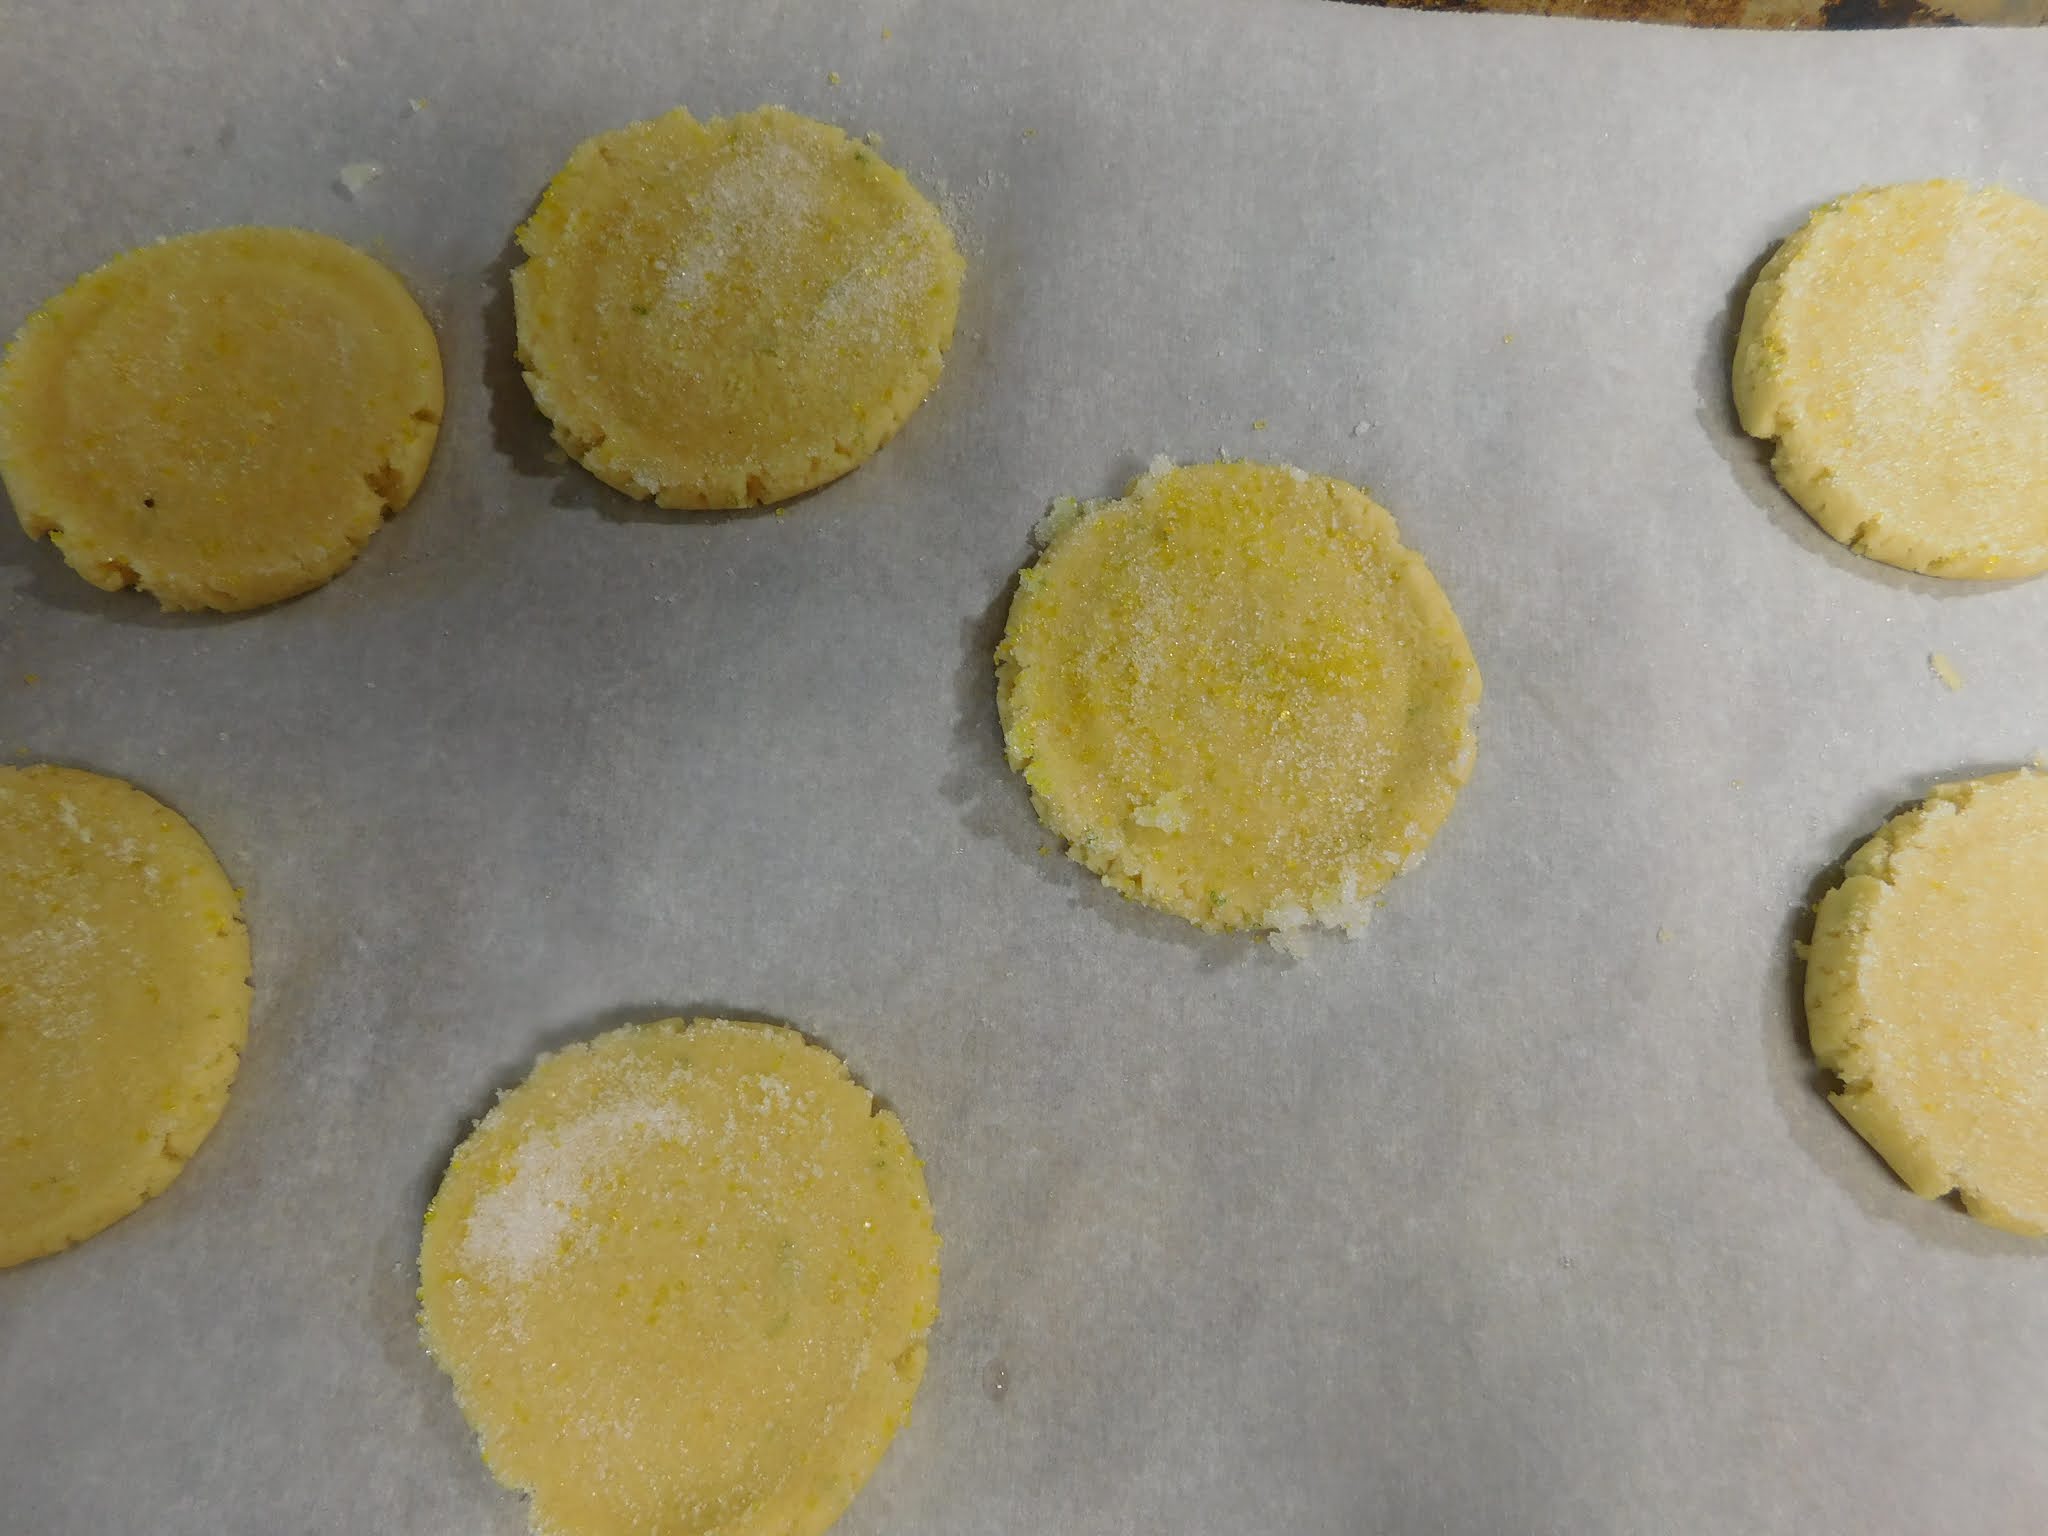
I do like to use my cookie scoop for most cookies and this is not an exception, I portion the dough out with the scoop first. The after all the dough is in balls I wet the palms of my hands with some water and roll them into nice round balls. By having your hands wet the dough won't stick to your skin. Once the balls are rolled lay them out on a parchment paper lined cookie sheet and use a flat bottomed glass dipped in sugar to flatten each ball into a cookie shape. I do find it is very helpful to wet the bottom of the glass with water before the first cookie then dip it into the sugar. That way you have the sugar on the bottom to both prevent the cookie from sticking to the glass and to add some sparkle to the top of the cookies. Aftr you flatten the first cookie just dip the glass back into the sugar before going on the next cookie. Repeat this for all the cookies being sure to dip in the sugar between each cookie. I like to add a sprinkle of colored decorators sugar to my plain sugar for this, totally optional but it just makes the cookies sparkle a bit more.


I do use some citrus zest in these cookies, I have used lemon, lime and orange and all are just wonderful. I used lime this time because that is what I had. You can skip it if you need to but you will be missing the freshness the zest adds. If you do leave out the zest double the amount of vanilla you use to make up for it.


You can find a downloadable/printable copy of the recipe here,

Sugar Cookies


¼ cup butter, room temperature

3 Tablespoons sugar (plus more to use in shaping the cookies)

1 large egg yolk

½ teaspoon citrus zest

¼ teaspoon vanilla

½ cup flour


Preheat oven to 350°F

Line a cookie sheet with parchment paper.


Put an additional 1 Tablespoon of sugar into a small dish to use in shaping the cookies. (add some colored decorators sugar if you like)


In a medium bowl beat the butter and 3 Tablespoons sugar until creamy, about 1-2 minutes.


Add the egg yolk, zest, and vanilla and beat at medium speed for 2 minutes.


Carefully mix in the flour. At first the dough is going to look very dry and like it is not going to work. Just keep beating it and it will come together into a nice dough.


Using a cookie scoop portion dough out on lined cookie sheet.


With damp hands roll each cookie into a ball.


Using a flat bottom glass (mine was about 2 ½” in diameter) barely wet the bottom of the glass and dip into the small dish of sugar then use the glass to flatten each cookie, being sure to dip in the sugar between each cookie.


 You are aiming for about 1/4” in thickness.


Bake in preheated oven for 8 to 10 minutes or until just starting to get golden brown around the edges.


Cool on pan for 5 minutes then move to cooling rack to continue cooling.


Makes around 7 cookies.

Wednesday, June 23, 2021

Peanut Butter Chocolate Chip Cookies


I maintain you are never too old for cookies and this recipe is one I make a lot. I love the combo of peanut butter and chocolate and these are the perfect example of that combination.


I also love that this recipe makes between 8 and 10 cookies which means I can eat them before they get stale and if I do binge on them it still isn't too bad.


You will need to flatten the cookies out like show in the pictures, I just use the bottom of a drinking glass that I dip into sugar between cookies. That brings us to the only down side of this recipe that I can really find- if you forget to do this step the cookies will stay in ball shapes and not spread at all. This is not a horrid thing it just means they take a bit longer to cook to get the centers done, making it easy to overcook the outside of them.


You will want both the butter and peanut butter at room temperature before you start beating them with the hand mixer. As a note I do use salted real butter in this recipe as well as in most of my recipes.


I do recommend using a cookie scoop like this one whenever you are making drop cookies. It makes it so much easier to get all the cookies the same size. This is important to getting them all baked the same amount. 


You can find a downloadable/printable version of this recipe here.


Peanut Butter Chocolate Chip Cookies


3 Tablespoons creamy peanut butter, room temperature

2 Tablespoons butter, softened (at room temperature)

3 Tablespoons dark brown sugar

1 Tablespoon granulated sugar

1 egg yolk

¼ teaspoon vanilla extract

6 Tablespoons all-purpose flour

¼ teaspoon baking soda

a pinch of salt (I use Kosher salt)

½ cup chocolate chips


additional sugar for flattening


Preheat the oven to 350° F.

Line a large cookie sheet with parchment paper and set aside.


In a medium size bowl beat together the peanut butter and the butter until smooth and combined.


Add both the sugars to the butter mixture and cream together until smooth. 


Add the egg yolk and vanilla extract and beat again until well combined


In a small bowl mix together the flour, baking soda, and salt. Add the flour mixture to the butter mixer and carefully mix until well combined.


Carefully mix in the chocolate chips being careful not to break them too much.


Using a cookie scoop portion the dough into balls and place them on your prepared cookie sheet.


Dip a drinking glass into the additional sugar and use to flatten the cookies. Be sure to dip it back into the sugar between each cookie. This will not only ensure that the cookie doesn't stick to the bottom of the glass but it will give your cookies a light dusting of sugar that is very pretty and will add a tiny bit of crunch when you bite into them.


Bake at 350° F for 9 to 10 minutes.


Remove from the oven but leave the cookies on the pan for another 10 minutes to set up a bit. At the end of this time transfer them to a wire rack to cool completely before placing in an airtight container to store. (or just eat them before anyone else sees that you made cookies LOL)


Friday, October 6, 2017

Molasses Crinkle Cookies


I freely admit I am a chocolate addict. I love chocolate but one of the interesting facts about me is that my very favorite cookies don't have a bit of chocolate in them. My very favorite cookies are in fact Molasses Crinkles. I love them, probably even more so since I am slightly allergic to cinnamon so I can only eat a few and then can't touch them again for a while.

So what exactly are these Molasses Crinkle Cookies you might be wondering?? They are a super rich, spicy cookie. They are filled with lots of warm spices- cinnamon, cloves, ginger along with some dark brown sugar and some dark molasses. The combination of these ingredients makes for the perfect treat on a cold fall/winter day.

These particular cookies have a crunchy outer shell and a soft rich interior. Along with a glass of milk or a cup of coffee they are the perfect afternoon break on a cold, rainy day.

This recipe makes between 10 and 13 cookies, depending on exactly how big I make them. The little added step of moistening the tops of the cookies and letting them sit for a minute or so I am pretty sure is the reason they have the wonderful crunch to them.


Molasses Crinkle Cookies

1 cup all purpose flour
1 teaspoon baking soda
1 teaspoon cinnamon
½ teaspoon ground ginger
¼ teaspoon ground cloves
¼ teaspoon salt

¼ butter, melted
¼ cup dark brown sugar
1 egg yolk
3 Tablespoons molasses

white sugar for dredging the cookies in (about 3 Tablespoons or so)


Combine the dry ingredients (flour, baking soda, spices & salt) in a small bowl (mix well) and set aside.

With a mixer beat the melted butter and brown sugar until well combined. Add the egg yolk and molasses and combine well.

Add the reserved dry ingredients and stir until well combined. Don't over-beat but do combine thoroughly.

Wrap the dough and chill for about 15 minutes,

Meanwhile preheat oven to 375° F. and place the white sugar into a small bowl.

When dough is chilled form it into balls about 1” in diameter. I use my normal cookie scoop to divide the dough and form it into balls by hand. Drop the dough balls into the bowl of sugar a few at a time.

Thoroughly coat the balls with the sugar and move to a cookie sheet.

Get a small container with some water and with clean, wet fingers gently pat the tops of the dough balls. You don't want to flatten them at all you just want to get the tops wet, a drop or two of water on each.

Allow to sit at room temperature for about 1 to 2 minutes (this allows the sugar and water to start to form the crust)

Bake at 375° for 8 to 9 minutes

Allow to cool on the baking sheet for about 5 minutes then move to a wire rack to complete cooling.