Have you checked out all my blogs?


Dollhouse Minis: http://joannesminis.blogspot.com/


18” Dolls: http://joannes18dolls.blogspot.com/


General Crafts: http://joannes-place.blogspot.com/


Showing posts with label cooking for 2. Show all posts

Monday, March 11, 2024

Rich and Creamy Potato Soup


I do love a good bowl of soup on a chilly day and potato soup holds a special place in my heart because my mom made it a lot when I was growing up. While this version is very different from the one she used to make it is a wonderful hug in a bowl. This recipe is designed to go in small (1 ½ quart) slow cooker. If you don’t have one of these small slow cookers I highly recommend grabbing one at your first opportunity. They are so handy especially when cooking just one or two people. That being said I had one when I still had 4 kids at home and I used it often then too. Now I use it exclusively back then I used it for side dishes and desserts.


This soup comes out very rich and very creamy with not too many ingredients and not a lot of prep before the slow cooker takes over. Then about 6 hours in the slow cooker and a few minutes to do the final details and dinner is ready.


To begin we need to cook part of the potatoes, the recipe calls for 2 ¾ cups of cubed potatoes. The first step is to cook 2 cups of them in water until tender then to mash them along with their cooking liquid before adding them (water and all) into the slow cooker. This gives us the both the broth and the thickening for our soup.


While the potatoes are cooking add the rest of the potatoes,  the ham, veggies, and the seasonings to the slow cooker.


Once the potatoes are cooked and mashed and the butter melted in their liquid they are stirred in.


Finally add the cubed cheese to the top, put the lid on and set the slow cooker to low and let it do all the work for about 6 hours.


Once the 6 hours is up put the sour cream into a small bowl add a ladle of the hot soup broth and whisk these together. Then stir this mixture into the slow cooker and allow it to heat back up.


That is really all there is to this one. So easy but so yummy and so comforting.


You can find a downloadable/printable version of this recipe here.


Rich and Creamy Potato Soup


2 ¾ cups peeled, cubed potatoes (divided)

1 1/3 cups water

2 Tablespoons butter, cubed

2/3 cup cubed fully cooked ham

1/3 cup chopped carrot

1/3 cup chopped celery

1/3 cup chopped onion

1 clove garlic minced

¼ teaspoon paprika

dash of pepper

¼ pound Velveeta, cubed

1/3 cup sour cream


In a medium saucepan cook 2 cups of the diced potatoes in the water until tender, about 10-15 minutes. DO NOT DRAIN!!! Mash the potatoes and their cooking liquid together.


Add the butter and stir to melt the butter.


Meanwhile place the remaining diced potatoes, diced ham, carrots, celery, garlic and seasonings in a 1 ½ quart slow cooker.


Add the mashed potato mixture to the slow cooker and stir to combine.


Add the cubed cheese to the top, cover and cook on low for 6 hours.


After 6 hours put the sour cream into a small bowl, then whisk in a ladle of the liquid from the slow cooker. This will thin the sour cream making it much easier to incorporate it into the soup without breaking up the veggies too much.


Carefully stir the sour cream mixture into the slow cooker. Put the lid back on the slow cooker and give a couple of minutes to come up to temperature again. Taste for seasonings and adjust as needed.


Ladle into 2 soup bowls and enjoy.


Monday, February 26, 2024

Coconut Curry Chicken


Coconut Curry Chicken


I do love a good curry and this one is one of my favorites. I don’t even remember where I picked up the recipe from. I have it written down on a piece of notebook paper in my file of favorite recipes.


This dish is not only comfort food, it’s a meal in one dish so a definite win in my book.


I normally serve this one over Basmati rice, you can try other varieties of rice if you wish but the combination of the basmati with this particular curry is so good.


If you haven’t made any curry dishes at home before this is a nice easy one to try. This recipe calls for curry powder which most of the major spice brands have available. Each brand is a bit different so try a few to pick your favorite, or do like I do and make your own. I found several recipes online and came up with my favorite blend which I make a few times a year and keep in my spice cabinet so it is ready to use.


Start by cooking the rice, it is going to the longest and if it does finish before you are ready for it, it is very patient and will wait covered in the pan for a while.


As for the curry portion of the meal, start by cooking the kale, I know it looks like a lot of kale for 2 servings but like any green it is going to cook down a lot. Simply cook it in some oil over a medium to medium high heat until it is wilted down and has become tender. Then set it aside while you cook the chicken.


For the chicken I gave a range for the amount because firs this is a very forgiving recipe and I know that chicken breasts come in all sizes. Also you can vary the amount of chicken to suit appetite and or budget in this dish.


Do make sure you blot off as much moisture as possible with a paper towel before seasoning the chicken prior to cooking. This will speed up the browning of the meat.


Cook the chicken pieces over medium to medium-high heat until cooked through. The add the tomato paste and seasonings and allow them to heat up until you smell them. Add in some water to de-glaze the pan and bring everything together.


Then add the coconut milk, a little sugar and some butter and cook the sauce (simmering for about 5 minutes) to slightly thicken it.


Add the cooked kale and sour cream, stir everything together and cook until heated through.


Divide the rice between two large bowls. Top with the curry mixture and enjoy.


You can find a downloadable/printable version of this recipe here.


Coconut Curry Chicken


½ cup basmati rice

¾ cup water

4 oz (about ½ a bunch) Kale, stems   removed and leave cut in bite size pieces

8 to 12 oz boneless, skinless chicken breast cut in bite size pieces

3 Tablespoons tomato paste

1 Tablespoon curry powder

1 teaspoon paprika

chili flakes, to taste

¼ cup water

¾ cup coconut milk (about ½ a regular size can)

1 Tablespoon butter

2 teaspoons sugar

2 Tablespoon sour cream


Salt and pepper to taste


Vegetable oil for cooking


In a small saucepan bring the rice, a pinch of salt, and ¾ cup water to a boil. Cover the pan, turn to low and cook for 15 to 20 minutes until rice is cooked and water is absorbed.


Meanwhile-


In a large skillet heat some vegetable oil and add the cut up kale leaves, sprinkle with a bit of salt. Cook over medium to medium-high heat stirring occasionally until the leaves wilt down and are tender, about 5 to 10 minutes. Move the cooked kale to a bowl and set aside.


Pat the chicken pieces dry with a paper towel and season generously with salt and pepper.


Heat some more vegetable oil in the same skillet and add the chicken. Cook over medium to medium-high heat, stirring occasionally until cooked through about 5 or 6 minutes.


Stir in the tomato paste, curry powder, paprika and a pinch of the chili flakes (use as much or as little of the chili flakes as you desire). Cook for a minute of so until the spices become fragrant.


Add the ¼ cup water to de-glaze the pan and thin the tomato paste.


Stir in the coconut milk, butter and sugar and stir to combine with the rest of the mixture in the skillet. Bring to a simmer and cook at a simmer for about 5 minutes to slightly thicken the sauce.


 Add the Kale along with the sour cream, stir to combine, cook just long enough to bring everything up to temperature. Taste and season with salt and/or pepper as needed.


Divide the cooked rice between two large bowls and top with the curry mixture.


Sprinkle a few more chili flakes over the top if desired.


Monday, February 12, 2024

Lazy Lasagna


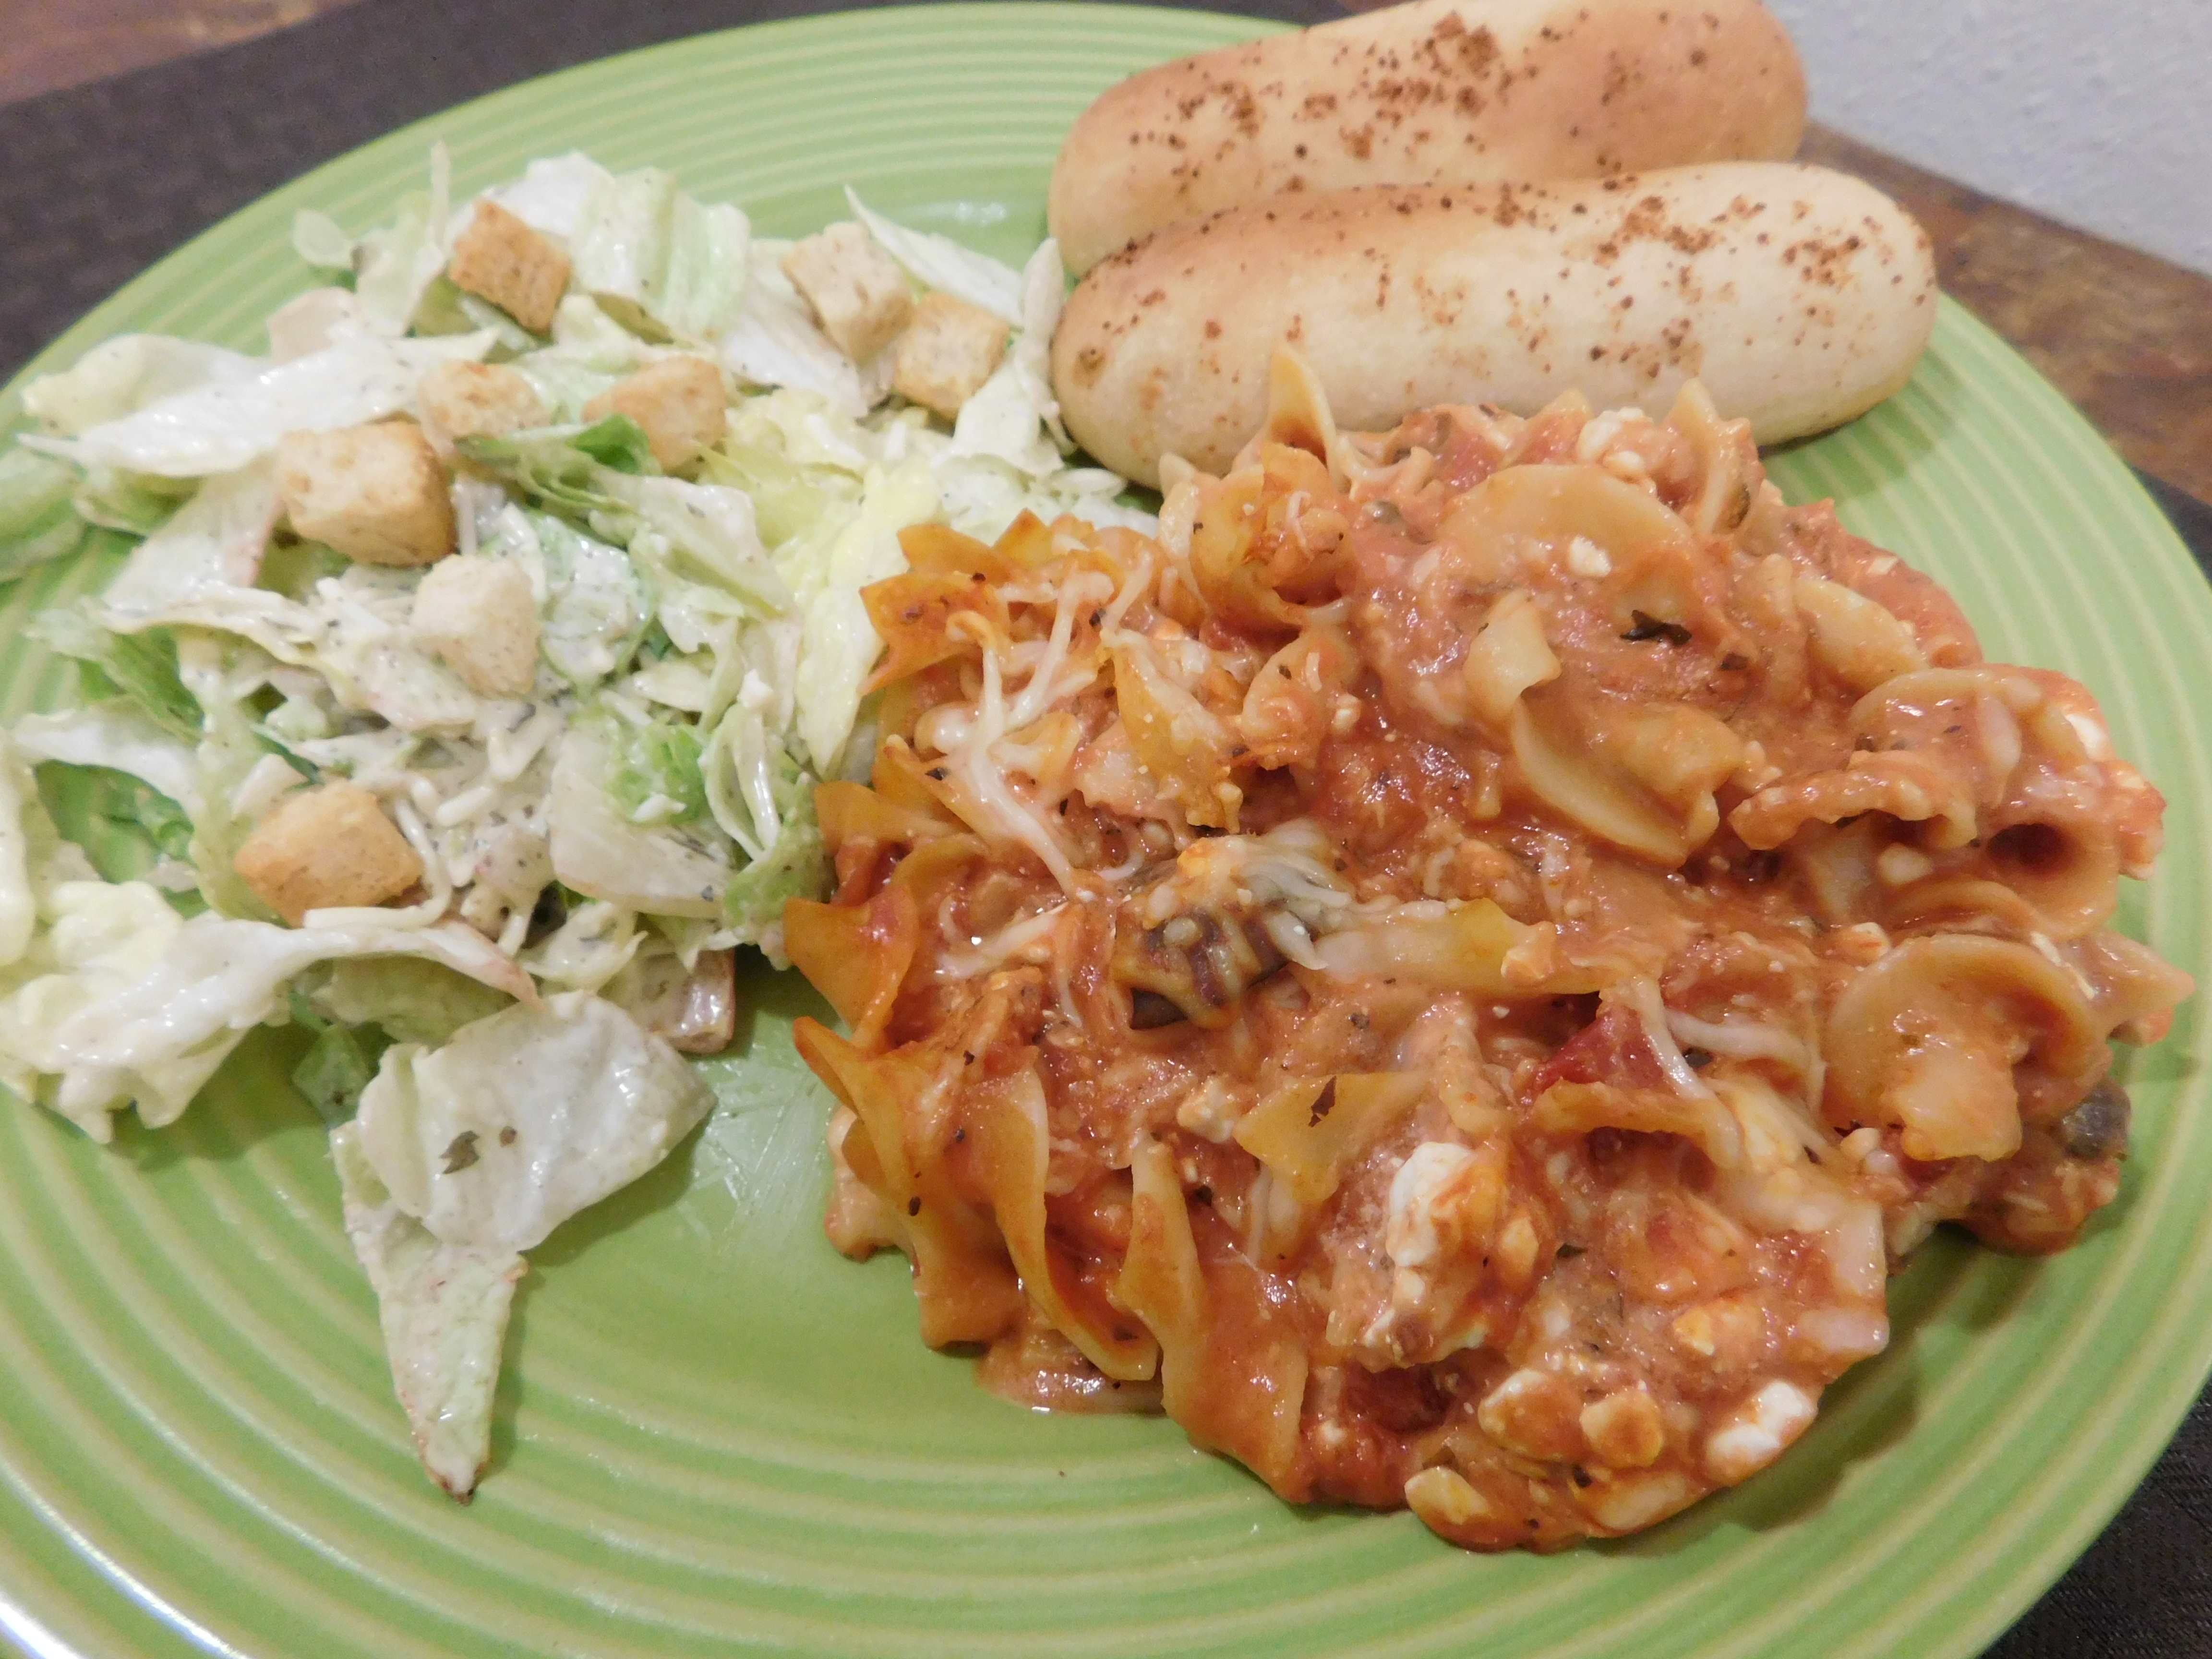
Today I wanted to share a really easy and quick casserole recipe that I’ve been playing with for a while now. It’s called Lazy Lasagna and with this recipe you can get dinner on the table in about 30 minutes. It has all the main parts of lasagna without all the fussy layering. Perfect for a busy day.


To start just boil some egg noodles then mix them with your favorite tomato based pasta sauce and some cheese. Put it all in a greased casserole dish top with more cheese and bake. It doesn’t get simpler than that.


You can find a downloadable/printable version of this recipe here.


Lazy Lasagna


2 cups dry egg noodles

1 cup tomato based pasta sauce

¾ cup shredded Mozzarella cheese

½ cup cottage cheese

2 Tablespoons shredded Parmesan cheese


Preheat oven to 375°F.


Cook the noodles according to directions on package.


Meanwhile put the pasta sauce to a microwave safe bowl and heat just until warmed a bit.

Add the shredded Mozzarella cheese and the cottage cheese to the sauce.

When noodles are cooked drain well and add to the sauce mixture. Stir to combine.


Transfer noodle mixture to a well greased 4 cup casserole dish.


Top with the shredded Parmesan cheese.


Bake in preheated oven for 20 minutes or until hot and beginning to bubble.

Monday, January 29, 2024

Roasted Veggie Flatbread


I do love a good flatbread and this one is one of my favorites. If you aren’t familiar with what a flatbread is I guess I would define it as a cousin of pizza in a way, at least the way I am using the term. The way I make my flat bread it is thin, somewhat crispy and topped with yummy stuff.


That being said I do love a good pizza (or heck even a mediocre pizza) and even then I do prefer a thinner crust. I guess I just feel more freedom to top a flatbread anyway I want and not conform to the stereotypical “pizza rules”


My preference one either a pizza or a flatbread is a white sauce rather than a tomato based red sauce. And this garlic cream sauce (more of a spread really) is super good.


For the roasted veggie flatbread you can either make your own flatbread base or purchase on already made. I am including the recipe I use along with my directions for it. So there will be 2 download links in the middle of this post. One for the flatbread base and one with the toppings and directions for the roasted veggie flatbread recipe.


If you want to skip making your own base you can use what ever you wish as a base. Most grocery stores carry some type of flatbread and pretty much any of them will work. You could also use the small pre-baked pizza crusts although they will be thicker.


So for my flatbread base I have this recipe that I have been using for about 5 or 6 years now. I love that it makes 4 bases, and most of my flatbread recipes need 2. Since this dough freezes really well for up to a couple of months that means I only make the bases every other time I want to have flatbread. I’ll talk more about that in minute.


The dough for the flatbread base is a really simple dough and goes to together quickly.


Simply bloom the yeast in the water with the sugar, salt, and oil for a few minutes.


Then add the flour and 


stir until you get a shaggy dough. 


Dump the dough onto a floured board and knead for about 5 minutes. 


You really only need to knead until the dough becomes smooth.


Then transfer to an oiled bowl, cover and let rise in a warm place for about 30 minutes.


Preheat oven to 400°F.


Divide dough into 4 equal parts. 


If you are only using 2 of them today then wrap the other 2 in a layer of plastic wrap 


and then a layer of aluminum foil. Put in a labeled freezer bag and freeze for up to a couple of months. When you ready to use those take them out of the freezer early in the day and put in the fridge to thaw. Let sit on the counter at room temperature for an hour or so just before baking so they are at or close to room temperature. Then follow the directions for baking.


Roll the flatbread dough out into a thin rectangular shape.


Bake at 400°F for 15 to 20 minutes just until starting to brown.


You can top them or store in the fridge up to 3 days.


To make the roasted veggie topping heat oven to 450°F.


Slice a zucchini lengthwise then into slices about ½” thick. Slice mushrooms about the same thickness.


Toss the sliced zucchini and mushrooms with olive oil, Italian herb seasoning, salt and pepper.


Then place on a rimmed baking sheet and roast for 12 to 15 minutes or until tender.


Meanwhile slice the tomatoes in halves and toss with more olive oil, salt and pepper and let stand while veggies roast.


Slice green onions, keeping white and green parts separate.


When the veggies are almost finished melt butter in skillet and add the white parts of the onions, cook until softened. Add the garlic and cook for a few seconds until fragrant.


Add the flour, garlic powder, and remaining Italian Herb seasoning.


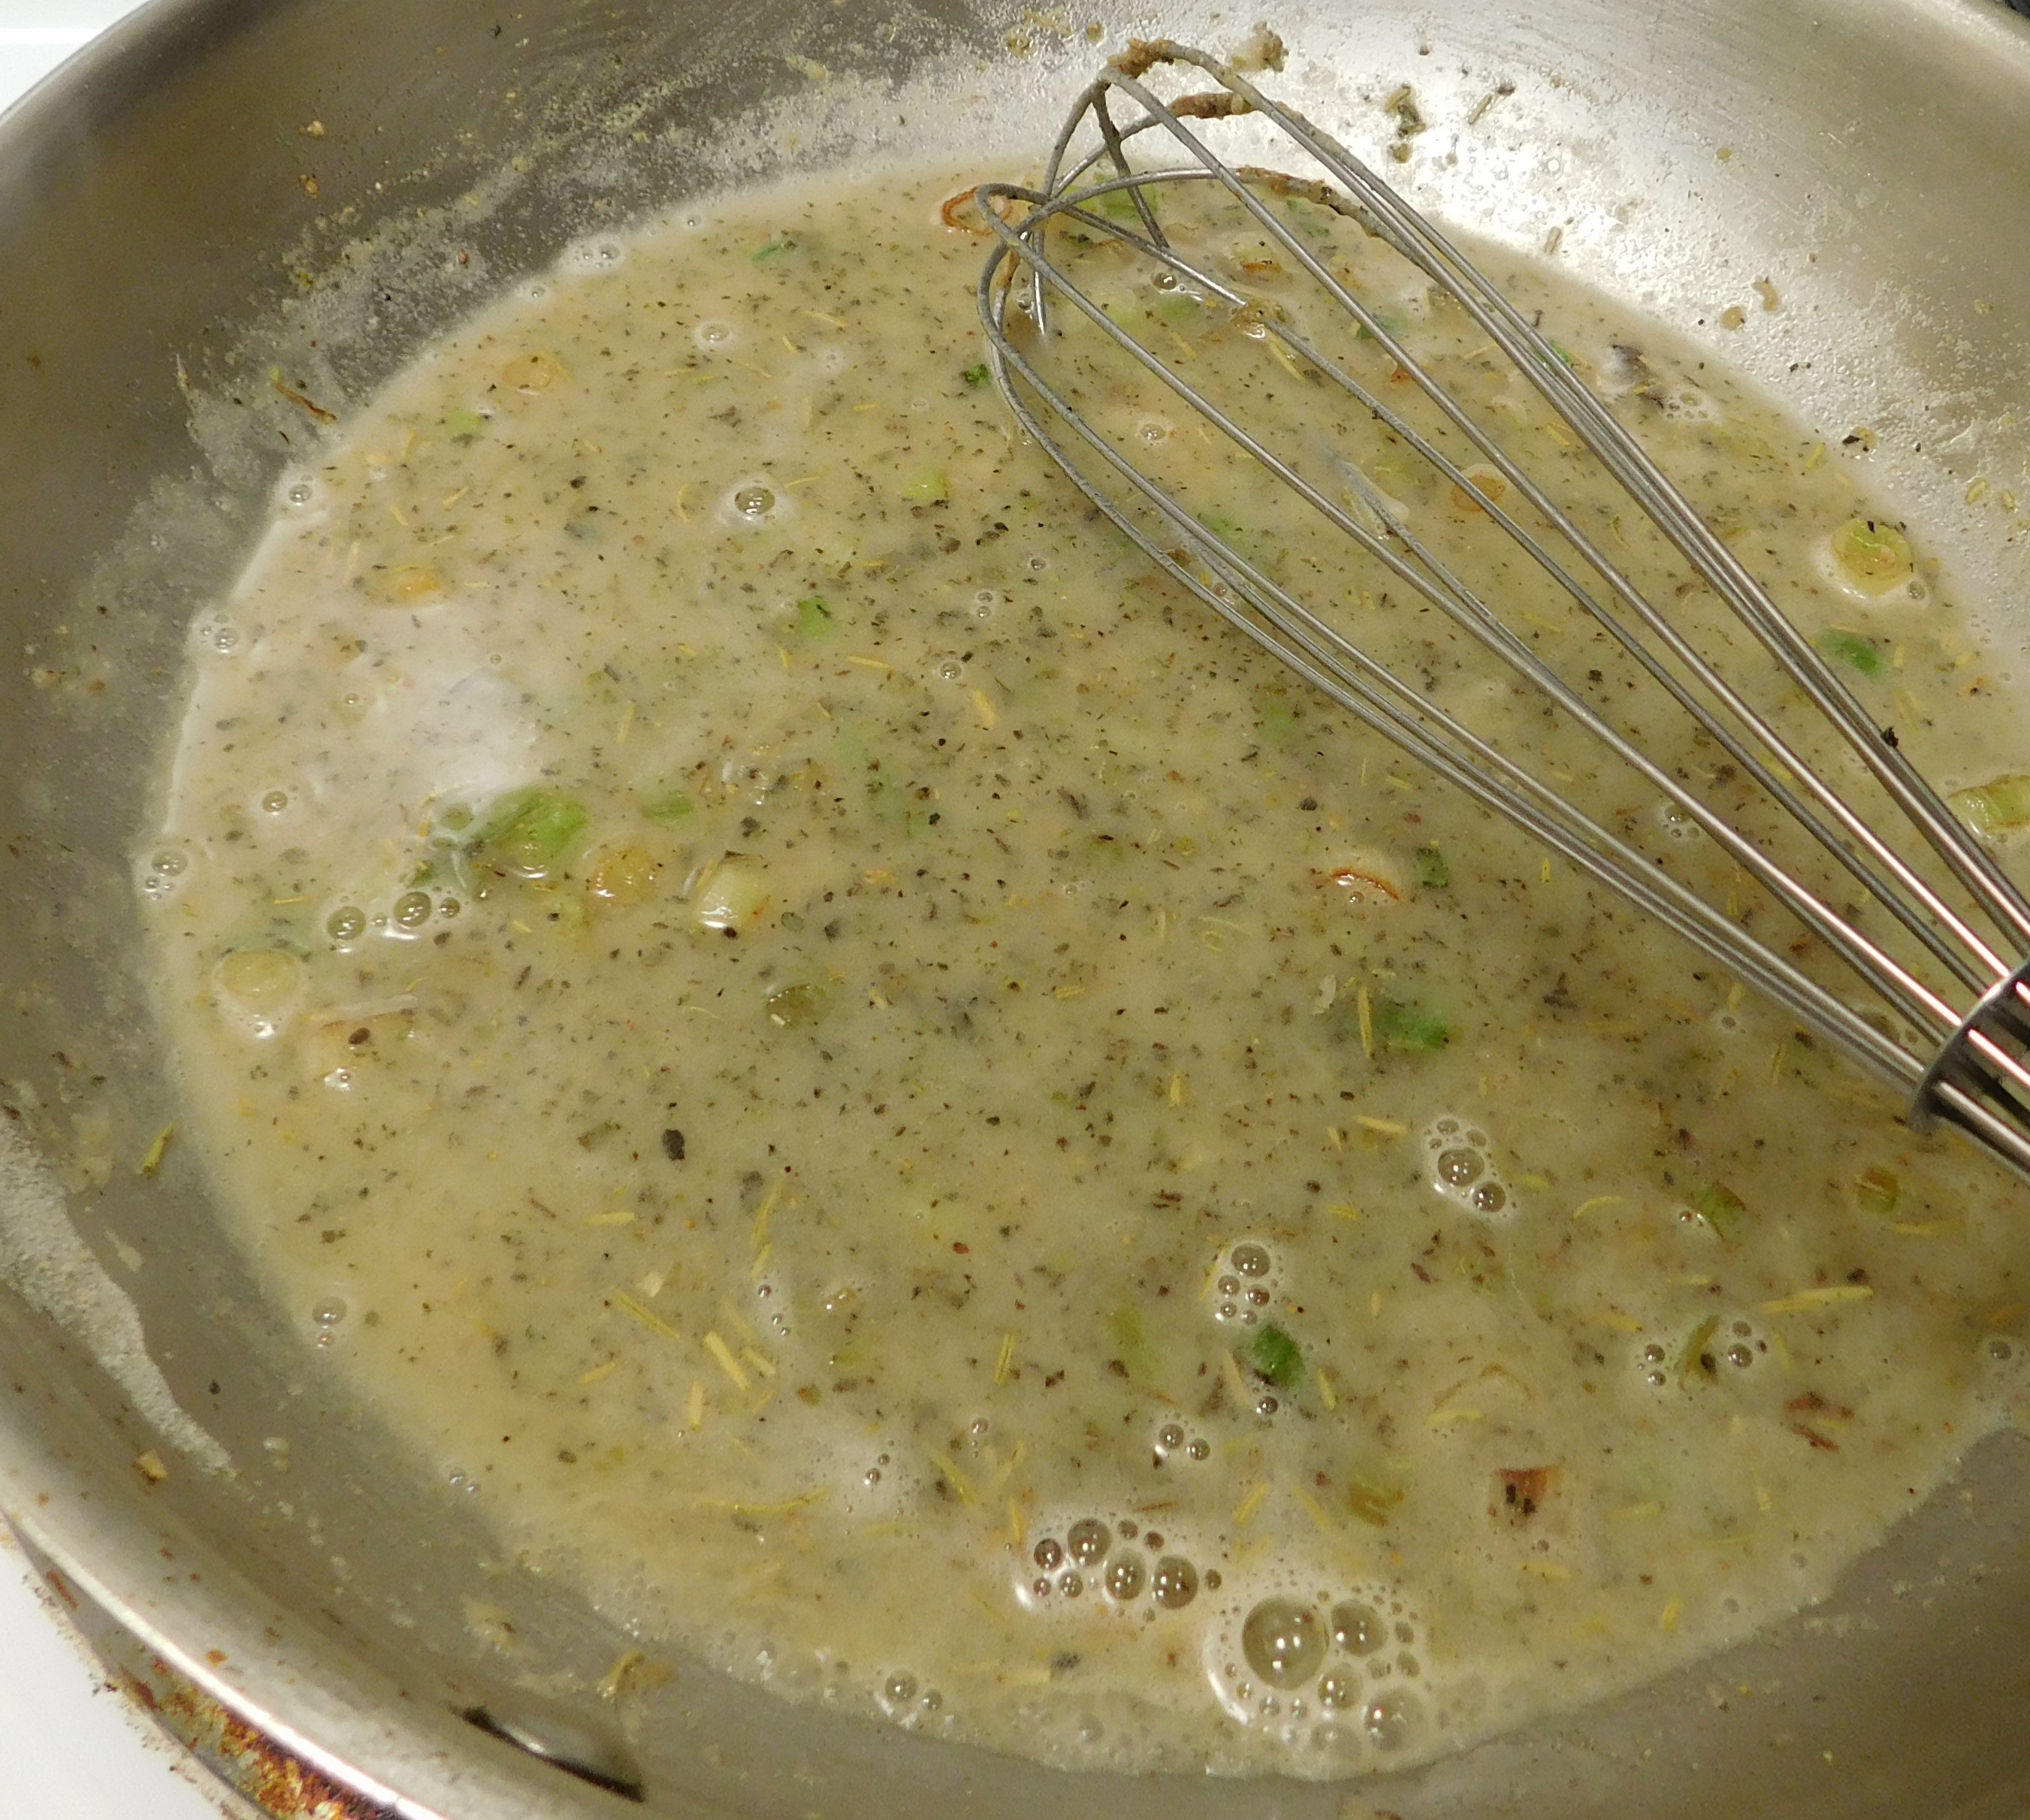
Cook and stir for 30 seconds then stir in water and cook until the mixture starts to thicken. 


Add the cream cheese and stir until melted through.


Taste and season as desired with salt and pepper. Turn off heat and set aside.


When the veggies are roasted transfer to a bowl add the tomatoes and stir to combine.


At this point I want to explain that while I am cooking both servings of the roasted veggie flatbread I am only making one flatbread the night I took the photos. I ate the other one a few nights later and assembled it then.


Place the flatbread bases on a rimmed baking sheet (I find cleanup much easier if I put these on a sheet of parchment paper)


Spread the garlic cream sauce over both flatbread crusts.


Top with the roasted veggies.


Top with shredded cheese.


Bake at 450°F for 5 minutes or until cheese is melted.


 Cut as desired and top with reserved sliced green onion tops.

Enjoy.


Since I normally cook every other night and eat leftovers on the other nights I thought I would mention that for this recipe I have found the best way to do that with this dish is to put the combined veggies in a container, the sauce in another container and refrigerate theme along with the flatbread base and cheese separately. Then assemble and bake when I want to eat it. It is much fresher and a better texture than reheating an assembled flatbread.


You can find a downloadable/printable version of the Flatbread Base recipe here.


You  can find a downloadable/printable version of the Roasted Veggie Flatbread  recipe here.


Flatbread Base


1 teaspoon dry active yeast

1 cup warm water

1 teaspoon kosher salt

½ teaspoon sugar

2 Tablespoons extra virgin olive oil

2 ½ cups all purpose flour


Stir together the yeast, water, salt, sugar and oil together and allow to sit for 5 to 10 minutes to allow the yeast to start working.


Add the flour and stir together with a spoon to form a shaggy dough.


Dump onto a floured work-surface and knead for about 5 minutes. You are really only looking for this to become a smooth dough.


Place in a greased bowl cover and allow to rise for 30 minutes.


Preheat oven to 400°F.


Divide dough into 4 equal parts.


To bake right away-


Roll on a floured surface to form a rectangle about 5” by 7” and bake for 15 to 20 minutes, just until starting to brown.


You can either add the toppings now or wrap these and fill up to 3 days later.


To freeze the dough for later- wrap in a layer of plastic wrap followed by a layer of aluminum foil.


Then place in a labeled freezer bag and freeze up to a couple of months.


To use thaw in the refrigerator then allow to come to room temperature. Then use the directions above to roll out and bake.


Roasted Veggie Flatbread


1 zucchini

4 ounces button mushrooms

4 ounces grape (or cherry) tomatoes

olive oil

1 Tablespoon Italian herb seasoning (divided)

1 Tablespoon butter

2 green onions

1 clove garlic, minced or grated

1 Tablespoon flour

1 teaspoon garlic powder

½ cup water

2 ounces cream cheese, softened

2 flatbread bases

½ cup shredded Mozzarella cheese


Preheat oven to 450°F.


Slice the zucchini in half lengthwise then into ½” slices. Slice the mushrooms about the same thickness.


Toss the sliced veggies with olive oil, 1 teaspoon Italian Herb Seasoning, and salt and pepper to taste.


Put the sliced veggie on a rimmed baking sheet and roast for 12 to 15 minutes until they start to soften and are starting to brown.


Meanwhile slice the tomatoes in half and add another drizzle of olive oil, salt and pepper and allow to marinate while veggies roast.


Slice the green onions keeping the green parts separate form the white parts.


When the veggies are almost done roasting melt the butter in skillet and add the sliced green onion whites. Cook until starting to become tender. Add the garlic and cook just until fragrant.


Add the flour, remaining Italian herb seasoning, and garlic powder, cook stirring for about 30 seconds.


Stir in the water and cook stirring until bubbly.


Add the cream cheese and stir until melted and combined.


Taste and season to taste with salt and pepper.


Remove from heat and set aside.


Once the veggies are cooked combine them with the tomatoes in a bowl.


Lace the flatbread bases on a baking sheet (I suggest putting them on parchment paper to make it easier to clean up)


Spread the garlic cream sauce over the bases evenly.


Add the roasted veggie/tomato mixture dividing between the two bases.


Top with the shredded cheese.


Bake at 450°F for 5 minutes or until the cheese is melted and everything is heated through.


Cut as desired.


Sprinkle reserved sliced green onion tops over finished flatbread.