Have you checked out all my blogs?


Dollhouse Minis: http://joannesminis.blogspot.com/


18” Dolls: http://joannes18dolls.blogspot.com/


General Crafts: http://joannes-place.blogspot.com/


Wednesday, September 8, 2021

Almond Roca Cupcakes


For the cupcake for the month of September I decided to make one based on the candy Almond Roca. You might be asking why did I choose this flavor this month, well the reason is simple. This post is planned to go up on my blog on September 8th which would have been my mom's birthday and Almond Roca was her favorite candy. So it only seemed fitting to make her favorite candy into a cupcake to celebrate her birthday. 


Since this is part of my monthly series of small batch cupcakes using a partial box of cake mix I had to come up with a way of making a yellow cake mix into a caramel cake. I knew immediately how I would do this if I was making the cake base from scratch but working with the mix took a bit of thinking. In the end I added two things to the mix to achieve the result I was looking for. This recipe took a bit more playing around and testing than a lot of the recipes in this series so I hope you all love it as much as I do and as much as I am sure mom would have also.


If you haven't read my blog post on dividing the cake mix click here to go there first. You will need to divide a box of yellow cake mix to make this recipe.


I did substitute milk for part of the water this month like have been doing recently in a few of the recipes. I like how much more like a scratch made cake it turns out with this simple switch. This time however I cut the milk back from ⅓ cup down to ¼ cup and I added in a Tablespoon of Caramel sauce (the kind you would put on ice cream) I also stirred some Heath bits into the batter at the end. Between the two I think the cupcake has a nice toffee like flavor. Please note that the cooked cup cake will be a bit darker that normal and this is normal. Also because of the addition of the chips I got one extra cupcake than I normally do. I normally get 6 and this recipe gives me 7.


To top the cupcakes I made a ganache with some chocolate chips and half & half cream. I let this cool and then dipped the tops of the cooled cupcakes into the chocolate and then immediately into some chopped slightly toasted almonds.


Allow the chocolate some time to set up in the fridge before serving.


While not an exact replica of the iconic candy I think it definitely is easy to see that it is inspired by the candy.

Click this link for a downloadable/printable copy of today's recipe.


Almond Roca Cupcakes


of a box of yellow cake mix

¼ cup milk

1 Tablespoon caramel sauce

1 egg

3 ½ Tablespoons vegetable oil

¼ teaspoon vanilla extract

½ cup Heath bits


For the topping:

½ cup chocolate chips

2 Tablespoons half & half

½ slivered almonds, coarsely chopped and lightly toasted


Start by preheating your oven to the temperature your box of cake mix calls for, mine was 350°F. Line your cupcake pan with paper liners or grease really well.


Combine the milk, caramel sauce, egg, oil and vanilla in a mixing bowl and combine well.


Add the cake mix and beat for up to 90 seconds.


Carefully stir in the Heath bits by hand.


Portion into cupcake pan and bake according to instructions on your cake mix. Mine was baked at 350°F for about 20 minutes.


Cool in pan for 10 minutes then move to a cooling rack and cool completely.


While the cupcakes cool make your topping. Place the chocolate chips in small bowl. Heat the half & half and pour over the chocolate chips until melted and smooth.


 If they don't melt try microwaving on high for 10 second intervals until you can stir the mixture smooth. Allow to cool.


When everything has cooled to room temperature. Place the chopped, toasted almonds in a small bowl.


Dip the tops of the cupcakes into the chocolate mixture to coat then immediately into the chopped almonds.


Repeat with all the cupcakes.


Chill in the fridge for a couple of hours before serving.


Wednesday, September 1, 2021

English Muffin Bread


My recipe this week is for a lovely loaf of English Muffin bread. I have bee playing around with this one for a while making little adjustments here and there and I am very pleased with the result. 


Since this has become my favorite bread for toasting I make it often, about every other week or so. It just makes wonderful toast and if you are in the mood for a breakfast sandwich that same toast works better than any other option I have tried.


You will need a small (8” by 4”) loaf pan for this. It makes the perfect size loaf for this recipe. We will grease this pan (I just use non-stick spray) and then sprinkle it with some cornmeal. This makes for a wonderful crunchy crust on the bottom and sides and really brings the English muffin part of the experience.


I like to do the initial mixing/beating with my hand mixer than finish up with a wooden spoon. I feel the bread turns out much better with this combination. I do knead this dough for just a couple of minutes just long enough to bring the dough together and make it smooth dough.


Then a quick rise and it will be ready for the oven. My sure-fire way to make sure any bread is cooked through is to take it's temperature with an instant read thermometer, it should be around 190°F when baked through.


Allow to cool out of the pan on a wire rack until room temperature before cutting. I like to cover my bread with a damp cloth when I set it to cool. This helps the crust become just a touch more tender.


Click this link for a downloadable/printable copy of today's recipe


English Muffin Bread


1 cup milk

¼ cup water

1 Tablespoon butter

3 cups all purpose flour

1 Tablespoon sugar

1 Tablespoon active dry yeast

1 teaspoon salt

¼ teaspoon baking soda


cornmeal for the pan


Grease the bottom and sides of an 8” by 4” loaf pan (I use non-stick spray) then sprinkle with cornmeal. Set aside.


Combine the milk, water, and butter in a microwave save container and heat to between 120° F and 130°F.


In a large bowl combine half the flour *1 ½ cups), the sugar, yeast, salt and baking soda. Stir to combine.


Add the heated milk mixture and using a hand mixer mix for 1 minute then beat an additional minute on medium speed.


Slowly add the rest of the flour (about ½ cup at a time) mixing with a wooden spoon. This will form a very shaggy dough.


Turn this shaggy dough out onto a floured surface and knead just until it comes together and becomes smooth. This usually takes just a couple of minutes.


Place the dough into the prepared loaf pan.


 Cover with plastic wrap and set in a warm place away from drafts to rise for 45 to 60 minutes. You will know it is ready to bake when you can touch the bread and the indentation remains.


Preheat oven to 400°F and bake the bread until golden brown about 20 to 30 minutes. The bread's internal temperature should be around 190°F when taken with an instant read thermometer. 


Cool on a wire rack to room temperature before cutting. If you wrap the hot loaf with a damp cloth while it cools you will get a slightly softer crust.


Once cool brush off some of the excess cornmeal from the sides and bottom leaving most of it.


This bread makes wonderful toast and/or breakfast sandwiches.


Wednesday, August 18, 2021

Caramel Apple Parfaits


This week I have a dessert recipe that is actually fairly healthy. I know shocking right?? I really love this one when I want something a bit fresher than a normal dessert. Depending on your choice of apple and yogurt you can make this healthy combo taste very much like an indulgent dessert. 


So let's start with the apple. You want a fairly sweet eating apple that is nice and crisp. I used a Pink Lady apple this time because they looked the nicest at the store. Pick whatever apple you love that is at least slightly sweet, Crispness is also a good quality for this dessert.


Now the other big decision is what yogurt to pick. Really you can use any vanilla flavored yogurt. My preference and what I think makes it stand up as a dessert is to use a Greek Yogurt. Because of its thicker quality I think it makes this taste and feel richer. Therefore it makes it a dessert.


This really is a dessert that should be made at the last minute. I like to put it together while dinner is cooking. Then I cover it with plastic wrap while dinner is being eaten. Then it is ready to enjoy after dinner.

I start off by prepping a bowl of water with a squirt of lemon juice in it. As I dice up the apple I place it immediately into the lemon/water. This will keep your dessert looking nice for a short time. After they soak drain them very well on paper towels.


Layer the yogurt in the bottom of each dessert dish, follow up with the diced apple, add a bit more yogurt, top with some caramel sauce. and finally sprinkle with nuts.


Click here for a downloadable/printable copy of the recipe.


Caramel Apple Parfaits


1 medium apple

a bit of lemon juice in water

1 cup Vanilla yogurt

plus another 2 Tablespoons of the yogurt for later

2 Tablespoons caramel sauce

2 Tablespoons chopped nuts either walnuts or pecans


Dice the apple and immediately place the apple pieces in some cold water with just a squeeze of lemon juice in it. Let them sit for a couple of minutes then drain well on paper towels.


In the bottom of each dessert dish (I used a custard cup) place ½ cup of the yogurt.


Divide the apples between the two dishes.


Top with each with another Tablespoon of yogurt.


Then a Tablespoon of caramel sauce


And finally the nuts on top.


Cover and store in the fridge for no more than a few hours.


Serves 2

Wednesday, August 11, 2021

S'mores Cupcakes


For the month of August I have a small batch recipe for some cupcakes based on that perennial favorite the S'more. I know for me growing up s'mores were a summer time staple and I still love the combo. I mean marshmallow, chocolate and graham cracker whats not to love about that?


This recipe took a bit longer to get the way I wanted it that some of the cupcakes I have done in past months. The frosting especially was tricky, trying to get a balance of marshmallow flavor but not too sticky was very hard to get right. This version is not ideal but it is a compromise that will store for a couple of days in the fridge with out melting. As for the decoration on top I do recommend just putting the teddy shaped crackers on just before serving as they will get soft very quickly on top of the cupcakes. They are just too cute to not add though.


I had initially tried to use regular graham crackers in these but they tended to get lost in the batter, when I tried the chocolate covered ones I found they were perfect and they add just a bit more chocolate so a win/win for the cupcake.


Of course we using a portion of a boxed mix that was divided like in my blog post from February 2019 which you can find here. Because of the amount of add-in ingredients we will get a couple more cupcakes than normal. For me I usually get 6 cupcakes per batch and I get 8 from this one.


A downloadable/ printable version of today's recipe can be found here.


S'mores Cupcakes


of a box of yellow cake mix

cup water

1 egg

3 ½ Tablespoons vegetable oil

¼ teaspoon vanilla extract

2 chocolate covered graham cracker squares

2 (1.55 oz) milk chocolate bars (divided)


Coarsely chop the graham cracker squares.


Save off 8 of the squares from one of the chocolate bars and chop the remaining portion of this bar and the other one coarsely. Reserve the squares for decorating the top of the cupcakes.


Start by preheating your oven to the temperature your box of cake mix calls for, mine was 350°F. Line your cupcake pan with paper liners.


Combine the water, egg, oil and vanilla in a mixing bowl and combine well.


Add the cake mix and beat for up to 90 seconds.


Carefully stir in the chopped graham cracker and chopped chocolate.


Portion into cupcake pan and bake according to instructions on your cake mix. Mine was baked at 350°F for about 20 minutes.


Cool in pan for 10 minutes then move to a cooling rack and cool completely.


Marshmallow Frosting


1/3 cup marshmallow creme

2 ½ Tablespoons butter, softened

2/3 cup powdered sugar

milk as needed


the reserved squares of chocolate

16 bear shaped graham crackers


Combine the marshmallow creme and butter until creamy. Add the powdered sugar and beat until smooth. It is going to look like is not going to come together but be patient it will come together. Add milk only if necessary about ½ teaspoon at most.


Spread the frosting on the cooled cupcakes.


Add one of the chocolate squares and 2 of the bear shaped graham crackers to decorate the top. (I would recommend not putting the bear crackers until just before serving)


Wednesday, August 4, 2021

Sugar Cookies


This week have a recipe for a really small batch of sugar cookies. Over the last couple of weeks while I have been testing the recipe and doing a few tweaks to it I have very consistently gotten 7 cookies out of just about every batch. That is a a fairly perfect number of cookies for just one or two people to eat over a few days.


I love how quick and easy they are to make and they contain just simple ingredients. They are very similar to a recipe I used to make a lot when my kids were growing up.


When you look over the ingredients you might notice that there is neither baking powder or baking soda in this recipe. That is not an error this recipe relies on the whipped butter, sugar and egg mixture to give it lift. For that reason you do really need to beat it with a mixer (a hand mixer works just fine) for the length of time in the recipe. You need to get a lot of air into that mixture before you mix in the flour.


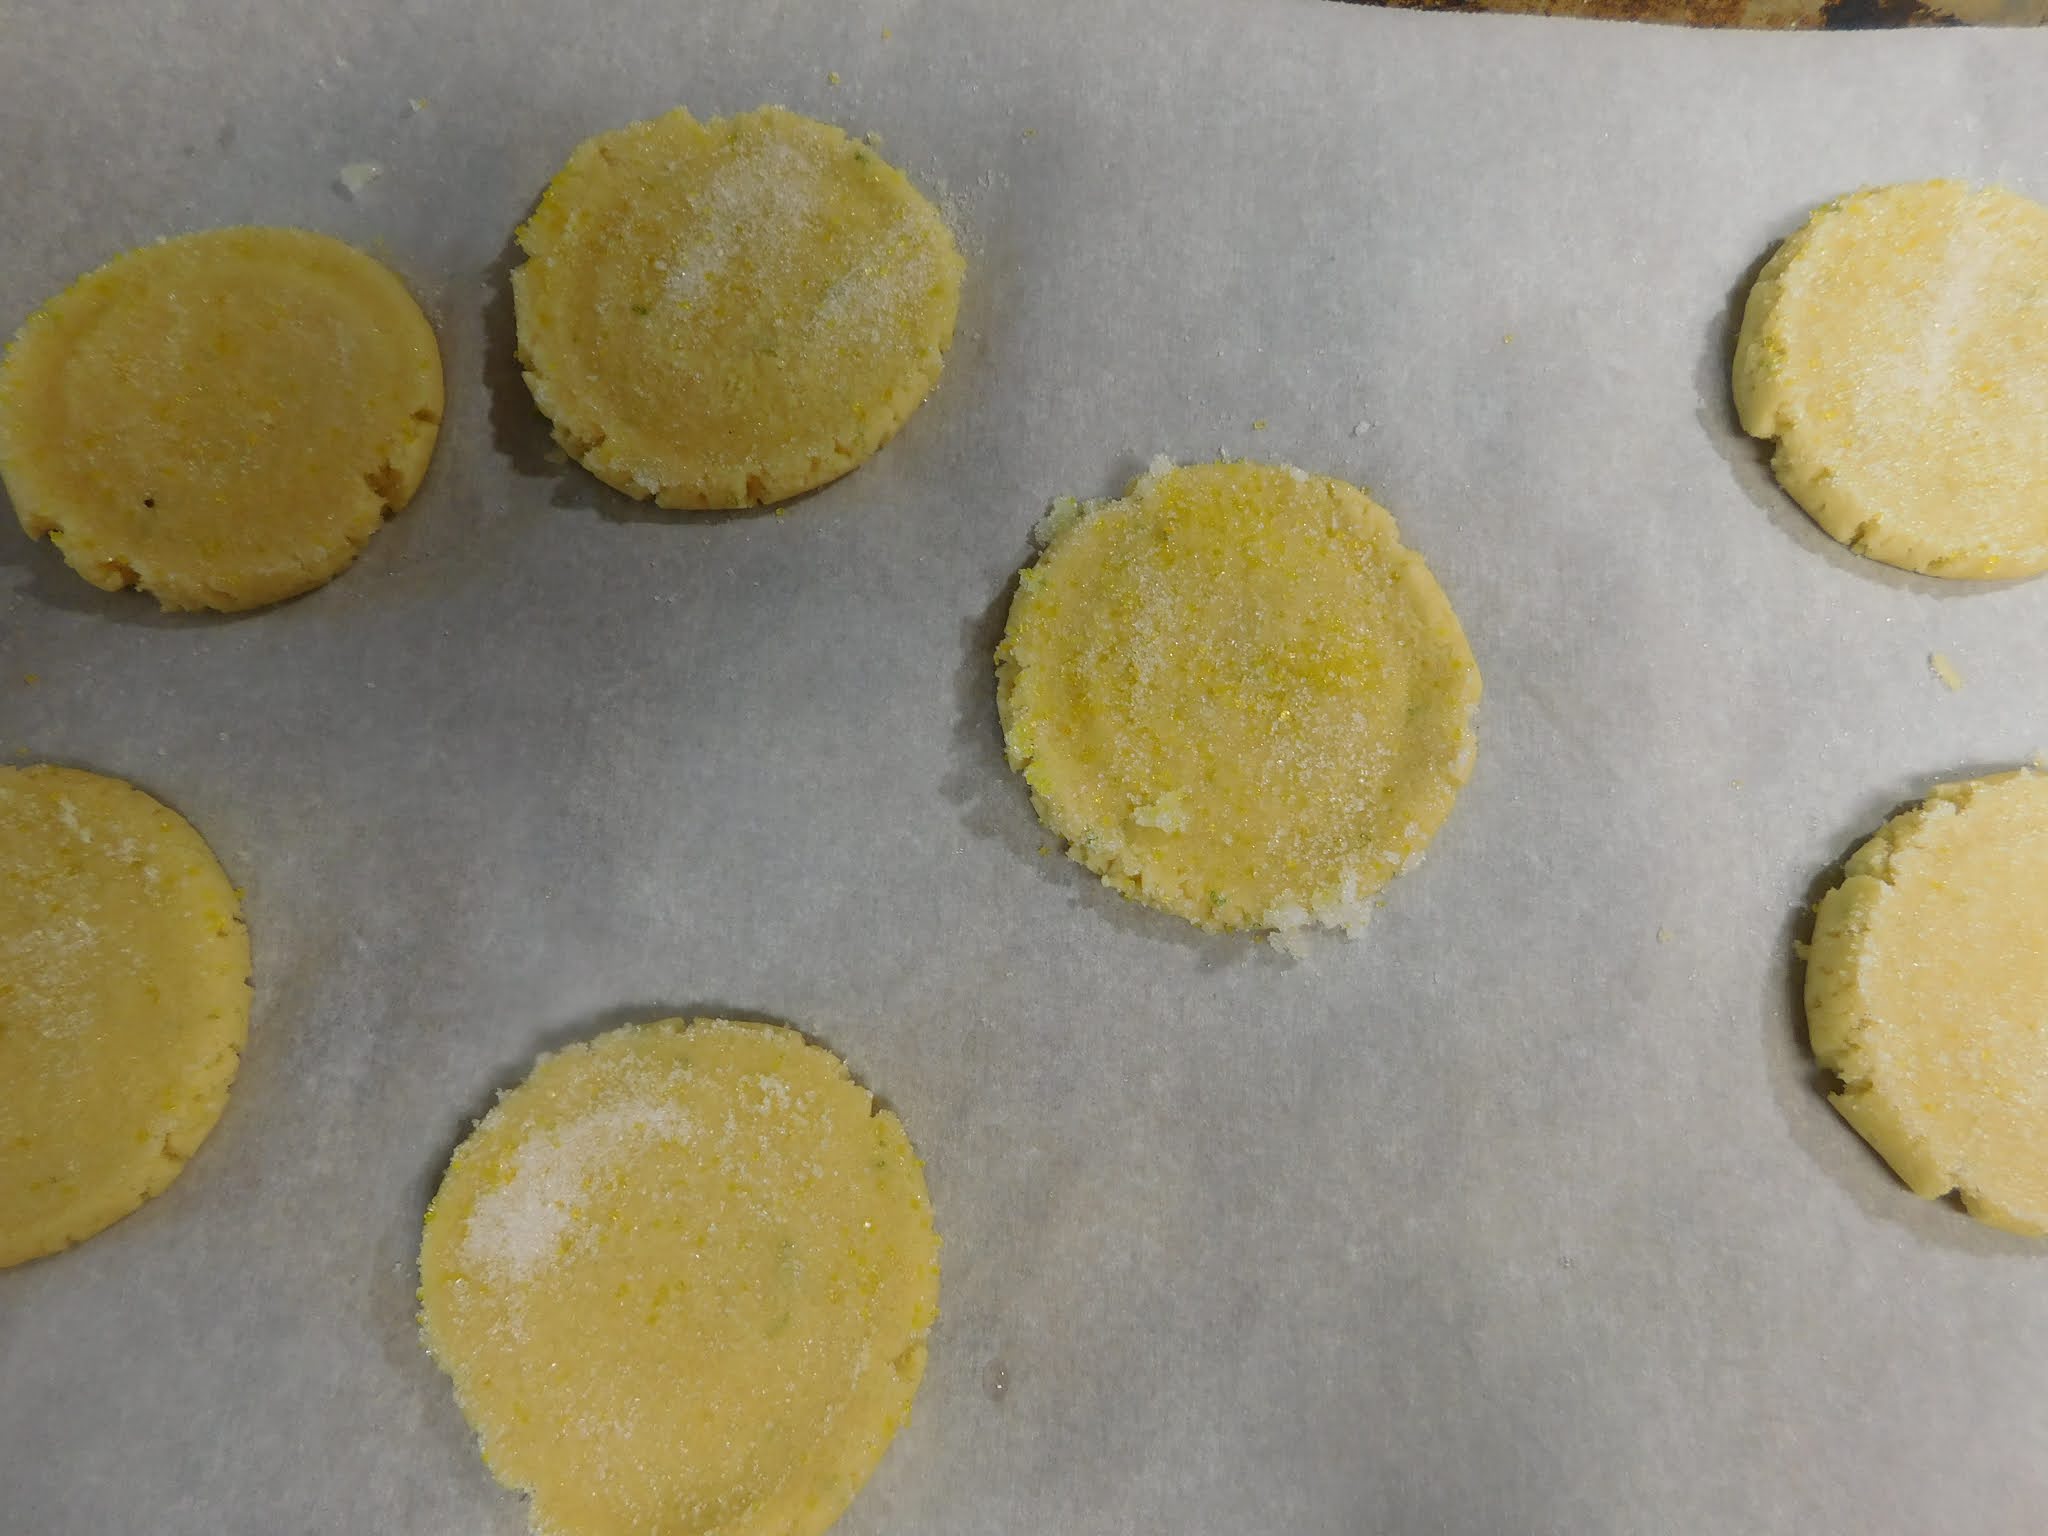
I do like to use my cookie scoop for most cookies and this is not an exception, I portion the dough out with the scoop first. The after all the dough is in balls I wet the palms of my hands with some water and roll them into nice round balls. By having your hands wet the dough won't stick to your skin. Once the balls are rolled lay them out on a parchment paper lined cookie sheet and use a flat bottomed glass dipped in sugar to flatten each ball into a cookie shape. I do find it is very helpful to wet the bottom of the glass with water before the first cookie then dip it into the sugar. That way you have the sugar on the bottom to both prevent the cookie from sticking to the glass and to add some sparkle to the top of the cookies. Aftr you flatten the first cookie just dip the glass back into the sugar before going on the next cookie. Repeat this for all the cookies being sure to dip in the sugar between each cookie. I like to add a sprinkle of colored decorators sugar to my plain sugar for this, totally optional but it just makes the cookies sparkle a bit more.


I do use some citrus zest in these cookies, I have used lemon, lime and orange and all are just wonderful. I used lime this time because that is what I had. You can skip it if you need to but you will be missing the freshness the zest adds. If you do leave out the zest double the amount of vanilla you use to make up for it.


You can find a downloadable/printable copy of the recipe here,

Sugar Cookies


¼ cup butter, room temperature

3 Tablespoons sugar (plus more to use in shaping the cookies)

1 large egg yolk

½ teaspoon citrus zest

¼ teaspoon vanilla

½ cup flour


Preheat oven to 350°F

Line a cookie sheet with parchment paper.


Put an additional 1 Tablespoon of sugar into a small dish to use in shaping the cookies. (add some colored decorators sugar if you like)


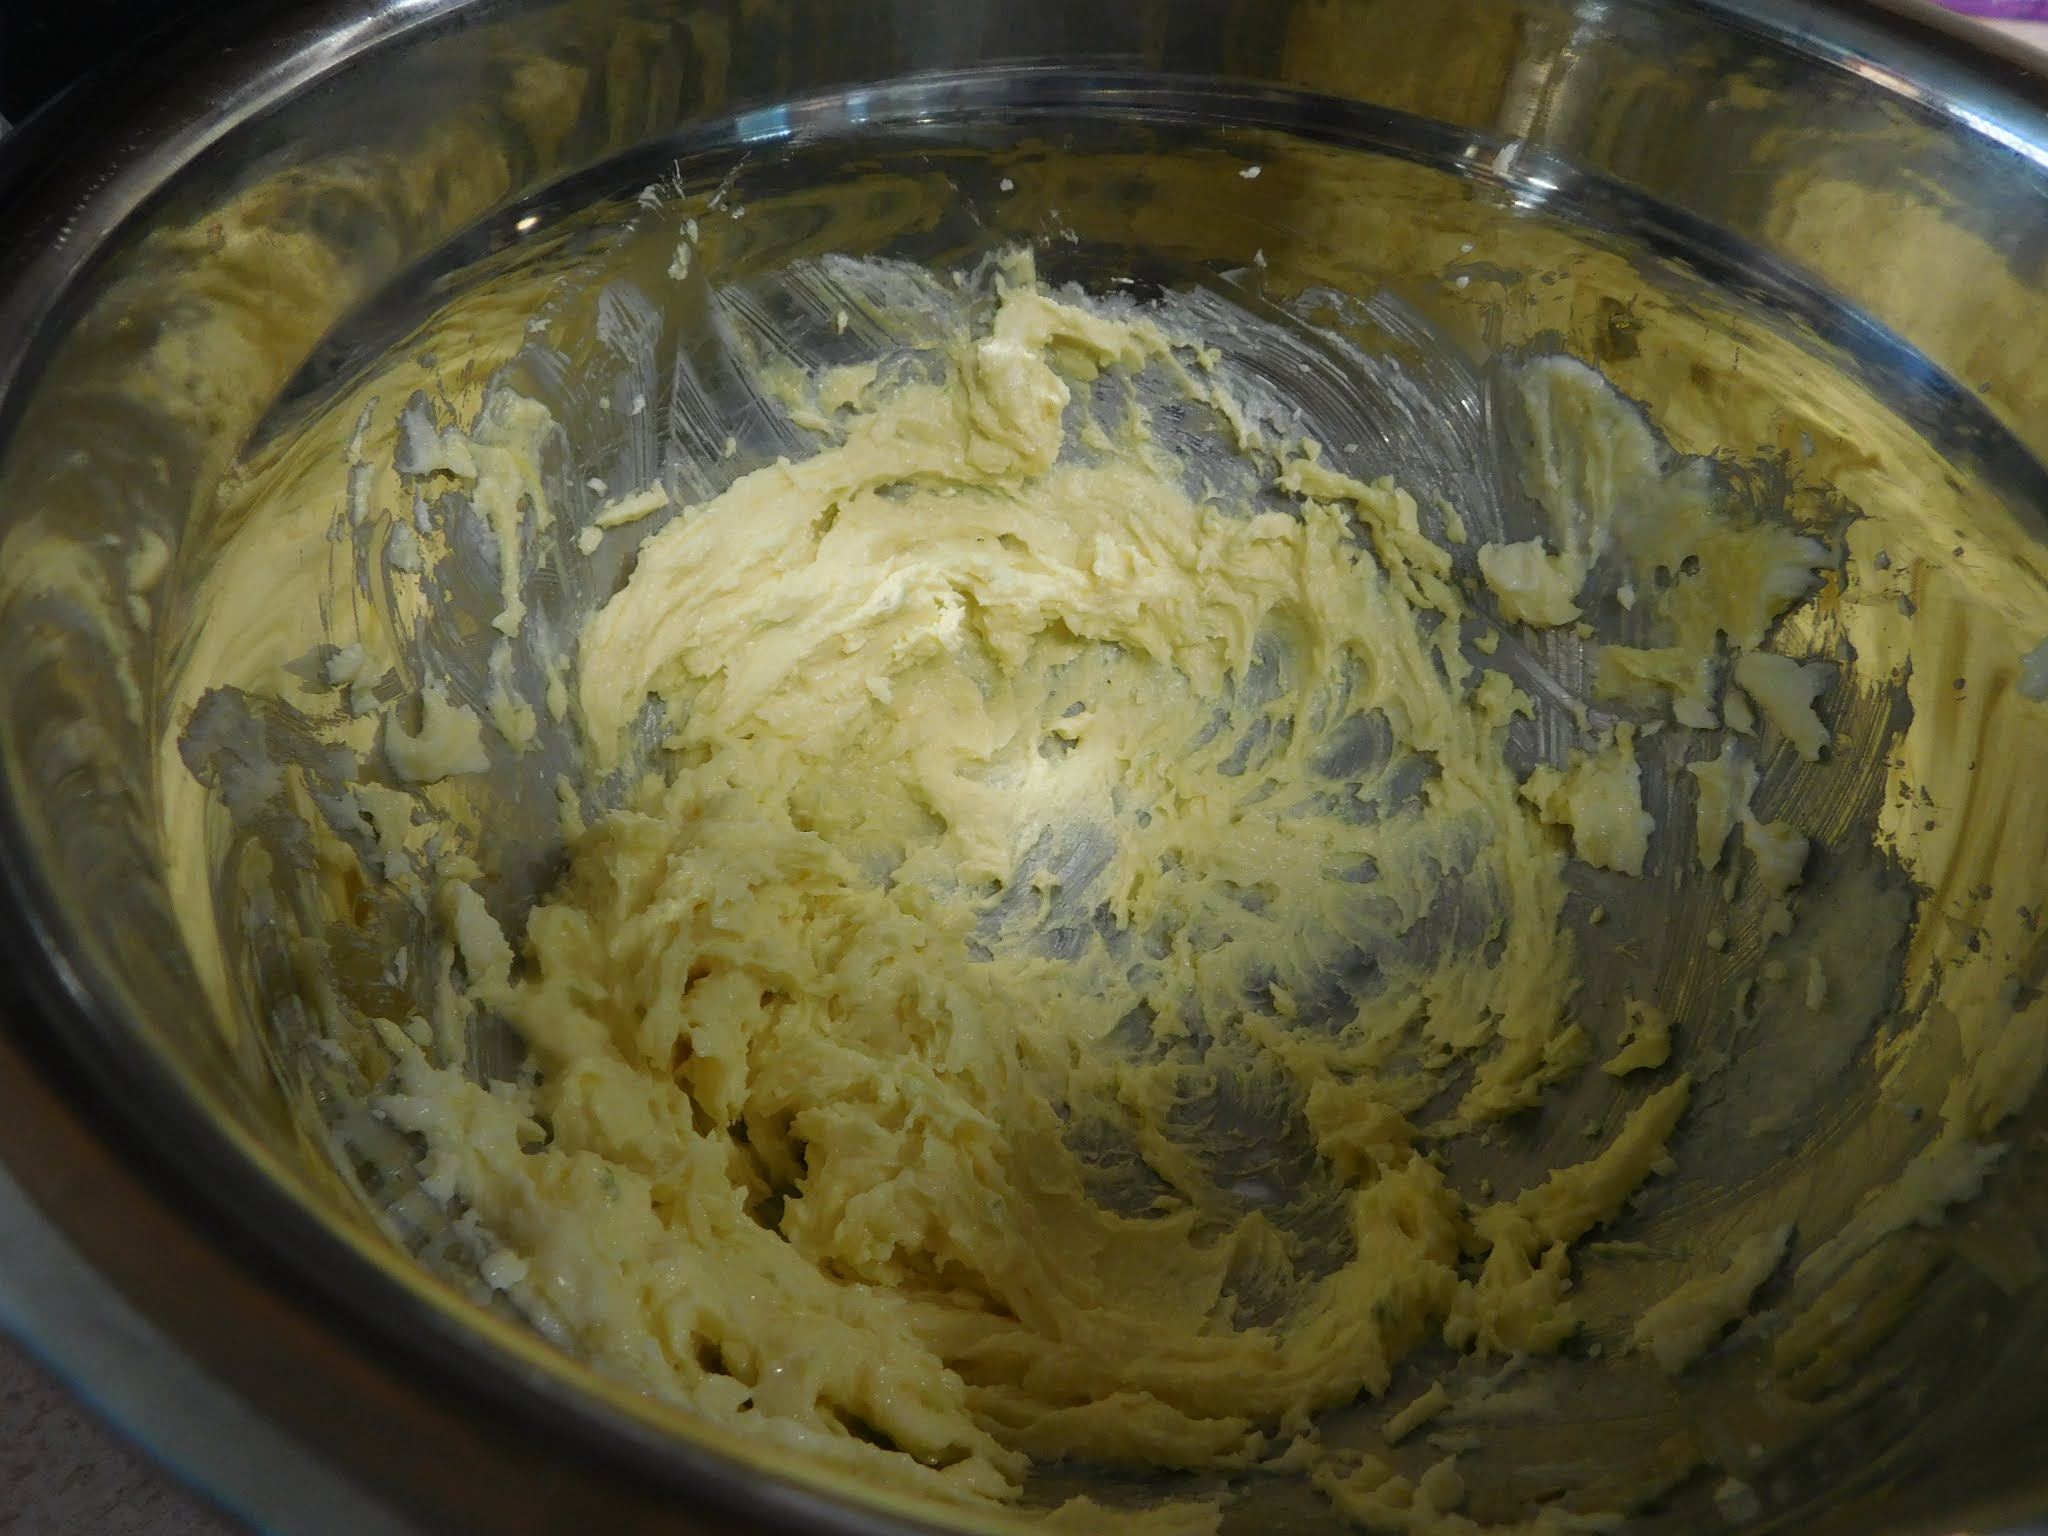
In a medium bowl beat the butter and 3 Tablespoons sugar until creamy, about 1-2 minutes.


Add the egg yolk, zest, and vanilla and beat at medium speed for 2 minutes.


Carefully mix in the flour. At first the dough is going to look very dry and like it is not going to work. Just keep beating it and it will come together into a nice dough.


Using a cookie scoop portion dough out on lined cookie sheet.


With damp hands roll each cookie into a ball.


Using a flat bottom glass (mine was about 2 ½” in diameter) barely wet the bottom of the glass and dip into the small dish of sugar then use the glass to flatten each cookie, being sure to dip in the sugar between each cookie.


 You are aiming for about 1/4” in thickness.


Bake in preheated oven for 8 to 10 minutes or until just starting to get golden brown around the edges.


Cool on pan for 5 minutes then move to cooling rack to continue cooling.


Makes around 7 cookies.