Have you checked out all my blogs?


Dollhouse Minis: http://joannesminis.blogspot.com/


18” Dolls: http://joannes18dolls.blogspot.com/


General Crafts: http://joannes-place.blogspot.com/


Showing posts with label breakfast. Show all posts

Monday, November 20, 2023

Breakfast Quesadillas Two Ways


A quesadilla might just be the perfect hand held food. It is like a sandwich without being weighed down with too much bread. They are fun to eat, easy to make and can be eaten on the go.


I have two versions of Breakfast Quesadillas for you today and in my opinion they are kind of the extremes in each direction. I have a small very plain one and a larger loaded one. You can make either, both or more likely something that is in between and perfectly suited to whoever has the pleasure of eating it.


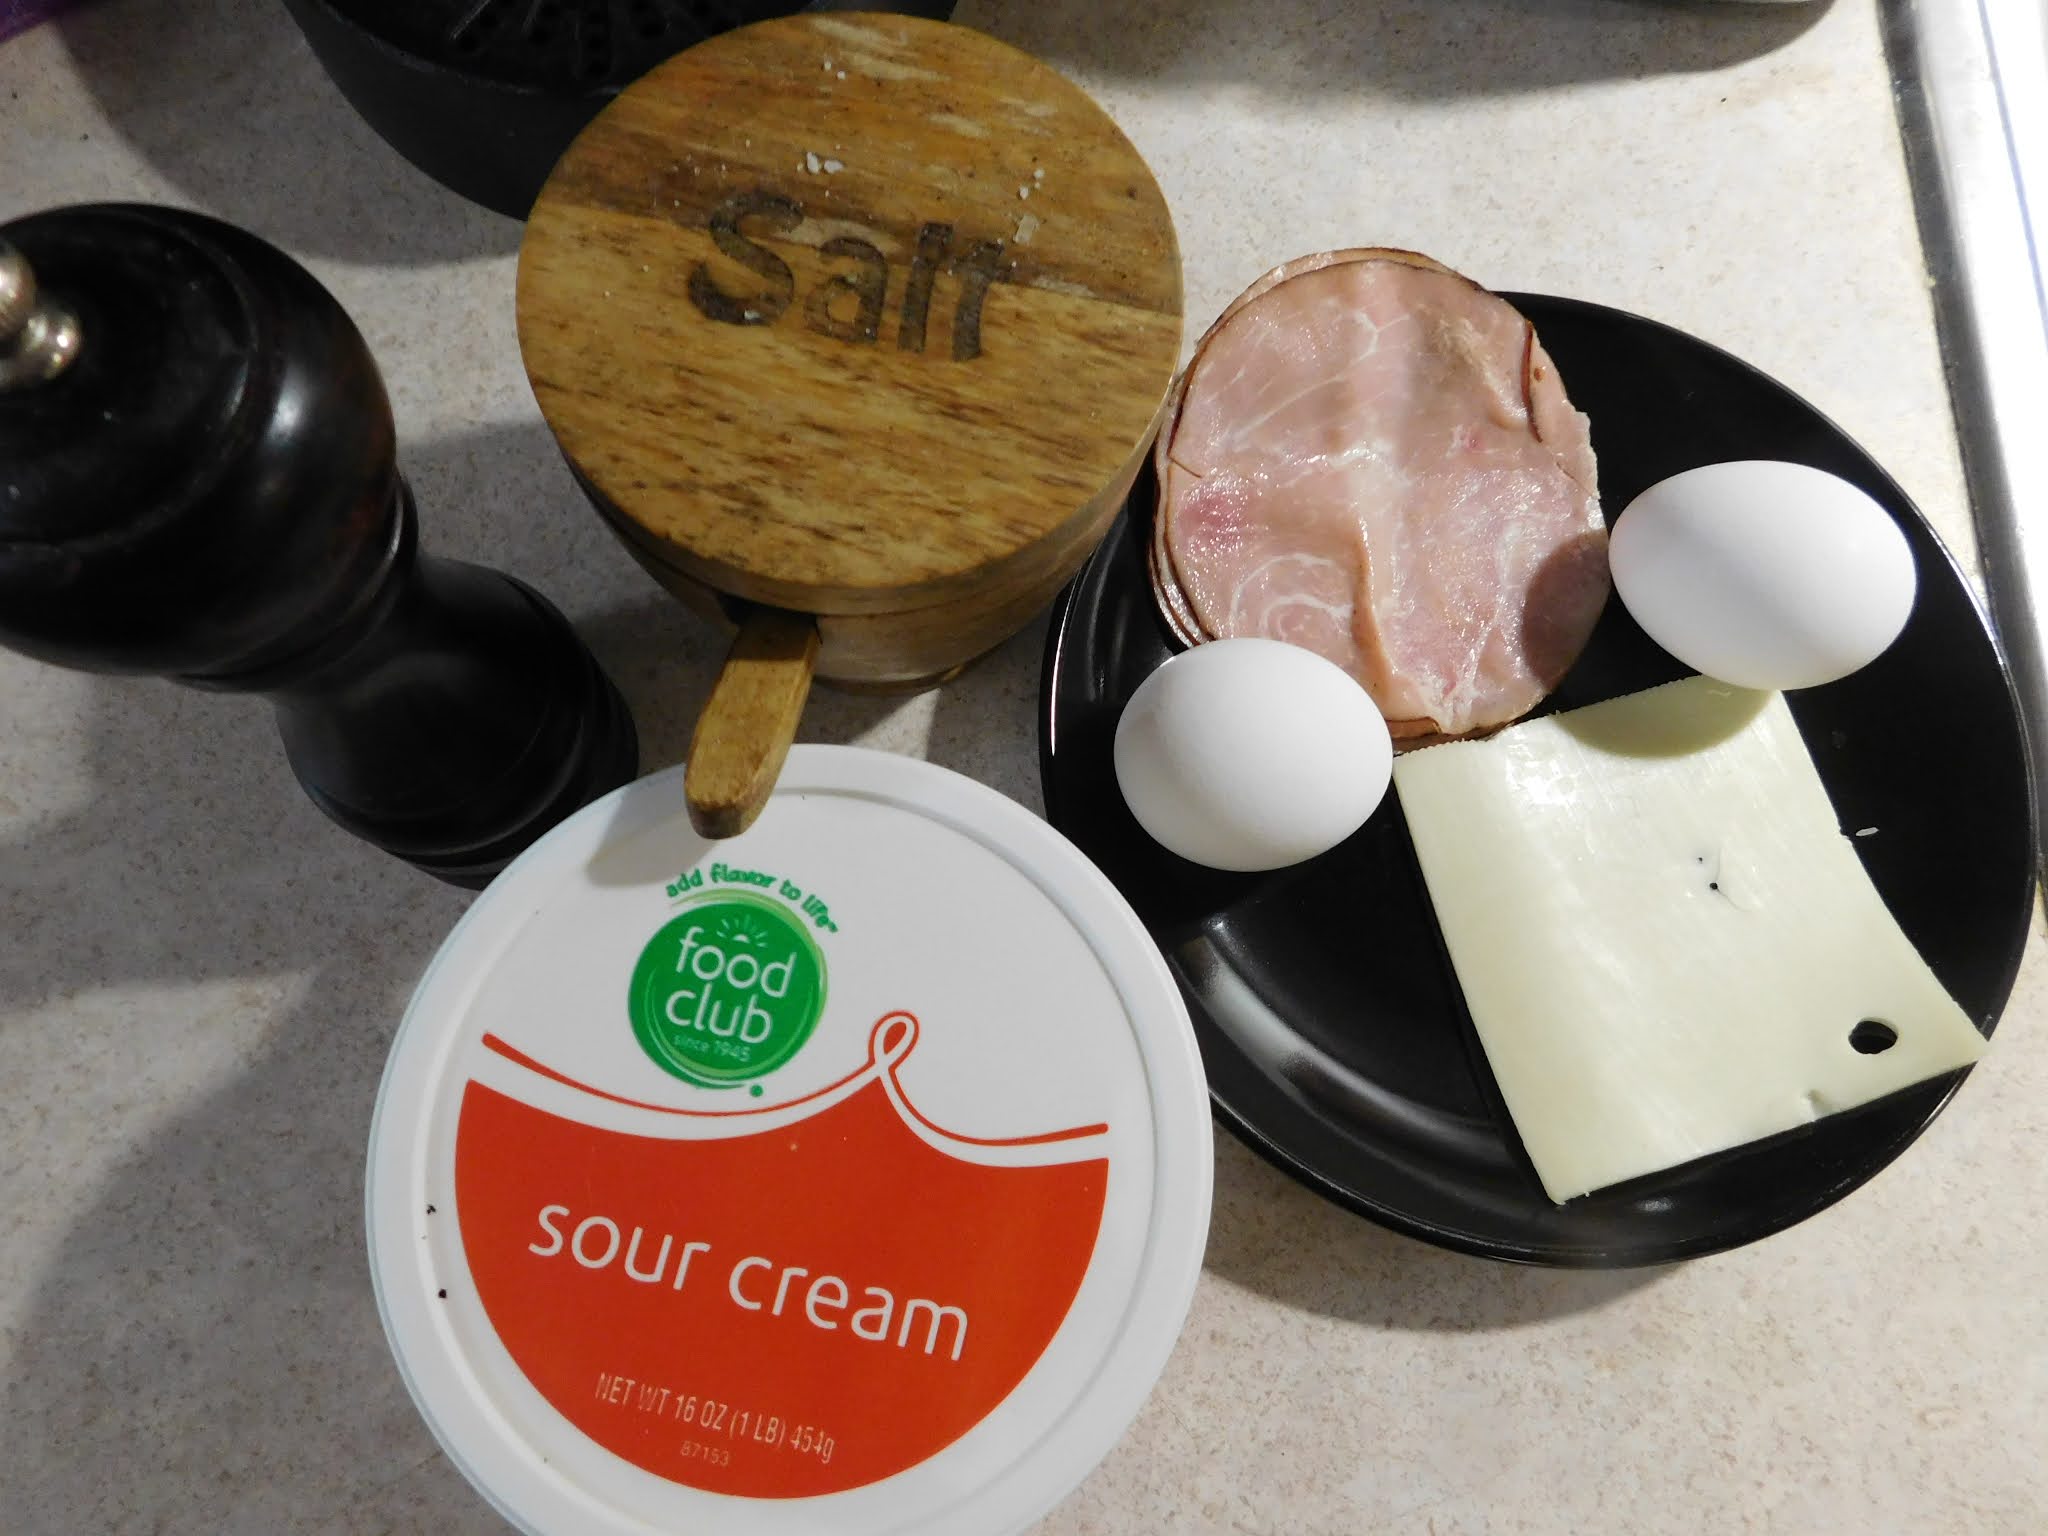
For the small plain one we will only need a 6” flour tortilla, an egg and some shredded cheese.


For the loaded version I step up to an 8” flour tortilla, 2 eggs., and the cheese along with the fillings that sound good on the day I am making it.

Today those items were: bacon, a couple of green onions, and salsa.


In addition we need some cooking spray (like Pam) to coat the tortilla. You will also need some butter to cook the eggs in if you don’t use something like bacon or sausage.


Of course these are just suggestions, you could add other veggies, peppers are wonderful as are sliced avocado. Use you imagination and look through the fridge to see what’s there.


No matter which size you are making it is important to use a skillet that is close to the size of your tortilla. This will make the process of cooking and assembly so much easier.


To make the small simple quesadilla pre-heat your skillet over medium heat, add some butter to melt.


Meanwhile beat the egg with salt and pepper to taste. Once the butter melts add the egg to the pan. Swirl the pan a bit to cover the bottom evenly.


Allow the egg to cook on the bottom then add some shredded cheese. You want the egg to still be runny on the top.


Add the tortilla over the cheese and press it lightly into the cheese/egg. Immediately spray the top of the tortilla with some cooking spray.


Flip the entire tortilla, egg, cheese stack over so the tortilla is on the bottom. This will be fairly easy once the egg cooks and releases from the pan.


Now add a bit more cheese.


Fold the quesadilla in half and cook, flipping occasionally until the outside of the tortilla is crispy.


Remove from the skillet to a cutting board and cut in half.


Enjoy!


For the loaded version heat your skillet and if you are using bacon or sausage add that to the pan to cook. Be sure to cut up the bacon first.


Once the meat is cooked through and crispy in the case of the bacon. Remove to a paper towel lined plate and add any cut up veggies to the grease left in the pan. Cook until tender.


Add the meat back into the pan and spread the fillings around the pan evenly.


Beat the eggs with seasonings of your choice and pour over the meat and/or veggies in the pan. Swirl to cover most of the bottom of the pan and cook until the bottom surface of the eggs are beginning to set. 


Add a layer of shredded cheese.


Immediately add the tortilla to the top and gently press it down onto the cheese and egg base in the pan.


Spray the top of the tortilla with pan spray.


When the eggs have cooked enough to loosen from the pan flip the quesadilla over so the tortilla is on the bottom.


Add a bit more cheese and salsa.


Fold in half.


Cook, flipping occasionally until the tortilla is crispy.


Remove to a cutting board and cut in half.


Serve and enjoy.


Either of these are great on their own or with salsa or sour cream to dip them into.


You can find a downloadable/printable version of this recipe here.


Breakfast Quesadillas


Small quesadilla:


Butter

1 egg

salt and pepper to taste

shredded cheese

6” tortilla

pan spray (like Pam)


Melt butter in a small skillet over medium heat.


Beat the egg with some salt and pepper to taste and add to the pan with the melted butter.


Swirl the pan to spread the egg over the bottom of the pan.


As soon as the egg starts to set on the bottom add a layer of shredded cheese.


Top with the tortilla, press the tortilla down into the cheese and egg. Spray the top of the tortilla with the cooking spray.


As soon as the egg is cooked enough to let go of the pan flip the quesadilla over and add a bit more cheese to the top.


Fold and cook until crispy on both sides.


Serves one.


Loaded Quesadilla


2 strips of bacon, cut up

2 green onions, sliced

2 eggs

salt and pepper to taste

shredded cheese

8” tortilla

pan spray (like Pam)

salsa


(these are just suggestions feel free to use what you have on hand to fill yours)


Start by heating a skillet over medium heat, add the bacon and cook until crispy. Remove to a paper towel lined plate.


Add the onion and any other veggies you wish to the pan and cook until tender.


Meanwhile beat the egg with salt and pepper to taste.


Add the cooked bacon back into the pan spread the mixture over the bottom of the pan. Add the eggs to the pan and swirl the pan to cover the bottom of the pan.


Cook just until the bottom side of the eggs start to set then add the shredded cheese.


Immediately add the tortilla on top of the cheese. Lightly press down onto the cheese/egg mixture. Then spray the top side of the tortilla with pan spray.


Once the eggs have cooked enough to loosen from the pan flip the quesadilla over so the tortilla is on the bottom.


Add a small layer of cheese and as much salsa as you wish.


Fold the quesadilla in half.


Cook, flipping occasionally until the tortilla is crispy.


Remove to a cutting board and cut in half.


Enjoy!

Wednesday, September 1, 2021

English Muffin Bread


My recipe this week is for a lovely loaf of English Muffin bread. I have bee playing around with this one for a while making little adjustments here and there and I am very pleased with the result. 


Since this has become my favorite bread for toasting I make it often, about every other week or so. It just makes wonderful toast and if you are in the mood for a breakfast sandwich that same toast works better than any other option I have tried.


You will need a small (8” by 4”) loaf pan for this. It makes the perfect size loaf for this recipe. We will grease this pan (I just use non-stick spray) and then sprinkle it with some cornmeal. This makes for a wonderful crunchy crust on the bottom and sides and really brings the English muffin part of the experience.


I like to do the initial mixing/beating with my hand mixer than finish up with a wooden spoon. I feel the bread turns out much better with this combination. I do knead this dough for just a couple of minutes just long enough to bring the dough together and make it smooth dough.


Then a quick rise and it will be ready for the oven. My sure-fire way to make sure any bread is cooked through is to take it's temperature with an instant read thermometer, it should be around 190°F when baked through.


Allow to cool out of the pan on a wire rack until room temperature before cutting. I like to cover my bread with a damp cloth when I set it to cool. This helps the crust become just a touch more tender.


Click this link for a downloadable/printable copy of today's recipe


English Muffin Bread


1 cup milk

¼ cup water

1 Tablespoon butter

3 cups all purpose flour

1 Tablespoon sugar

1 Tablespoon active dry yeast

1 teaspoon salt

¼ teaspoon baking soda


cornmeal for the pan


Grease the bottom and sides of an 8” by 4” loaf pan (I use non-stick spray) then sprinkle with cornmeal. Set aside.


Combine the milk, water, and butter in a microwave save container and heat to between 120° F and 130°F.


In a large bowl combine half the flour *1 ½ cups), the sugar, yeast, salt and baking soda. Stir to combine.


Add the heated milk mixture and using a hand mixer mix for 1 minute then beat an additional minute on medium speed.


Slowly add the rest of the flour (about ½ cup at a time) mixing with a wooden spoon. This will form a very shaggy dough.


Turn this shaggy dough out onto a floured surface and knead just until it comes together and becomes smooth. This usually takes just a couple of minutes.


Place the dough into the prepared loaf pan.


 Cover with plastic wrap and set in a warm place away from drafts to rise for 45 to 60 minutes. You will know it is ready to bake when you can touch the bread and the indentation remains.


Preheat oven to 400°F and bake the bread until golden brown about 20 to 30 minutes. The bread's internal temperature should be around 190°F when taken with an instant read thermometer. 


Cool on a wire rack to room temperature before cutting. If you wrap the hot loaf with a damp cloth while it cools you will get a slightly softer crust.


Once cool brush off some of the excess cornmeal from the sides and bottom leaving most of it.


This bread makes wonderful toast and/or breakfast sandwiches.


Wednesday, July 28, 2021

Migas


This is one of my current go to breakfasts, it is quick and tastes really good. It also will fill you up and stick with you when you have a busy morning. It is based on a Southwest dish called Migas but it is very loosely based on that. There have been several liberties taken and I love how it turned out. 


The original dish uses corn tortillas while this one uses up some of those broken chips at the bottom of a bag of tortilla chips. I love how they work with the rest of the dish and this way they don't get wasted. They can even be stale because they are going to get a bit soft anyway.


Another reason I love this recipe is that it is written as a per person recipe meaning you can make one serving or a bunch of servings. Really you are only limited by the size of your skillet. The ingredients are listed for one serving but they are all easy to scale up to how ever many people you are cooking for.


This one also can take advantage of other leftovers in the fridge. You don't have any green onions? That's okay just chop up any onion you have on hand. One of the advantages of a green onion though is you get to sprinkle the chopped tops over the finished dish.


I used chopped jalapeno this time because I had some left from a couple of days ago that I wanted to get used up. If you don't want any heat just use regular green bell pepper or again any pepper you have on hand. Do keep in mind though that even jalapenos get a lot more mild when cooked. You can also mix your peppers.


I do think it is best to use a chunky salsa any variety works I just use whatever I happen to have on hand. This is excellent with fresh salsa if you happen to have any.


I almost always have pre-shredded Mexican cheese blend in my fridge because I can throw it into almost any dish. Just use any shredded cheese in here either a Cheddar of Jack is best but in a pinch get creative.


You will notice I don't have you season the egg mixture with salt and pepper. I do this on purpose and I suggest you wait. Because of the fact that the chips can be very salty and so are some brands of salsa I never salt this until it is cooked and I can taste it. Most of the time I find it really doesn't need the extra seasoning since the ingredients are already seasoned for the most part.


Click here to go to the downloadable/printable PDF of this recipe.


Migas

(per person)

2 green onions (or 2 Tablespoons chopped onion)

2 Tablespoons chopped jalapeno pepper (or other fresh pepper)

1 Tablespoon vegetable oil


2 large eggs

1 Tablespoon salsa

¼ cup crushed tortilla chips

¼ cup shredded cheese


Finely chop your onions and pepper, if you are using the green onions keep the green tops separate from the white part.


Heat a heavy bottom skillet over medium heat. Add oil and as soon as the oil is hot add the chopped onion and pepper.


Cook until softened about 5 minutes.


Meanwhile, beat together the eggs and salsa.


When the onion mixture turn the heat down to medium-low and add the egg mixture. Scramble until almost set and add the tortilla chip pieces along with half the cheese. Stir well to combine.


Continue cooking until the eggs are cooked through and cheese is melted.


Transfer to plate and top with the rest of the shredded cheese and the chopped green onion tops.


Enjoy!


Wednesday, June 30, 2021

Peachy Baked French Toast Casserole


This week the recipe I am sharing on here is a wonderful baked French Toast Casserole. It is the perfect breakfast when you want to make someone feel special and the best part you do almost all the work anytime the day before you are going to serve it. That's a huge bonus for any recipe in my book. 


Like most recipes for French Toast this one relies on some stale bread. You only need a couple of slices, I think I used one full slice and the two ends of my round loaf of sourdough bread. Just cut up cubes until you have the right amount, anywhere from 1 ¼ to 1 ½ cups of cubes. This recipe is really forgiving the amounts can be fudged a bit either way on most ingredients and it won't make a difference. Just use what is in your fridge and pantry.


For the peaches you can use fresh, frozen (thaw and drain off any moisture) or canned. Like I said this is a very forgiving recipe.


For a baking dish if you have a small casserole dish that would make the presentation more special. The one I used measures about 7” by 4 ½” and holds right around 2 ½ cups. If you don't have one of similar size I would recommend using a glass loaf pan since the “footprint” would be similar. Be sure to grease the casserole dish really well before you add the bread mixture.


It does need to sit in the fridge, covered for at least 8 hours or up to 24 hours. Just make it anytime the day before that you have a few minutes and you will be way ahead the next morning.


Click here to go to the downloadable/printable PDF of this recipe.


Peachy Baked French Toast Casserole


2 Tablespoons flour

¼ cup milk

¾ teaspoon sugar

pinch salt

2 eggs

¼ teaspoon vanilla extract

1 ¼ to 1 ½ cups stale bread cubes

¼ to ½ cup diced peaches (fresh, canned (drained well) or frozen (thawed and drained)


Powdered sugar

Peach Jam/jelly/preserves


Thoroughly grease your 2 ½ cup casserole dish and set aside.


In a medium bowl combine the flour, milk, sugar, salt, eggs and vanilla. Use hand mixer and be sure mix it thoroughly until it is very smooth.


Add the bread cubes to the milk mixture and stir carefully.


Pour the bread mixture into the prepared casserole dish. Sprinkle the diced peaches over the top.


Cover and put in the refrigerator for at least 8 hours or up to 24 hours.


To serve:


Take the casserole out of the fridge, uncover and place on a baking sheet.


Preheat oven to 400°F.


Bake the uncovered casserole for 20 to 25 minutes or until the top is golden brown.


Remove from oven.


Sprinkle top with a touch of powdered sugar.


Serve with peach jam/jelly/ preserves.

Wednesday, April 28, 2021

Eggs Lorraine


This week I thought I would share the recipe for what has become one of my all time favorite breakfasts when I want to treat myself. It is a bit rich but it is so easy and is made from things that are pretty normally in my fridge. It is a bit rich so it is more special occasion than everyday. I thought with Mother's Day coming up it was a great time to share this.


So if you want to treat yourself or someone you love this is a really good way to start a day.


One of my favorite things about this recipe is it can be made for any number of people. You just need an individual casserole dish for each person so it doesn't matter if you are making one serving or a bunch of servings.


This is baked in a small casserole dish, one that holds about 1 ½ to 2 cups and it should be fairly shallow. I have done this in round dishes (like in the pictures today), square dishes and oval dishes and they all worked just fine.


The prep for this is super easy you just coat your baking dish with either cooking spray or butter. Then layer the ham and sliced Swiss cheese in the bottom of the dish and add the 2 eggs. Then mix the sour cream with a bot pf salt and pepper and dollop on top of the eggs.


Bake this until the eggs are done the way you like them and enjoy. (See I told you it was super easy)


You can find the printable PDF of the recipe here.


Eggs Lorraine


2 slices of deli ham

1 slice Swiss cheese

2 large eggs

1 Tablespoon sour cream

a pinch each of salt and pepper

minced chives (optional)


Preheat the oven 350°


Lightly coat a 1 ½ to 2 cup casserole dish with butter or cooking spray. Place casserole dish(es) on a sheet pan to make it easier to get to and from the oven.


Add the sliced ham the prepared casserole 


                                  and top with the cheese slice.


Carefully break in the 2 eggs side by side on top of the cheese slice.


In a small bowl whisk the sour cream with the salt and pepper. Dollop the sour cream on top of the eggs.


Bake at 350° for 25-30 minutes or until the eggs are cooked the way you like them.


Remove from oven and sprinkle with minced chives if desired.


Serves 1