Have you checked out all my blogs?


Dollhouse Minis: http://joannesminis.blogspot.com/


18” Dolls: http://joannes18dolls.blogspot.com/


General Crafts: http://joannes-place.blogspot.com/


Wednesday, August 18, 2021

Caramel Apple Parfaits


This week I have a dessert recipe that is actually fairly healthy. I know shocking right?? I really love this one when I want something a bit fresher than a normal dessert. Depending on your choice of apple and yogurt you can make this healthy combo taste very much like an indulgent dessert. 


So let's start with the apple. You want a fairly sweet eating apple that is nice and crisp. I used a Pink Lady apple this time because they looked the nicest at the store. Pick whatever apple you love that is at least slightly sweet, Crispness is also a good quality for this dessert.


Now the other big decision is what yogurt to pick. Really you can use any vanilla flavored yogurt. My preference and what I think makes it stand up as a dessert is to use a Greek Yogurt. Because of its thicker quality I think it makes this taste and feel richer. Therefore it makes it a dessert.


This really is a dessert that should be made at the last minute. I like to put it together while dinner is cooking. Then I cover it with plastic wrap while dinner is being eaten. Then it is ready to enjoy after dinner.


I start off by prepping a bowl of water with a squirt of lemon juice in it. As I dice up the apple I place it immediately into the lemon/water. This will keep your dessert looking nice for a short time. After they soak drain them very well on paper towels.


Layer the yogurt in the bottom of each dessert dish, follow up with the diced apple, add a bit more yogurt, top with some caramel sauce. and finally sprinkle with nuts.


Click here for a downloadable/printable copy of the recipe.


Caramel Apple Parfaits


1 medium apple

a bit of lemon juice in water

1 cup Vanilla yogurt

plus another 2 Tablespoons of the yogurt for later

2 Tablespoons caramel sauce

2 Tablespoons chopped nuts either walnuts or pecans


Dice the apple and immediately place the apple pieces in some cold water with just a squeeze of lemon juice in it. Let them sit for a couple of minutes then drain well on paper towels.


In the bottom of each dessert dish (I used a custard cup) place ½ cup of the yogurt.


Divide the apples between the two dishes.


Top with each with another Tablespoon of yogurt.


Then a Tablespoon of caramel sauce


And finally the nuts on top.


Cover and store in the fridge for no more than a few hours.


Serves 2

Wednesday, August 11, 2021

S'mores Cupcakes


For the month of August I have a small batch recipe for some cupcakes based on that perennial favorite the S'more. I know for me growing up s'mores were a summer time staple and I still love the combo. I mean marshmallow, chocolate and graham cracker whats not to love about that?


This recipe took a bit longer to get the way I wanted it that some of the cupcakes I have done in past months. The frosting especially was tricky, trying to get a balance of marshmallow flavor but not too sticky was very hard to get right. This version is not ideal but it is a compromise that will store for a couple of days in the fridge with out melting. As for the decoration on top I do recommend just putting the teddy shaped crackers on just before serving as they will get soft very quickly on top of the cupcakes. They are just too cute to not add though.


I had initially tried to use regular graham crackers in these but they tended to get lost in the batter, when I tried the chocolate covered ones I found they were perfect and they add just a bit more chocolate so a win/win for the cupcake.


Of course we using a portion of a boxed mix that was divided like in my blog post from February 2019 which you can find here. Because of the amount of add-in ingredients we will get a couple more cupcakes than normal. For me I usually get 6 cupcakes per batch and I get 8 from this one.


A downloadable/ printable version of today's recipe can be found here.


S'mores Cupcakes


of a box of yellow cake mix

cup water

1 egg

3 ½ Tablespoons vegetable oil

¼ teaspoon vanilla extract

2 chocolate covered graham cracker squares

2 (1.55 oz) milk chocolate bars (divided)


Coarsely chop the graham cracker squares.


Save off 8 of the squares from one of the chocolate bars and chop the remaining portion of this bar and the other one coarsely. Reserve the squares for decorating the top of the cupcakes.


Start by preheating your oven to the temperature your box of cake mix calls for, mine was 350°F. Line your cupcake pan with paper liners.


Combine the water, egg, oil and vanilla in a mixing bowl and combine well.


Add the cake mix and beat for up to 90 seconds.


Carefully stir in the chopped graham cracker and chopped chocolate.


Portion into cupcake pan and bake according to instructions on your cake mix. Mine was baked at 350°F for about 20 minutes.


Cool in pan for 10 minutes then move to a cooling rack and cool completely.


Marshmallow Frosting


1/3 cup marshmallow creme

2 ½ Tablespoons butter, softened

2/3 cup powdered sugar

milk as needed


the reserved squares of chocolate

16 bear shaped graham crackers


Combine the marshmallow creme and butter until creamy. Add the powdered sugar and beat until smooth. It is going to look like is not going to come together but be patient it will come together. Add milk only if necessary about ½ teaspoon at most.


Spread the frosting on the cooled cupcakes.


Add one of the chocolate squares and 2 of the bear shaped graham crackers to decorate the top. (I would recommend not putting the bear crackers until just before serving)


Wednesday, August 4, 2021

Sugar Cookies


This week have a recipe for a really small batch of sugar cookies. Over the last couple of weeks while I have been testing the recipe and doing a few tweaks to it I have very consistently gotten 7 cookies out of just about every batch. That is a a fairly perfect number of cookies for just one or two people to eat over a few days.


I love how quick and easy they are to make and they contain just simple ingredients. They are very similar to a recipe I used to make a lot when my kids were growing up.


When you look over the ingredients you might notice that there is neither baking powder or baking soda in this recipe. That is not an error this recipe relies on the whipped butter, sugar and egg mixture to give it lift. For that reason you do really need to beat it with a mixer (a hand mixer works just fine) for the length of time in the recipe. You need to get a lot of air into that mixture before you mix in the flour.


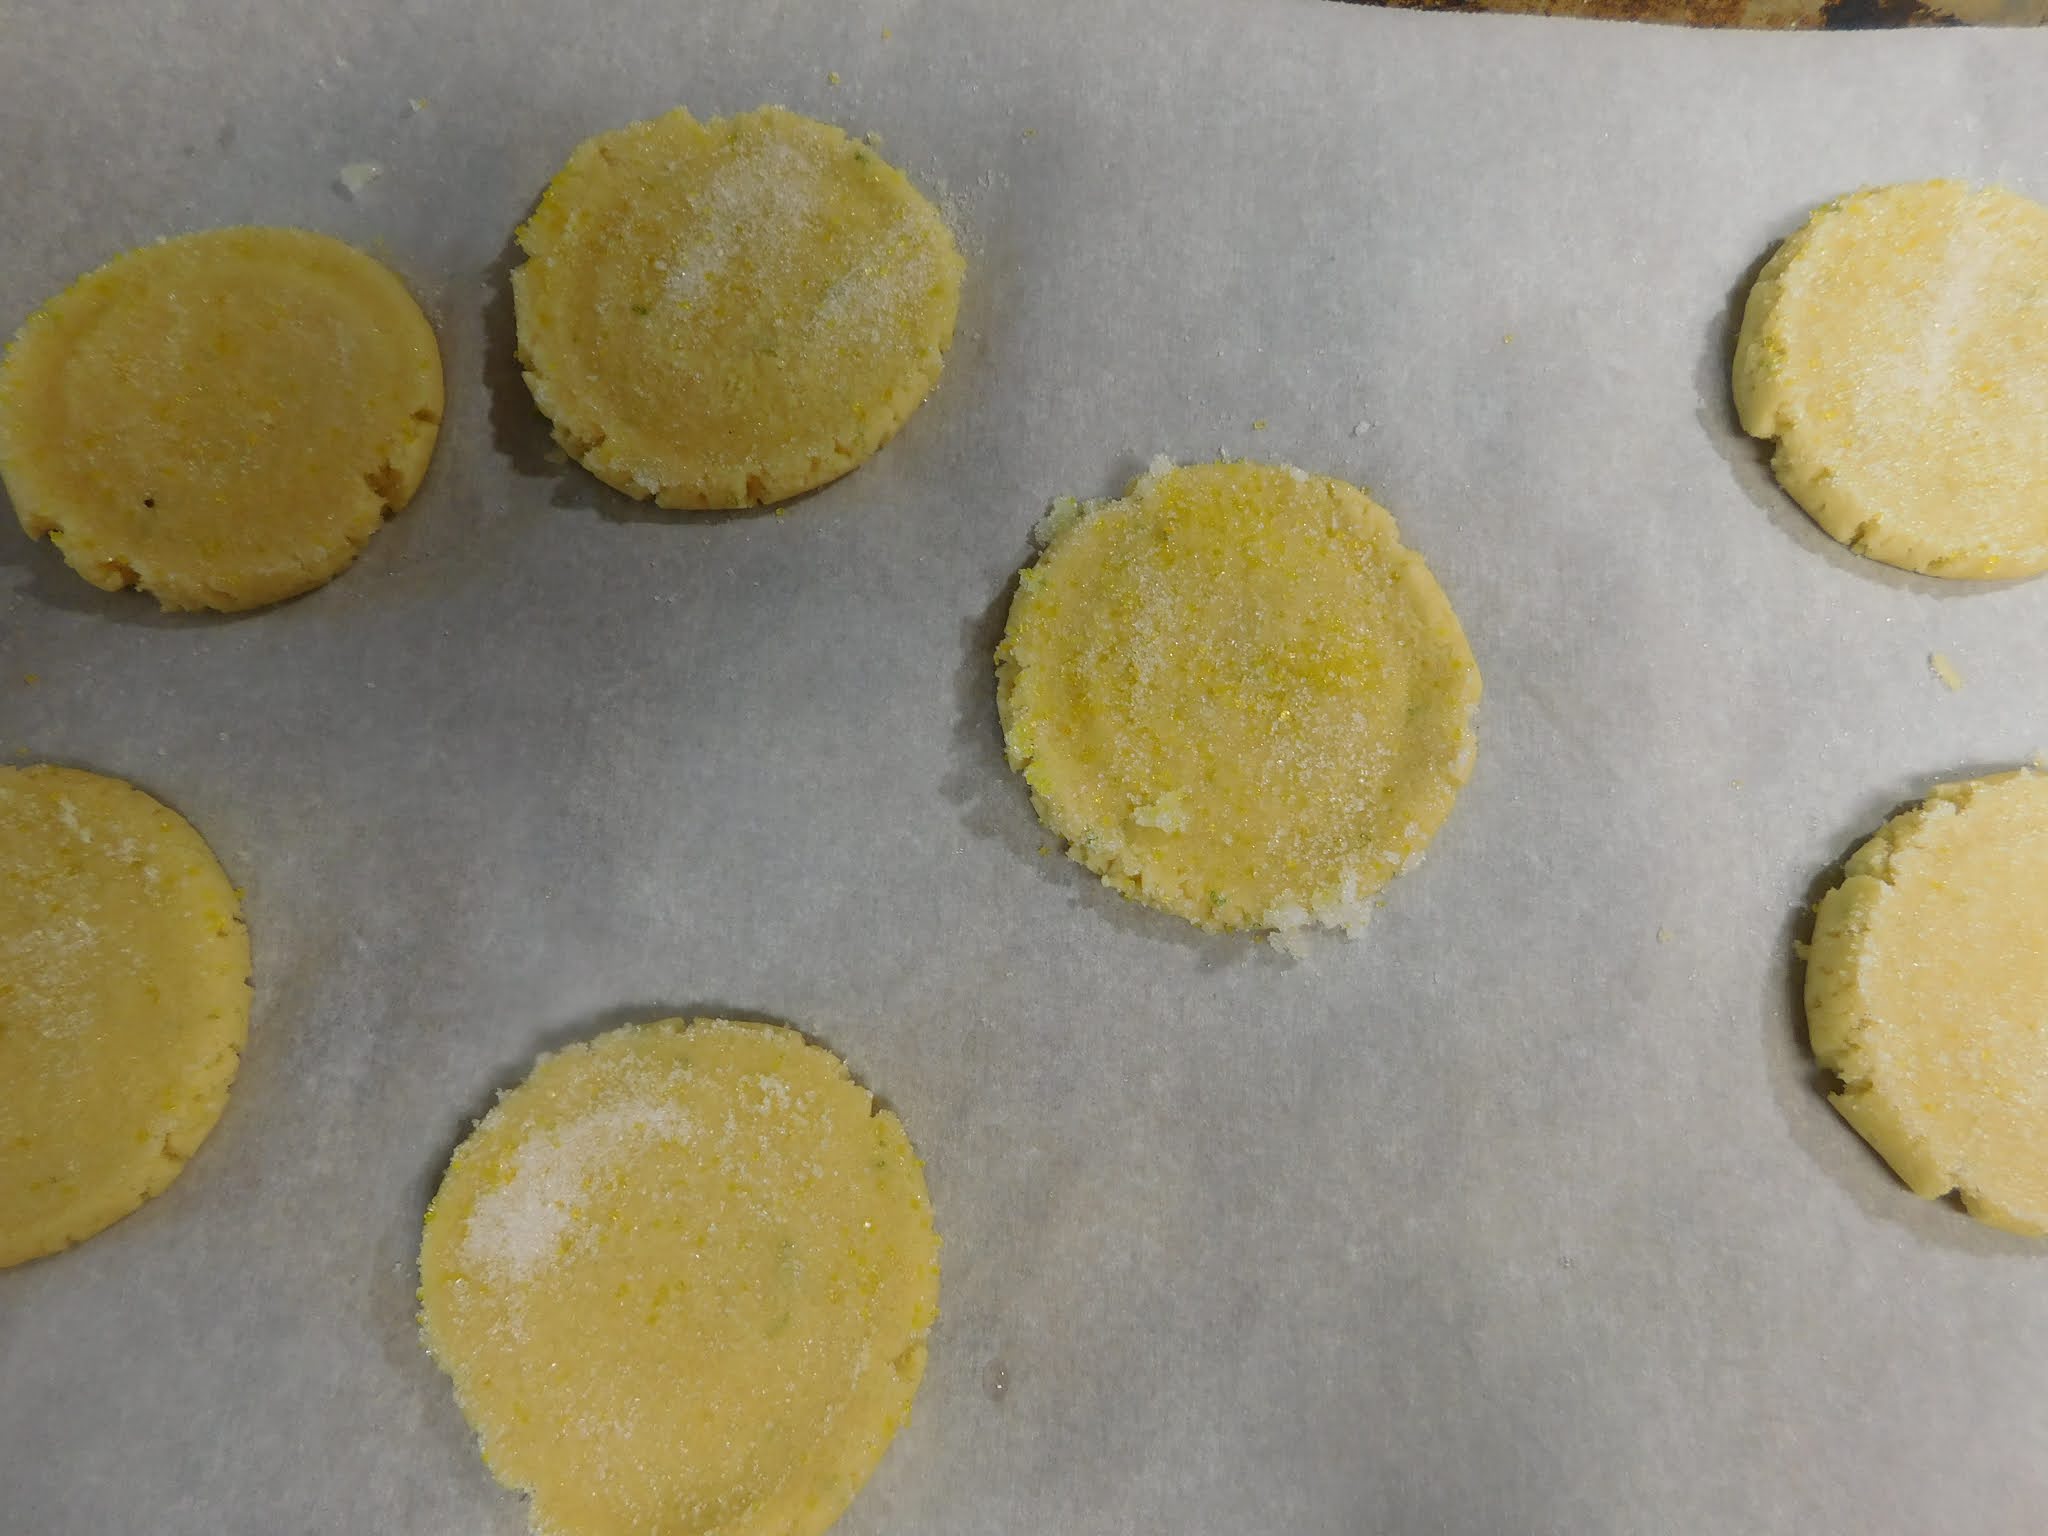
I do like to use my cookie scoop for most cookies and this is not an exception, I portion the dough out with the scoop first. The after all the dough is in balls I wet the palms of my hands with some water and roll them into nice round balls. By having your hands wet the dough won't stick to your skin. Once the balls are rolled lay them out on a parchment paper lined cookie sheet and use a flat bottomed glass dipped in sugar to flatten each ball into a cookie shape. I do find it is very helpful to wet the bottom of the glass with water before the first cookie then dip it into the sugar. That way you have the sugar on the bottom to both prevent the cookie from sticking to the glass and to add some sparkle to the top of the cookies. Aftr you flatten the first cookie just dip the glass back into the sugar before going on the next cookie. Repeat this for all the cookies being sure to dip in the sugar between each cookie. I like to add a sprinkle of colored decorators sugar to my plain sugar for this, totally optional but it just makes the cookies sparkle a bit more.


I do use some citrus zest in these cookies, I have used lemon, lime and orange and all are just wonderful. I used lime this time because that is what I had. You can skip it if you need to but you will be missing the freshness the zest adds. If you do leave out the zest double the amount of vanilla you use to make up for it.


You can find a downloadable/printable copy of the recipe here,

Sugar Cookies


¼ cup butter, room temperature

3 Tablespoons sugar (plus more to use in shaping the cookies)

1 large egg yolk

½ teaspoon citrus zest

¼ teaspoon vanilla

½ cup flour


Preheat oven to 350°F

Line a cookie sheet with parchment paper.


Put an additional 1 Tablespoon of sugar into a small dish to use in shaping the cookies. (add some colored decorators sugar if you like)


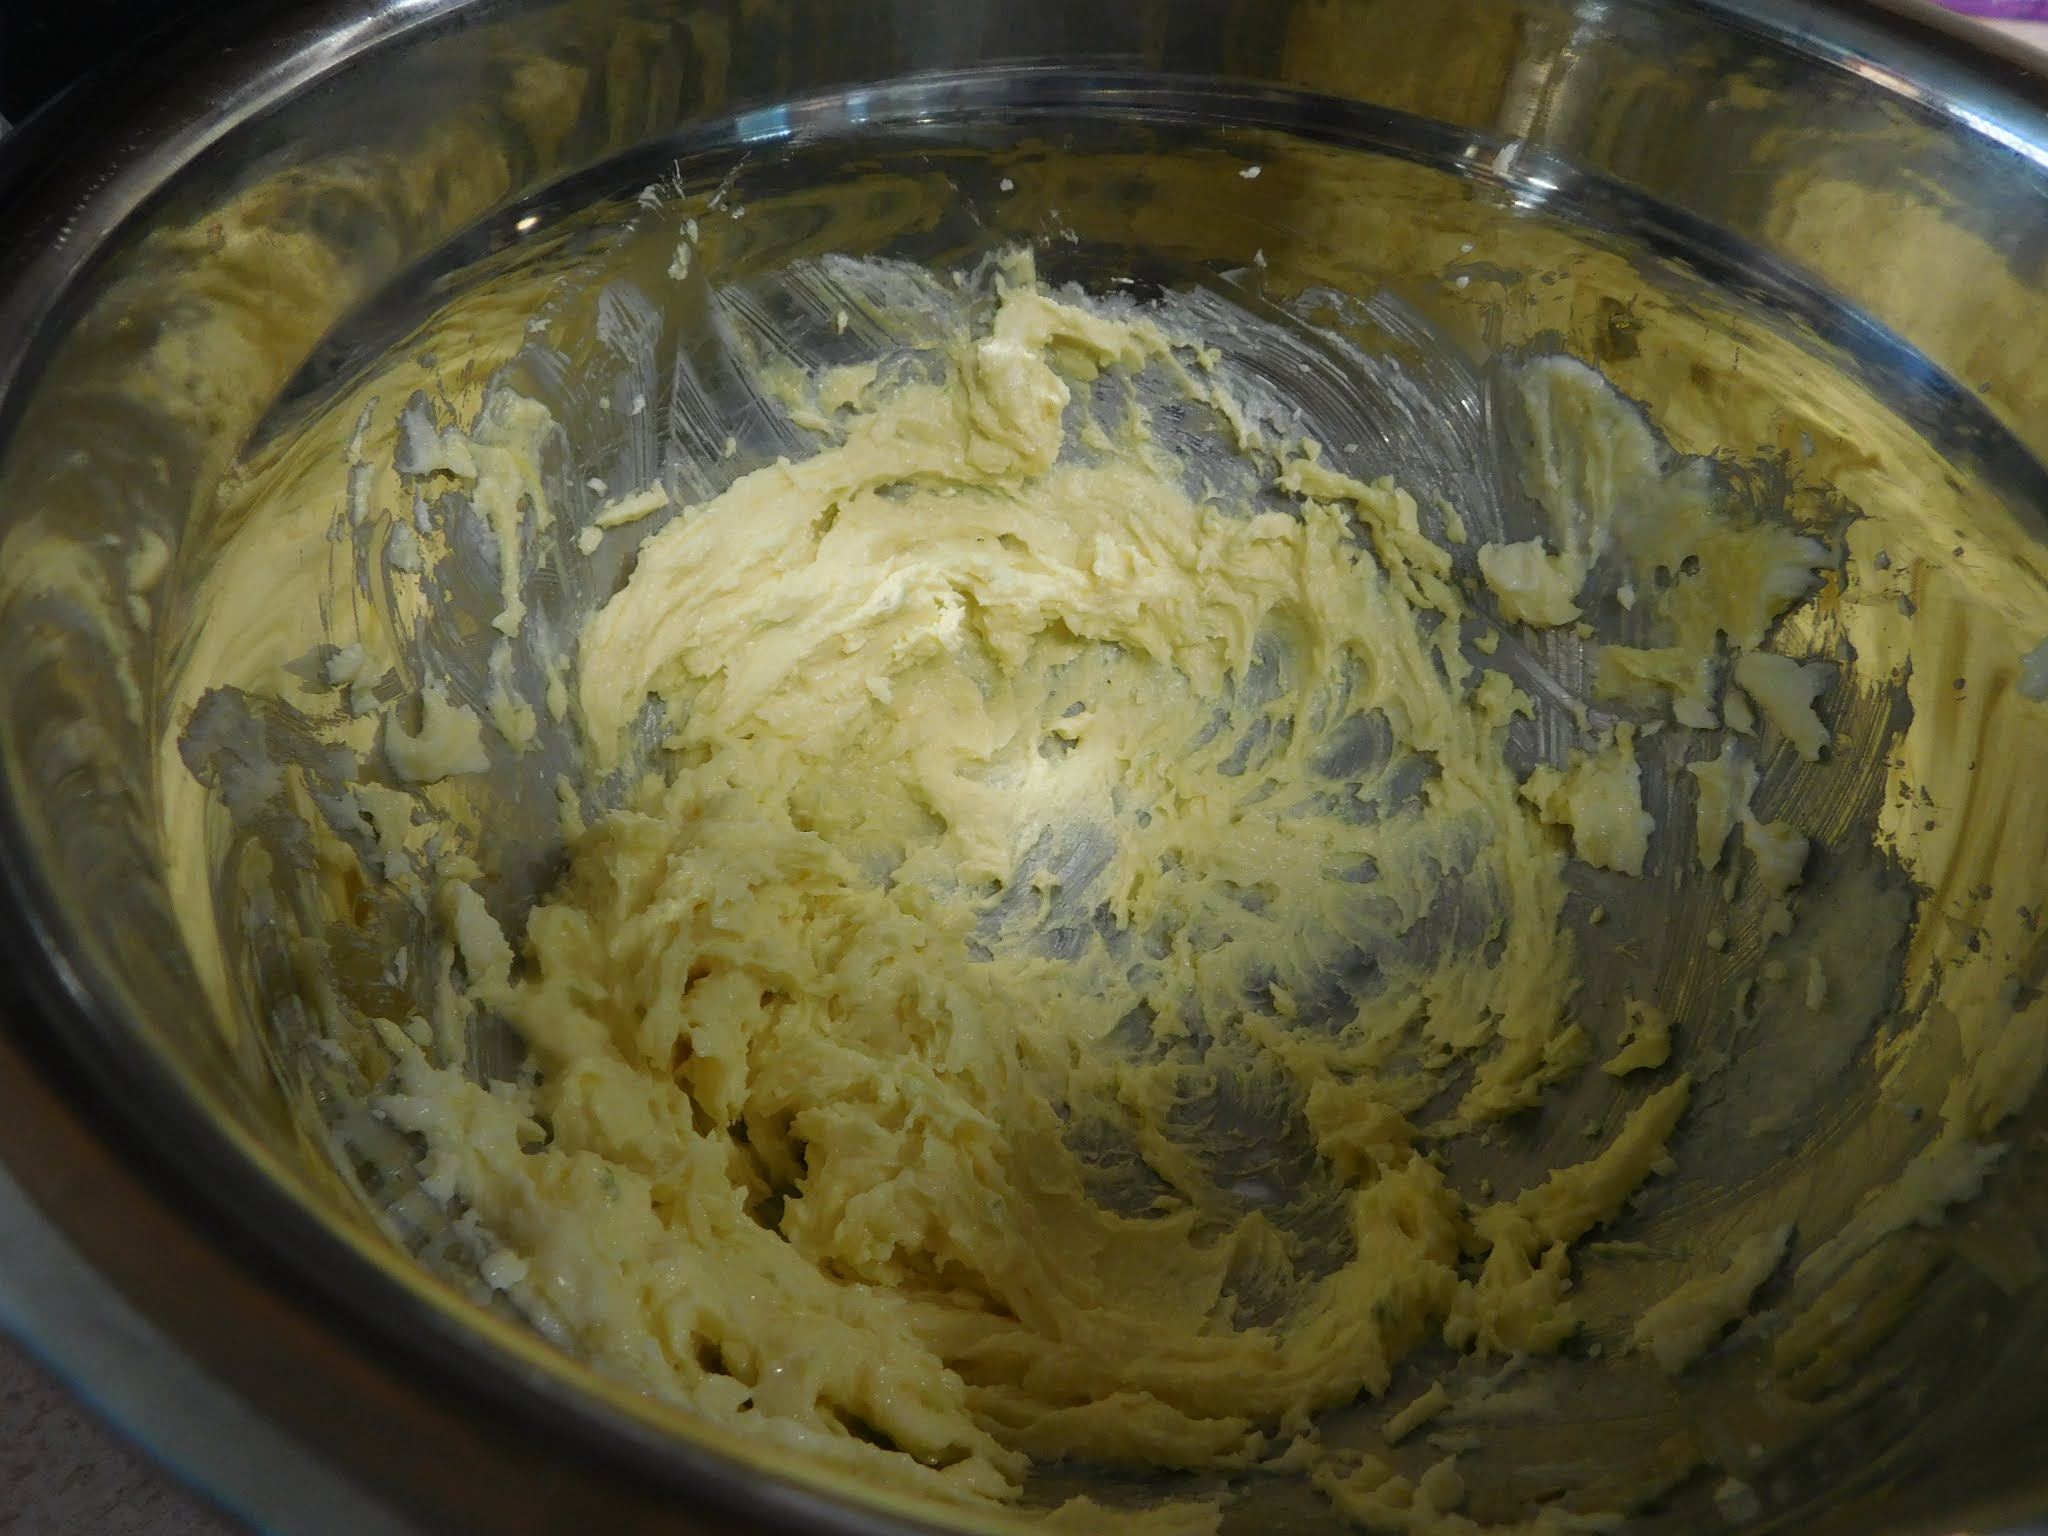
In a medium bowl beat the butter and 3 Tablespoons sugar until creamy, about 1-2 minutes.


Add the egg yolk, zest, and vanilla and beat at medium speed for 2 minutes.


Carefully mix in the flour. At first the dough is going to look very dry and like it is not going to work. Just keep beating it and it will come together into a nice dough.


Using a cookie scoop portion dough out on lined cookie sheet.


With damp hands roll each cookie into a ball.


Using a flat bottom glass (mine was about 2 ½” in diameter) barely wet the bottom of the glass and dip into the small dish of sugar then use the glass to flatten each cookie, being sure to dip in the sugar between each cookie.


 You are aiming for about 1/4” in thickness.


Bake in preheated oven for 8 to 10 minutes or until just starting to get golden brown around the edges.


Cool on pan for 5 minutes then move to cooling rack to continue cooling.


Makes around 7 cookies.

Wednesday, July 28, 2021

Migas


This is one of my current go to breakfasts, it is quick and tastes really good. It also will fill you up and stick with you when you have a busy morning. It is based on a Southwest dish called Migas but it is very loosely based on that. There have been several liberties taken and I love how it turned out. 


The original dish uses corn tortillas while this one uses up some of those broken chips at the bottom of a bag of tortilla chips. I love how they work with the rest of the dish and this way they don't get wasted. They can even be stale because they are going to get a bit soft anyway.


Another reason I love this recipe is that it is written as a per person recipe meaning you can make one serving or a bunch of servings. Really you are only limited by the size of your skillet. The ingredients are listed for one serving but they are all easy to scale up to how ever many people you are cooking for.


This one also can take advantage of other leftovers in the fridge. You don't have any green onions? That's okay just chop up any onion you have on hand. One of the advantages of a green onion though is you get to sprinkle the chopped tops over the finished dish.


I used chopped jalapeno this time because I had some left from a couple of days ago that I wanted to get used up. If you don't want any heat just use regular green bell pepper or again any pepper you have on hand. Do keep in mind though that even jalapenos get a lot more mild when cooked. You can also mix your peppers.


I do think it is best to use a chunky salsa any variety works I just use whatever I happen to have on hand. This is excellent with fresh salsa if you happen to have any.


I almost always have pre-shredded Mexican cheese blend in my fridge because I can throw it into almost any dish. Just use any shredded cheese in here either a Cheddar of Jack is best but in a pinch get creative.


You will notice I don't have you season the egg mixture with salt and pepper. I do this on purpose and I suggest you wait. Because of the fact that the chips can be very salty and so are some brands of salsa I never salt this until it is cooked and I can taste it. Most of the time I find it really doesn't need the extra seasoning since the ingredients are already seasoned for the most part.


Click here to go to the downloadable/printable PDF of this recipe.


Migas

(per person)

2 green onions (or 2 Tablespoons chopped onion)

2 Tablespoons chopped jalapeno pepper (or other fresh pepper)

1 Tablespoon vegetable oil


2 large eggs

1 Tablespoon salsa

¼ cup crushed tortilla chips

¼ cup shredded cheese


Finely chop your onions and pepper, if you are using the green onions keep the green tops separate from the white part.


Heat a heavy bottom skillet over medium heat. Add oil and as soon as the oil is hot add the chopped onion and pepper.


Cook until softened about 5 minutes.


Meanwhile, beat together the eggs and salsa.


When the onion mixture turn the heat down to medium-low and add the egg mixture. Scramble until almost set and add the tortilla chip pieces along with half the cheese. Stir well to combine.


Continue cooking until the eggs are cooked through and cheese is melted.


Transfer to plate and top with the rest of the shredded cheese and the chopped green onion tops.


Enjoy!


Wednesday, June 30, 2021

Peachy Baked French Toast Casserole


This week the recipe I am sharing on here is a wonderful baked French Toast Casserole. It is the perfect breakfast when you want to make someone feel special and the best part you do almost all the work anytime the day before you are going to serve it. That's a huge bonus for any recipe in my book. 


Like most recipes for French Toast this one relies on some stale bread. You only need a couple of slices, I think I used one full slice and the two ends of my round loaf of sourdough bread. Just cut up cubes until you have the right amount, anywhere from 1 ¼ to 1 ½ cups of cubes. This recipe is really forgiving the amounts can be fudged a bit either way on most ingredients and it won't make a difference. Just use what is in your fridge and pantry.


For the peaches you can use fresh, frozen (thaw and drain off any moisture) or canned. Like I said this is a very forgiving recipe.


For a baking dish if you have a small casserole dish that would make the presentation more special. The one I used measures about 7” by 4 ½” and holds right around 2 ½ cups. If you don't have one of similar size I would recommend using a glass loaf pan since the “footprint” would be similar. Be sure to grease the casserole dish really well before you add the bread mixture.


It does need to sit in the fridge, covered for at least 8 hours or up to 24 hours. Just make it anytime the day before that you have a few minutes and you will be way ahead the next morning.


Click here to go to the downloadable/printable PDF of this recipe.


Peachy Baked French Toast Casserole


2 Tablespoons flour

¼ cup milk

¾ teaspoon sugar

pinch salt

2 eggs

¼ teaspoon vanilla extract

1 ¼ to 1 ½ cups stale bread cubes

¼ to ½ cup diced peaches (fresh, canned (drained well) or frozen (thawed and drained)


Powdered sugar

Peach Jam/jelly/preserves


Thoroughly grease your 2 ½ cup casserole dish and set aside.


In a medium bowl combine the flour, milk, sugar, salt, eggs and vanilla. Use hand mixer and be sure mix it thoroughly until it is very smooth.


Add the bread cubes to the milk mixture and stir carefully.


Pour the bread mixture into the prepared casserole dish. Sprinkle the diced peaches over the top.


Cover and put in the refrigerator for at least 8 hours or up to 24 hours.


To serve:


Take the casserole out of the fridge, uncover and place on a baking sheet.


Preheat oven to 400°F.


Bake the uncovered casserole for 20 to 25 minutes or until the top is golden brown.


Remove from oven.


Sprinkle top with a touch of powdered sugar.


Serve with peach jam/jelly/ preserves.

Wednesday, June 23, 2021

Peanut Butter Chocolate Chip Cookies


I maintain you are never too old for cookies and this recipe is one I make a lot. I love the combo of peanut butter and chocolate and these are the perfect example of that combination.


I also love that this recipe makes between 8 and 10 cookies which means I can eat them before they get stale and if I do binge on them it still isn't too bad.


You will need to flatten the cookies out like show in the pictures, I just use the bottom of a drinking glass that I dip into sugar between cookies. That brings us to the only down side of this recipe that I can really find- if you forget to do this step the cookies will stay in ball shapes and not spread at all. This is not a horrid thing it just means they take a bit longer to cook to get the centers done, making it easy to overcook the outside of them.


You will want both the butter and peanut butter at room temperature before you start beating them with the hand mixer. As a note I do use salted real butter in this recipe as well as in most of my recipes.


I do recommend using a cookie scoop like this one whenever you are making drop cookies. It makes it so much easier to get all the cookies the same size. This is important to getting them all baked the same amount. 


You can find a downloadable/printable version of this recipe here.


Peanut Butter Chocolate Chip Cookies


3 Tablespoons creamy peanut butter, room temperature

2 Tablespoons butter, softened (at room temperature)

3 Tablespoons dark brown sugar

1 Tablespoon granulated sugar

1 egg yolk

¼ teaspoon vanilla extract

6 Tablespoons all-purpose flour

¼ teaspoon baking soda

a pinch of salt (I use Kosher salt)

½ cup chocolate chips


additional sugar for flattening


Preheat the oven to 350° F.

Line a large cookie sheet with parchment paper and set aside.


In a medium size bowl beat together the peanut butter and the butter until smooth and combined.


Add both the sugars to the butter mixture and cream together until smooth. 


Add the egg yolk and vanilla extract and beat again until well combined


In a small bowl mix together the flour, baking soda, and salt. Add the flour mixture to the butter mixer and carefully mix until well combined.


Carefully mix in the chocolate chips being careful not to break them too much.


Using a cookie scoop portion the dough into balls and place them on your prepared cookie sheet.


Dip a drinking glass into the additional sugar and use to flatten the cookies. Be sure to dip it back into the sugar between each cookie. This will not only ensure that the cookie doesn't stick to the bottom of the glass but it will give your cookies a light dusting of sugar that is very pretty and will add a tiny bit of crunch when you bite into them.


Bake at 350° F for 9 to 10 minutes.


Remove from the oven but leave the cookies on the pan for another 10 minutes to set up a bit. At the end of this time transfer them to a wire rack to cool completely before placing in an airtight container to store. (or just eat them before anyone else sees that you made cookies LOL)