Have you checked out all my blogs?


Dollhouse Minis: http://joannesminis.blogspot.com/


18” Dolls: http://joannes18dolls.blogspot.com/


General Crafts: http://joannes-place.blogspot.com/


Wednesday, April 28, 2021

Eggs Lorraine


This week I thought I would share the recipe for what has become one of my all time favorite breakfasts when I want to treat myself. It is a bit rich but it is so easy and is made from things that are pretty normally in my fridge. It is a bit rich so it is more special occasion than everyday. I thought with Mother's Day coming up it was a great time to share this.


So if you want to treat yourself or someone you love this is a really good way to start a day.


One of my favorite things about this recipe is it can be made for any number of people. You just need an individual casserole dish for each person so it doesn't matter if you are making one serving or a bunch of servings.


This is baked in a small casserole dish, one that holds about 1 ½ to 2 cups and it should be fairly shallow. I have done this in round dishes (like in the pictures today), square dishes and oval dishes and they all worked just fine.


The prep for this is super easy you just coat your baking dish with either cooking spray or butter. Then layer the ham and sliced Swiss cheese in the bottom of the dish and add the 2 eggs. Then mix the sour cream with a bot pf salt and pepper and dollop on top of the eggs.


Bake this until the eggs are done the way you like them and enjoy. (See I told you it was super easy)


You can find the printable PDF of the recipe here.


Eggs Lorraine
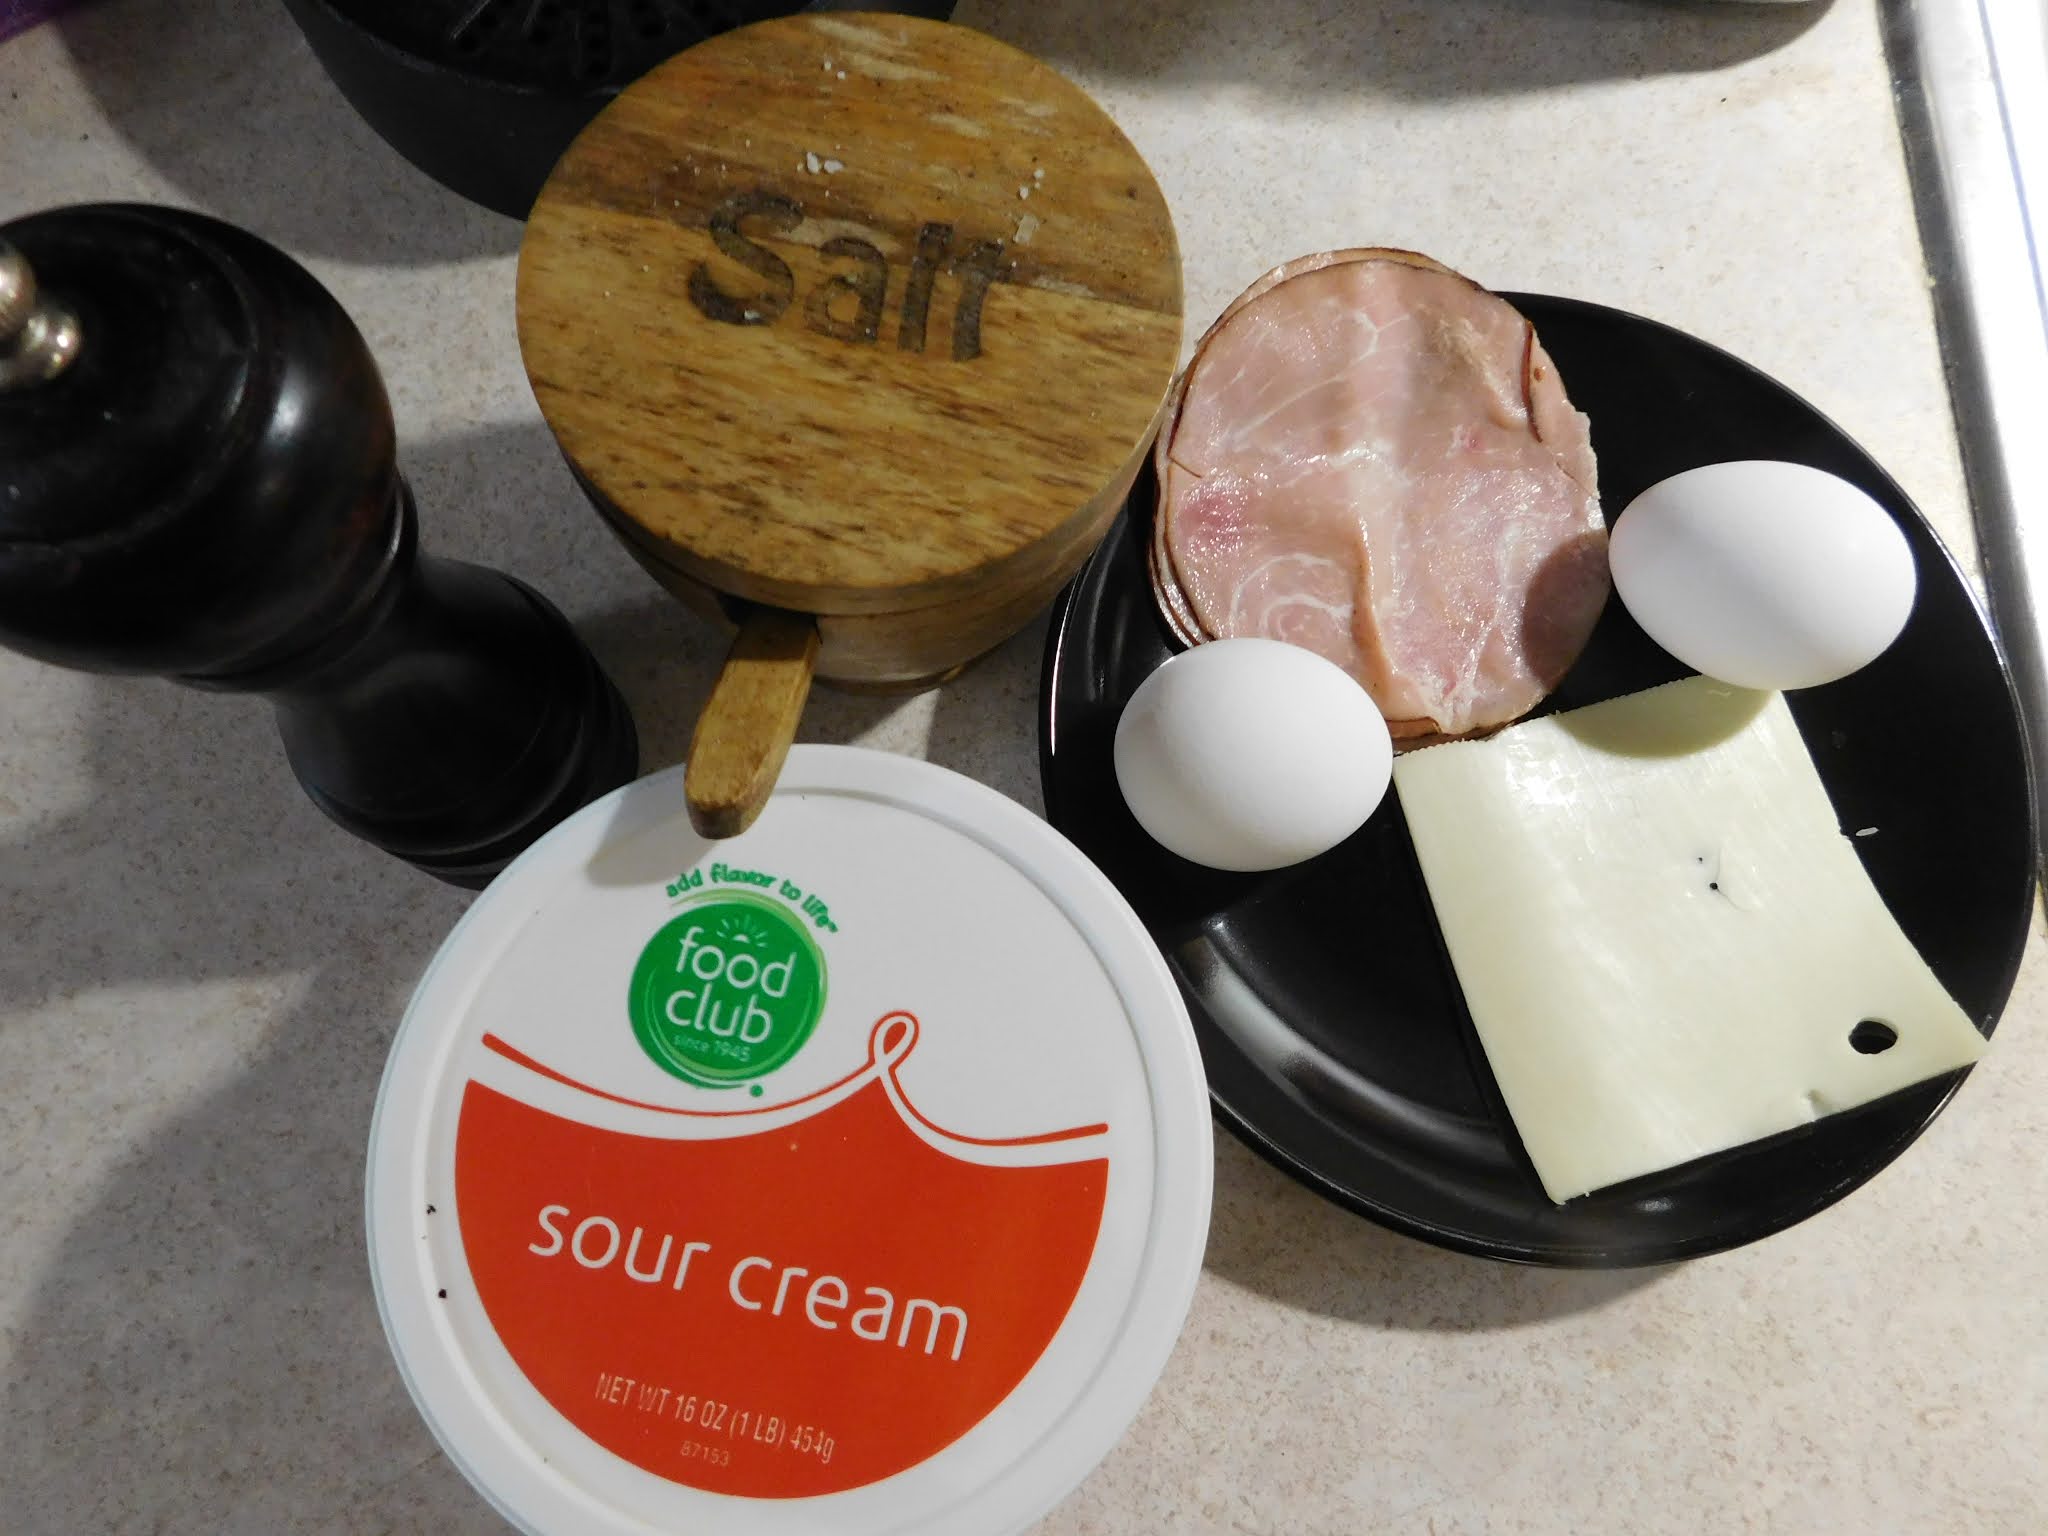

2 slices of deli ham

1 slice Swiss cheese

2 large eggs

1 Tablespoon sour cream

a pinch each of salt and pepper

minced chives (optional)


Preheat the oven 350°


Lightly coat a 1 ½ to 2 cup casserole dish with butter or cooking spray. Place casserole dish(es) on a sheet pan to make it easier to get to and from the oven.


Add the sliced ham the prepared casserole 


                                  and top with the cheese slice.


Carefully break in the 2 eggs side by side on top of the cheese slice.


In a small bowl whisk the sour cream with the salt and pepper. Dollop the sour cream on top of the eggs.


Bake at 350° for 25-30 minutes or until the eggs are cooked the way you like them.


Remove from oven and sprinkle with minced chives if desired.


Serves 1

Wednesday, April 14, 2021

Baked Oatmeal


Today we are doing some more investment cooking. If you aren't familiar with that term you might know it by other names, basically we are going to do some cooking today so that we can eat in days to come. We are going to make a pan of baked oatmeal that we can wrap in individual portions then heat and eat on mornings when we want a quick and yummy start to our day that will fuel us right up to lunch time. 


There is one confession I need to make before we go on, even though I love baked oatmeal I really don't like regular oatmeal. I mean yeah, if it is the only option for breakfast for whatever reason I would probably eat it but I wouldn't enjoy it. However, baked oatmeal I look forward to eating. It is so good and can be changed up depending on the dried fruit you add to it. I find that with this recipe dried fruil works better I have a slightly different recipe that I make with fresh fruit that I will try to remember to post someday.


Today for my dried fruit had some dried cranberries leftover from something else and a few leftover dried apricots that I cut up to be about the same size. I then added some golden raisins to make the full amount needed. It is a wonderful combination but I have to say my very favorite combo is the dried tropical fruit that I used to buy. I haven't looked for it in the stores here but I am sure they have it too. Really any combination of dried fruit you like or have on hand will work really well. If you change it up every time you make it you will have a lot more variety. It's even okay if your dried fruit is a bit more dried than you would normally use. The baking plus the freezing will help soften it a bit. Not sure exactly how hard too hard is but I have definitely used some raisins that were getting to the almost hard as a rock stage and while they were a bit more chewy they were fine.


This time I baked in an 8” by 8” baking pan, I like to use this size because it creates a nice thin baked oatmeal that bakes quickly and also freezes and reheats quickly. Other times I have baked this in a muffin pan and also in a loaf pan. These result in a thicker product that will take longer to get baked through and will take longer to both freeze and reheat. It is really up to you what pan you use.


I do think that lining you baking pan with parchment is important just because you can lift out the baked oatmeal in one piece and easily cut it into the 4 pieces. If I cut it in the pan I find this much more difficult to get evenly size pieces.


You can find the downloadable/printable PDF here.


Baked Oatmeal


1 ½ cups old fashioned rolled oats

½ cup brown sugar

1 teaspoon pumpkin pie spice

½ teaspoon salt


½ cup milk

1 egg

1 teaspoon vanilla extract


½ cup dried fruit of your choice, chopped if needed (about the size of raisins)


Preheat oven to 350°F


Prepare your baking pan by lining it (I used an 8”x8” baking pan and lined it with parchment paper)


In a medium mixing bowl combine your rolled oats, brown sugar, spice, and salt.


In a small bowl combine your milk, egg, and vanilla.


Add your wet ingredients to your dry ingredients and stir to combine.


Add the dried fruit and mix until well combined.


Spread into your prepared pan and bake at 350°F for 25 to 30 minutes, longer if you are using a smaller pan so your mixture is thicker. You want the mixture to be set and a pick inserted in the center should come out clean.


Allow to cool in pan for 10 minutes, then remove (parchment paper and all) to the counter to cool to room temperature. 


When cool cut into 4 equal pieces.


Wrap in plastic wrap and put in a labeled freezer bag. Place in freezer to store.


When you are ready to eat remove your piece of baked oatmeal from freezer, unwrap and place in a microwave safe bowl.


Heat in microwave until heated through, mine takes about 1 minute 30 seconds but your microwave might differ.


Serve as desired, I like a bit of milk or half & half poured over mine.


Makes 4 servings.

Wednesday, April 7, 2021

Meatloaf Cupcakes


Since the official cupcake for the month of April actually posted the last day of March since I wanted to get it to you in time for Easter I thought I should post an extra cupcake this month. No this is not a sweet dessert cupcake it's a savory main-dish cupcake. I've been planning to share this for a while and now seemed like a good time. 


These are really and cute. The meatloaf forms the “cupcake” base, then mashed potatoes are used in place of the frosting and they are topped off with some cheese sprinkles.


I love a good meatloaf and I made some last minute tweaks to this recipe and it turned out even better than normal. One of the benefits of meatloaf is it is a great vehicle to add a few extra veggies to your meal. This time I only have onion and some pepper but another fantastic addition is grated carrots.


For the peppers I used some of the small sweet peppers that you can get in the produce department. I love the flavor of these both in recipes and just to eat, they are so much better than typical bell peppers. A small bag of them is just a few dollars and the perfect choice for the small family since they are so versatile.


I really think the panko bread crumbs are one of the secrets to a really good meatloaf, they always make my meatloaf turn out the perfect texture. 


You can find the downloadable/printable PDF of this recipe here. 


Meatloaf Cupcakes


½ pound ground beef

¼ cup Panko bread crumbs

¼ cup finely chopped onion

¼ cup finely chopped sweet pepper

1 clove garlic, chopped

2 Tablespoons ketchup

salt and pepper to taste


You will also need:

About 2 cups of mashed potatoes (I used 2 medium potatoes)


¼ cup shredded cheese of you choice (I used a Mexican 4 cheese blend)


Preheat oven to 350°F


In a medium bowl combine the ground beef, bread crumbs, onion, pepper, garlic, and ketchup along with salt and pepper to taste. 


 Divide the mixture among 4 muffin cups. Bake at 350°F for 40 minutes or until the internal temperature reaches 160°F.


Meanwhile make your mashed potatoes the way you normally would. You could even use instant ones if you would like to . 


When the meatloaf cupcakes are cooked through top them with the mashed potatoes. You want them to look like frosting that is heaped up.


 Then sprinkle with shredded cheese. 


Place back in the oven just until the cheese melts. 


Makes 2 servings


Wednesday, March 31, 2021

Carrot Cake Cupcakes


This week's recipe is actually the cupcake of the month for April which starts the day after this posts. I would normally have posted it next week but I wanted to have this one out in time for Easter and that is this coming Sunday. So the April cupcake is going to post the last day of March, hope everyone is okay with that.


I had been planning to do a carrot cake cupcake for April all along but I was kind of torn about just how I was going to do it. Since these cupcake recipes are based on my divided cake mix method I really wanted to use a cake mix. The problem being normally you would use a spice cake mix for carrot cake and I really don't like spice cake. So I had thought about trying work out the kinks on my small batch carrot cake recipe from scratch but it just isn't ready yet.


Then I had to stop at Walmart the other day to pick up some stuff that only they seem to have. As I was walking from one area of the store to another I walked past the display of spring/Easter themed baking supplies. I knew I wanted to grab some cute cupcake paper liners so I stopped to look. I found a really adorable set that has not only the liners but themed sprinkles and cute paper toppers.


One of the other things I noticed was a box of Carrot Cake mix. Hmmmmm, that might be the answer to my dilemma.


I took a quick look at the ingredient label and while not great and there doesn't appear to be any actual carrot in there it wasn't bad. I figured I could work with it and make some pretty good cupcakes with a few additions.


So when I got home I divided the box into 3 portions (if you haven't read my blog post on how to do this it is here)


The next step was to gather my additions to the mix. The first and easiest change was to use some apple juice in place of the water. That along with the vanilla that I almost always add to cake mix took this mix to the next level. After mixing the batter like normal I added in some fun additions- chopped nuts, golden raisins,and some grated carrot. These are the things I usually add to my regular carrot cake. With all these additions I did get 8 cupcakes this time instead of my normal 6.


I am very happy the result of these changes,


I then make my favorite cream cheese frosting for them. Now they aren't the same as my from scratch cake but they are wonderful.


Click here to find the printable PDF of the recipe.


Carrot Cake Cupcakes


⅓ of a box of carrot cake mix

⅓ cup apple juice

1 egg

3 ½ Tablespoons vegetable oil

¼ teaspoon vanilla extract

3 Tablespoons chopped nuts

3 Tablespoons golden raisins

3 Tablespoons shredded carrot


Start by preheating your oven to the temperature your box of cake mix calls for, mine was 350°F. Line your cupcake pan with paper liners or grease really well.


Combine the apple juice, egg, oil and vanilla in a mixing bowl and combine well.


Add the cake mix and beat for up to 90 seconds.


Gently stir in the nuts, golden raisins, and grated carrot.


Portion into cupcake pan and bake according to instructions on your cake mix. Mine was baked at 350°F for about 20 minutes.


Cool in pan for 10 minutes then move to a cooling rack and cool completely.


Small Batch Cream Cheese Frosting

¼ cup butter, softened

4 oz cream cheese, softened

1 teaspoon vanilla extract

2 cups powdered sugar


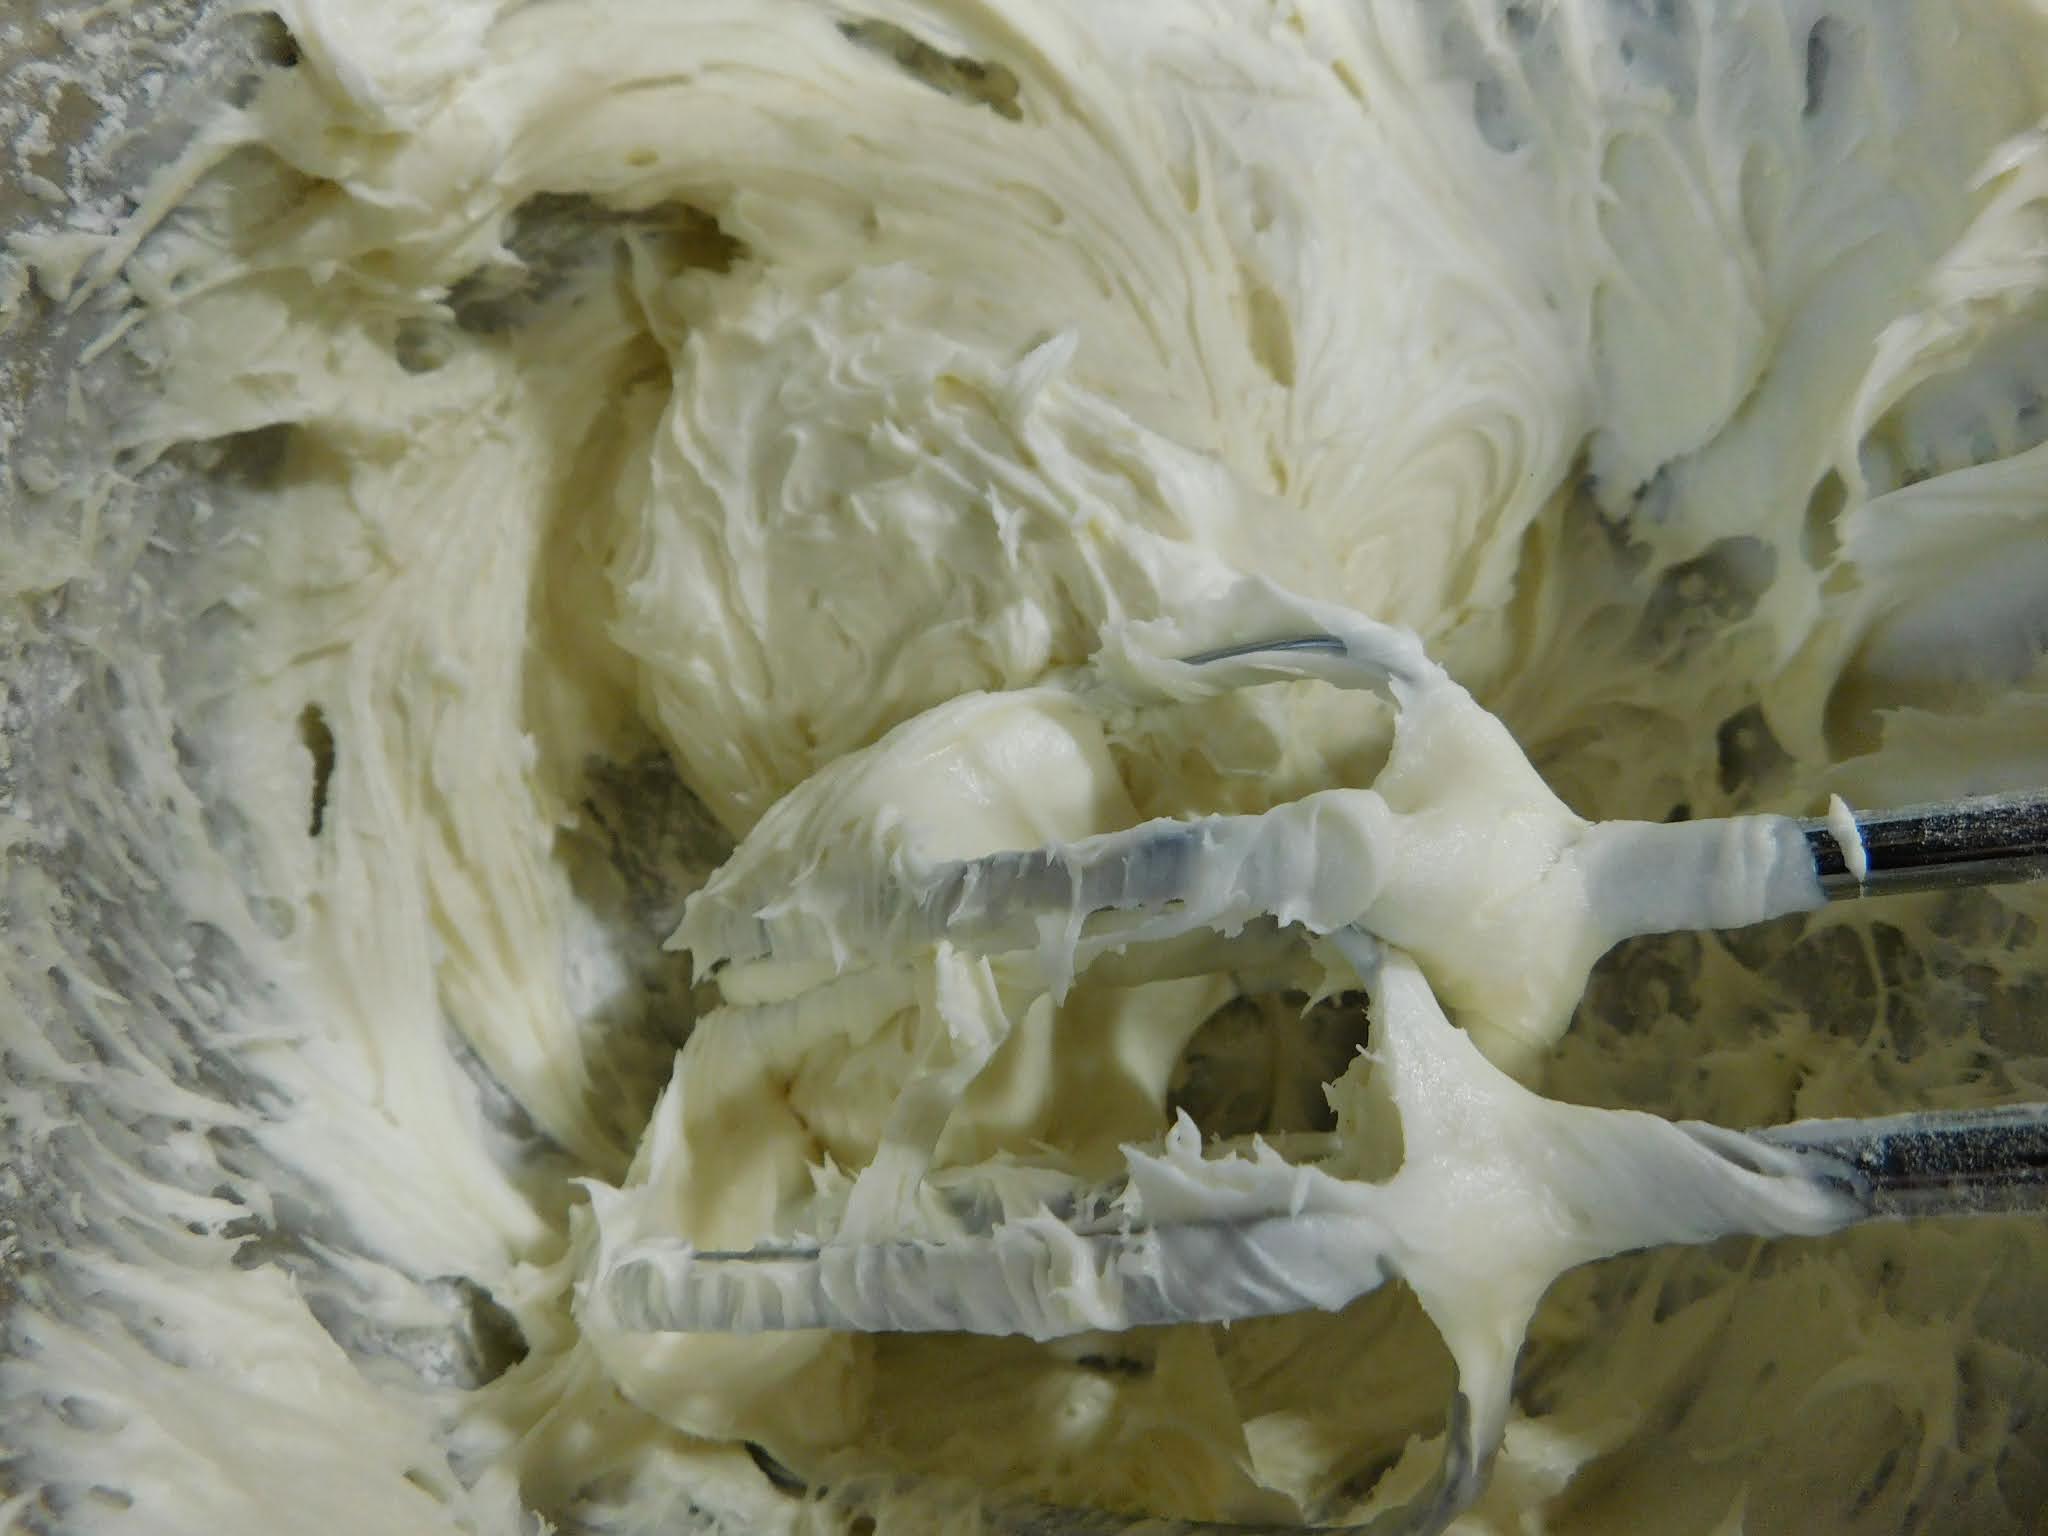
Beat the softened butter, cream cheese, and vanilla extract until combined and starting to get fluffy.


Slowly add the powdered sugar beating until well combined and creamy.


Move frosting to a decorating bag equipped with a large decorating tip. Decorate your cupcakes as desired.


Wednesday, March 24, 2021

Vegetarian Split Pea Soup


This week I have recipe to go into our slow cookers. I love to use my slow cooker all year round but especially when I can make a wonderful soup to enjoy on a cold day. The slow cooker I am using today is my 1 ½ quart Crock-pot. This size is my go to as far as slow cookers go right now and it's a handy size no matter what your family size. For the small household they are perfect for making soups, stews and many other things without the huge amount of leftovers that you would get with the larger size. For the larger household they are great for side dishes and desserts. I consider this one to be the best $10 I ever spent for my kitchen. 


When you are using a slow cooker it is important to use the correct size for the recipe since either being too full or not full enough effects the cooking time and quality.


So this recipe I was looking through some of the older recipes I had saved and never tried when I came across this one. I did have to make several adjustments to make it for a small batch cooking but I think it was well worth it. I love split pea soup and while I am not vegetarian I do enjoy having vegetarian meals often. I think this recipe would be really easy to make vegan too since the only ingredient that is not vegan friendly is the cream. I know there are many vegan friendly cream substitutions out there.


The mix of ingredients in this recipe really drew me in, I love sweet potatoes so that was a real win. More importantly I love soups that have spinach in them. I have to admit I was a bit nervous about the apple juice, I was afraid it might make the soup too sweet however I found this not be the case. The blend of flavors is so fantastic. I will say that I did add a couple of healthy splashes of my favorite hot sauce and I found the soup to then be perfect. Truth be told though I think that hot sauce improves pretty much all soups.


You might have to get up a bit early depending on what time you like to eat dinner. This soup needs about 10 to 11 hours in the slow cooker then another 30 minutes at the end to cook that spinach. Believe me when I say it is well worth the time and effort. You could probably prep your veggies the night before if you know you will be rushed in the morning but since there are so few ingredients there isn't much chopping involved.


Click here to access the printable PDF of the recipe.


Vegetarian Split Pea Soup


1 cup dried green split peas, rinsed, picked over and drained

1 cup cubed sweet potato

½ chopped onion

2 cloves chopped garlic

1 teaspoon salt

3 cups water

¼ cup apple juice


1 ½ cups firmly packed cut up fresh spinach

½ cup heavy cream

1 teaspoon dry dill weed

freshly ground pepper to taste


In your 1 ½ quart slow cooker mix the split peas, sweet potato, onion, garlic, and salt. Add the water and apple juice and stir again to combine. 


Set slow cooker on high for 30 minutes then turn to low and cook for another 9 ½ to 10 ½ hours. (If you can't do the 30 minutes on high that's okay but the the soup might take a bit longer to get cooked through)


Stir the soup. 


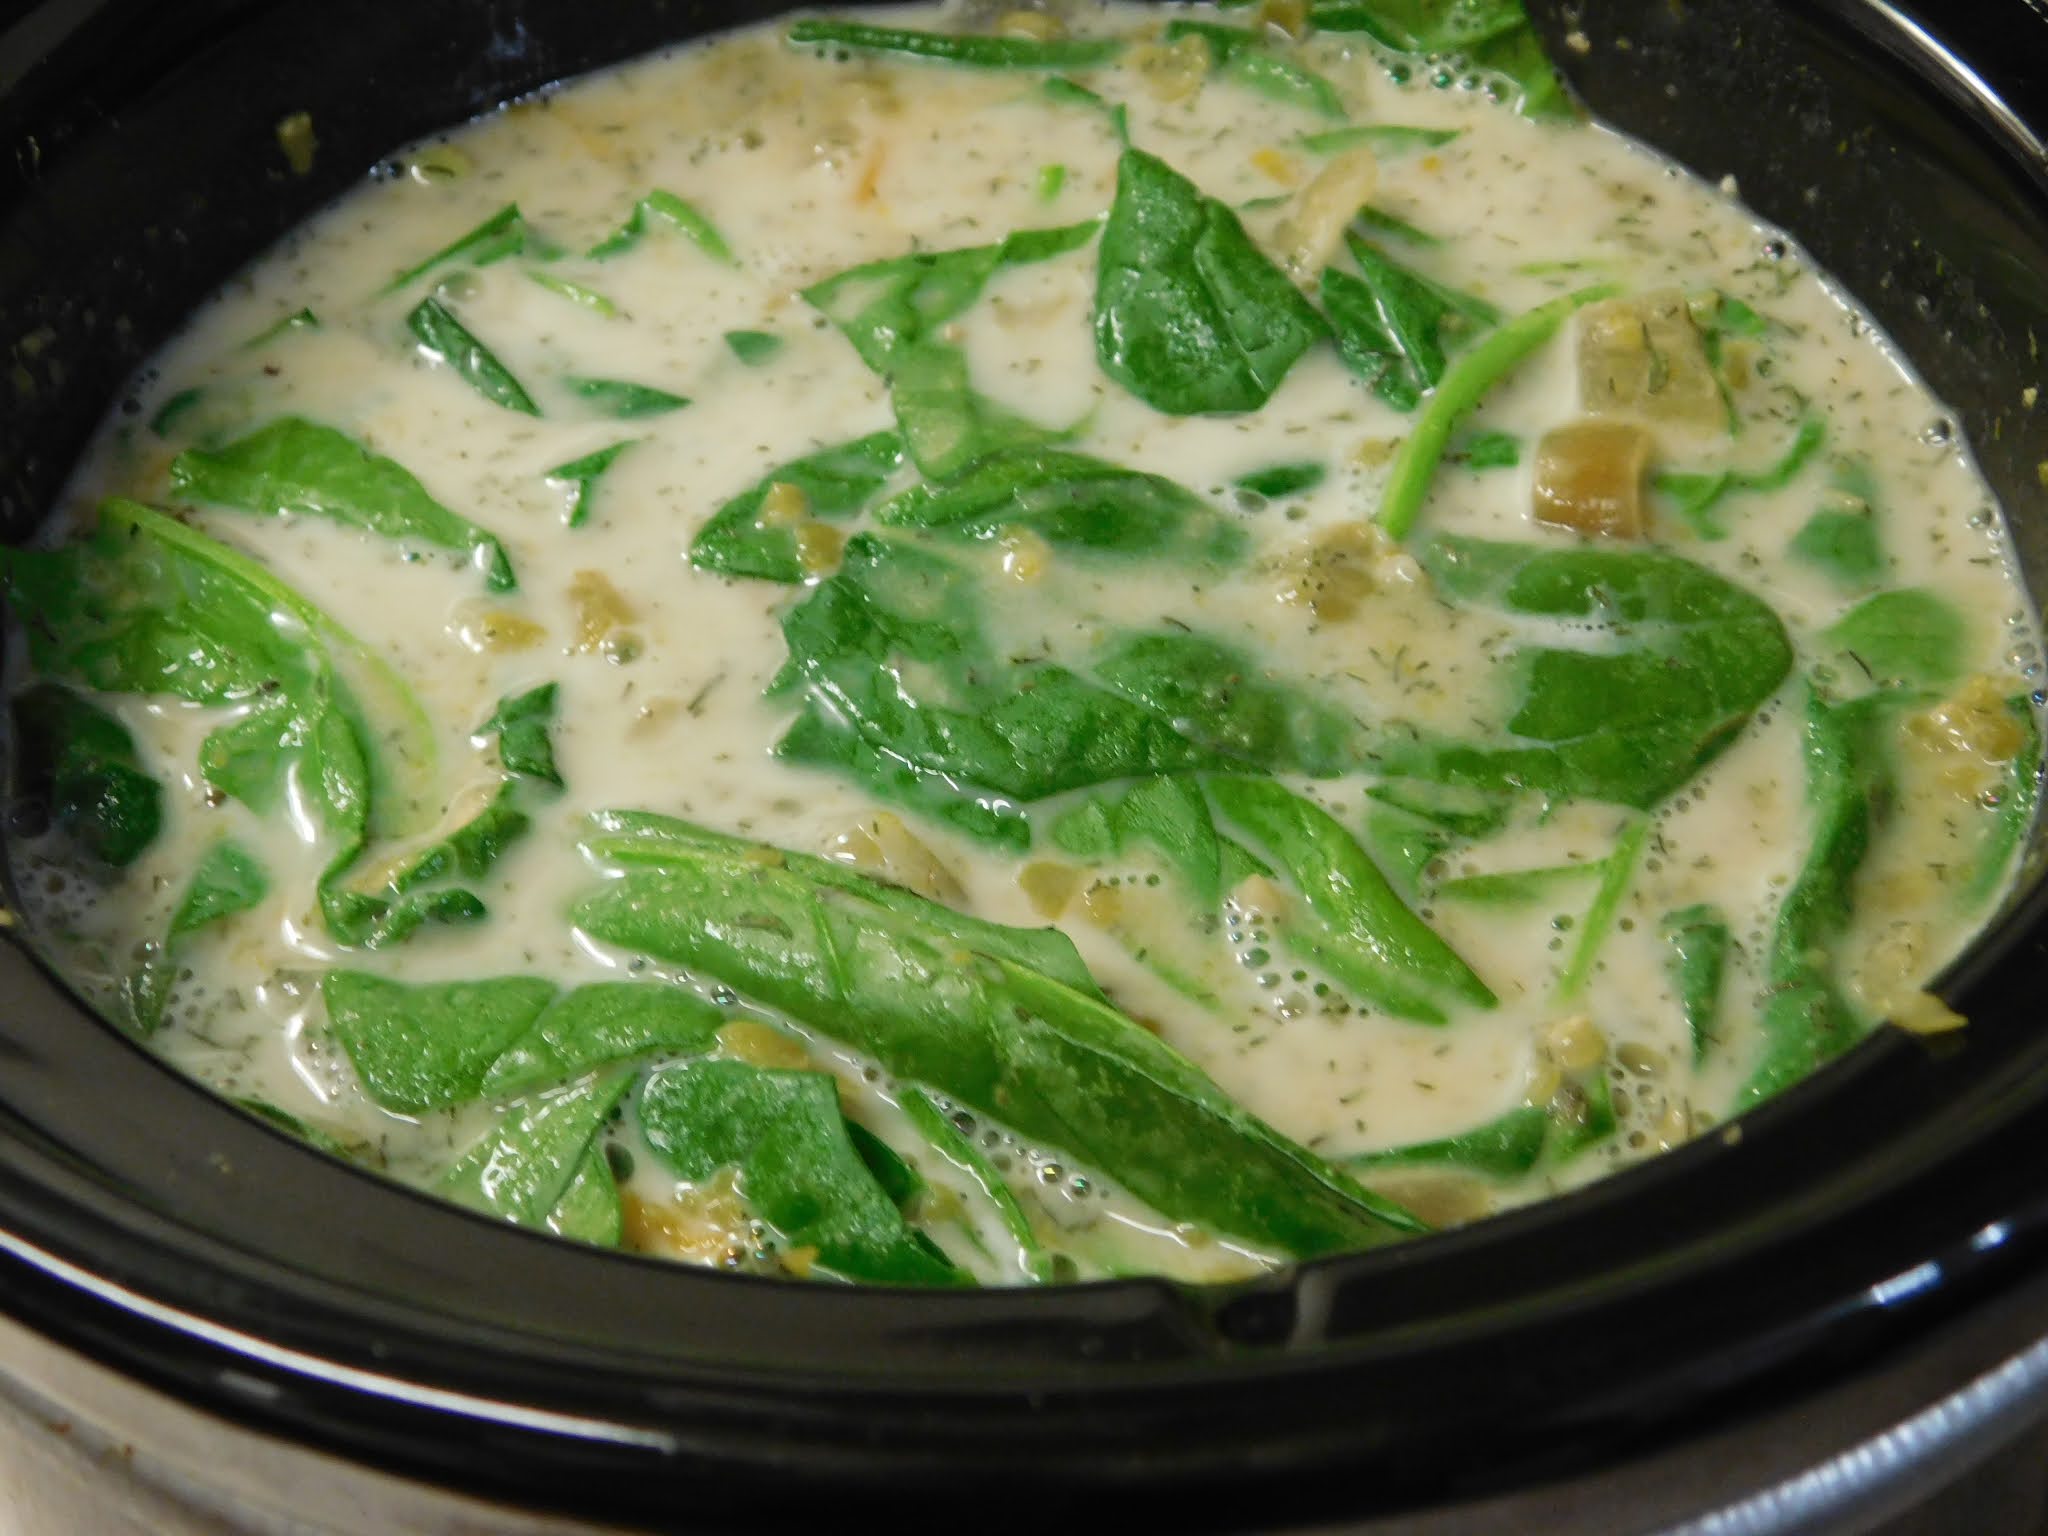
Stir in the spinach, cream, dill weed and pepper cover and cook for another 30 minutes at low. Taste and adjust the seasoning, I found I needed more salt at this point.


Serve in large soup bowls.


A good splash of your favorite hot sauce is optional but really tasty.


Makes 3 good sized bowls of soup.